
How to Create Beautiful Foil Prints at Home
In this tutorial, I’m taking you through each step of the process and sharing all the little things I’ve learned along the way to help you get a beautiful foil finish at home.
I remember how frustrating it felt when I was first trying to learn. Everything I found online made it seem so easy. It was always something along the lines of print your design, add foil, run it through a machine, done.
But when I actually tried it myself, my prints did not come out looking smooth, shiny, or professional. They were patchy, inconsistent, and nowhere near what I had seen in blog posts or videos.
So this guide is for anyone who is in that same place and wants a clearer, more honest look at how toner reactive foiling actually works
What Is Toner Reactive Foiling?
Before we dive in, let’s quickly cover what this process actually is.
Toner reactive foil works by sticking to toner (not ink).
That means:
You must use a laser printer, not an inkjet
The foil reacts when heat and pressure are applied
The foil only sticks where toner is present
This is very different from traditional foiling, which uses metal plates and heavy machinery.
The beauty of toner reactive foiling is that you can do it at home without specialist equipment.
The basic process works like this:
Print your design using a laser printer
Place toner reactive foil over the printed area
Run it through a foil machine or laminator
The heat melts the toner slightly and the foil sticks where the toner is
When you peel the foil away, the shiny finish remains only where the toner was printed.
What You’ll Need
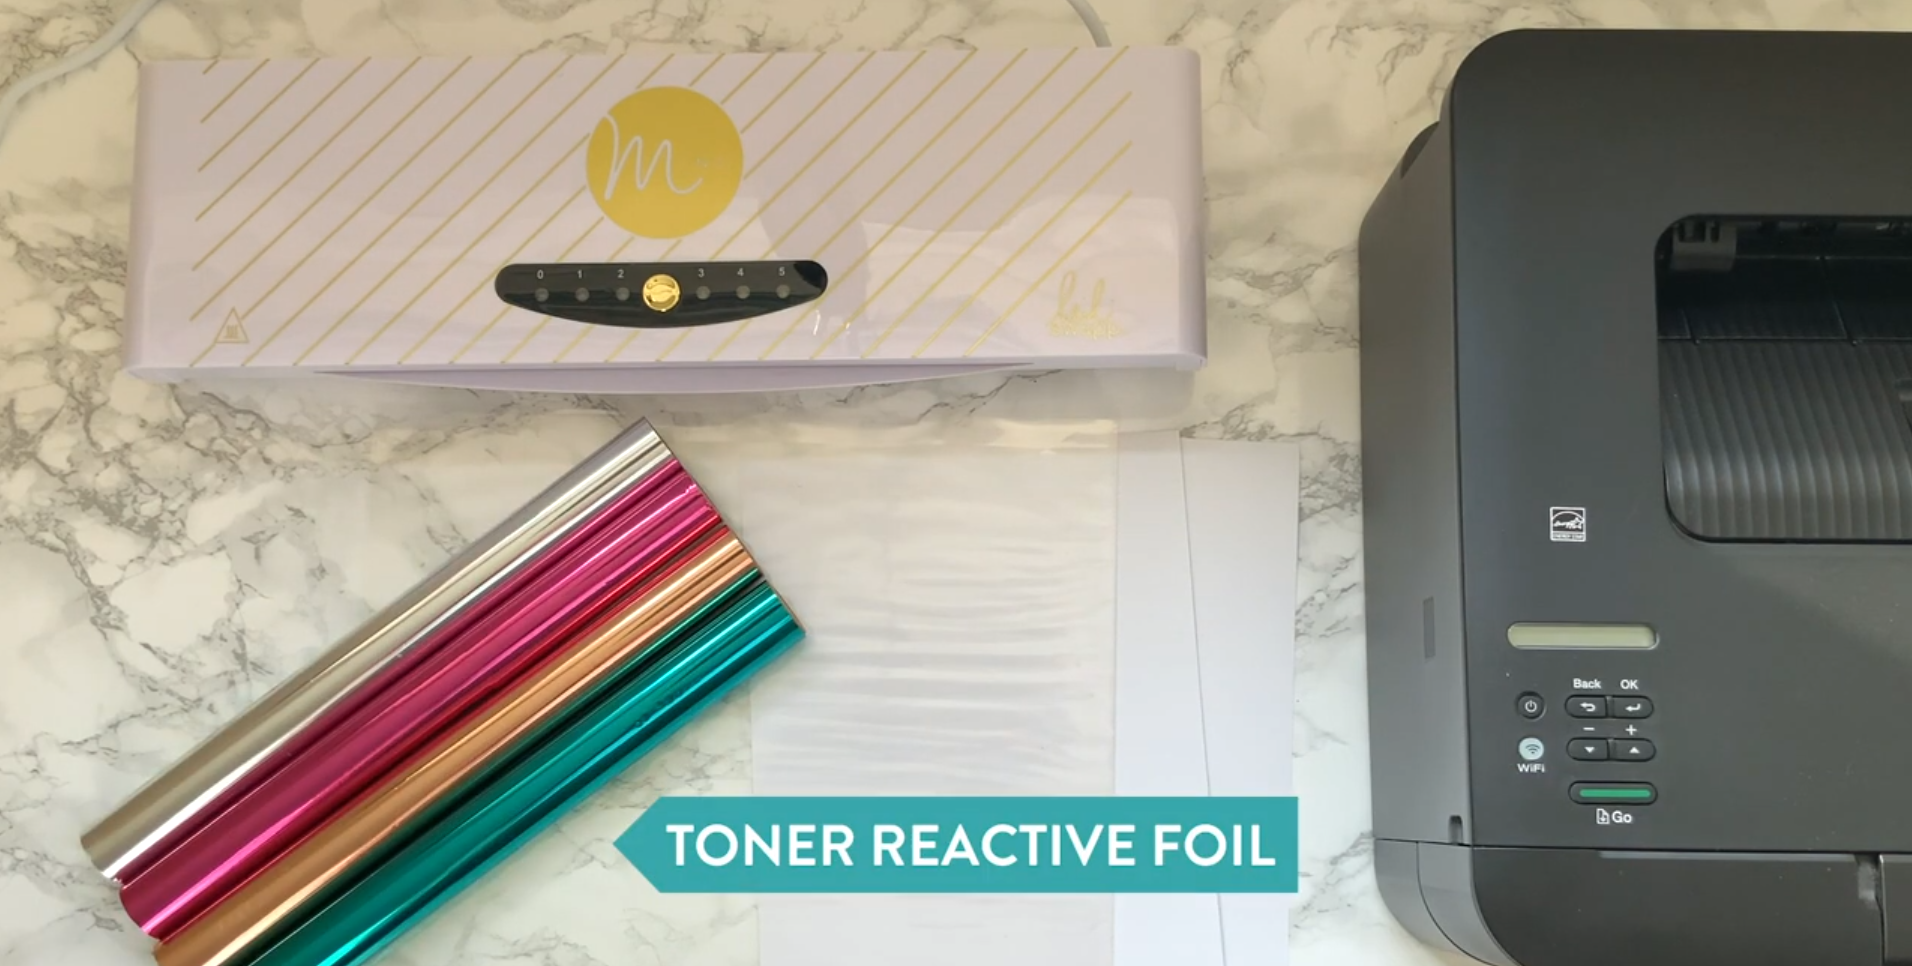
Essential tools for creating foil prints at home
To make your own foil prints, you will need:
A laser printer
A foil machine
Toner reactive foil
Smooth card or paper
Transfer folders
These are the products mentioned alongside the tutorial:
I’ll talk more about why the paper, printer, and foil all matter, because each one can affect your results more than you might expect.
Step 1: Create Your Design
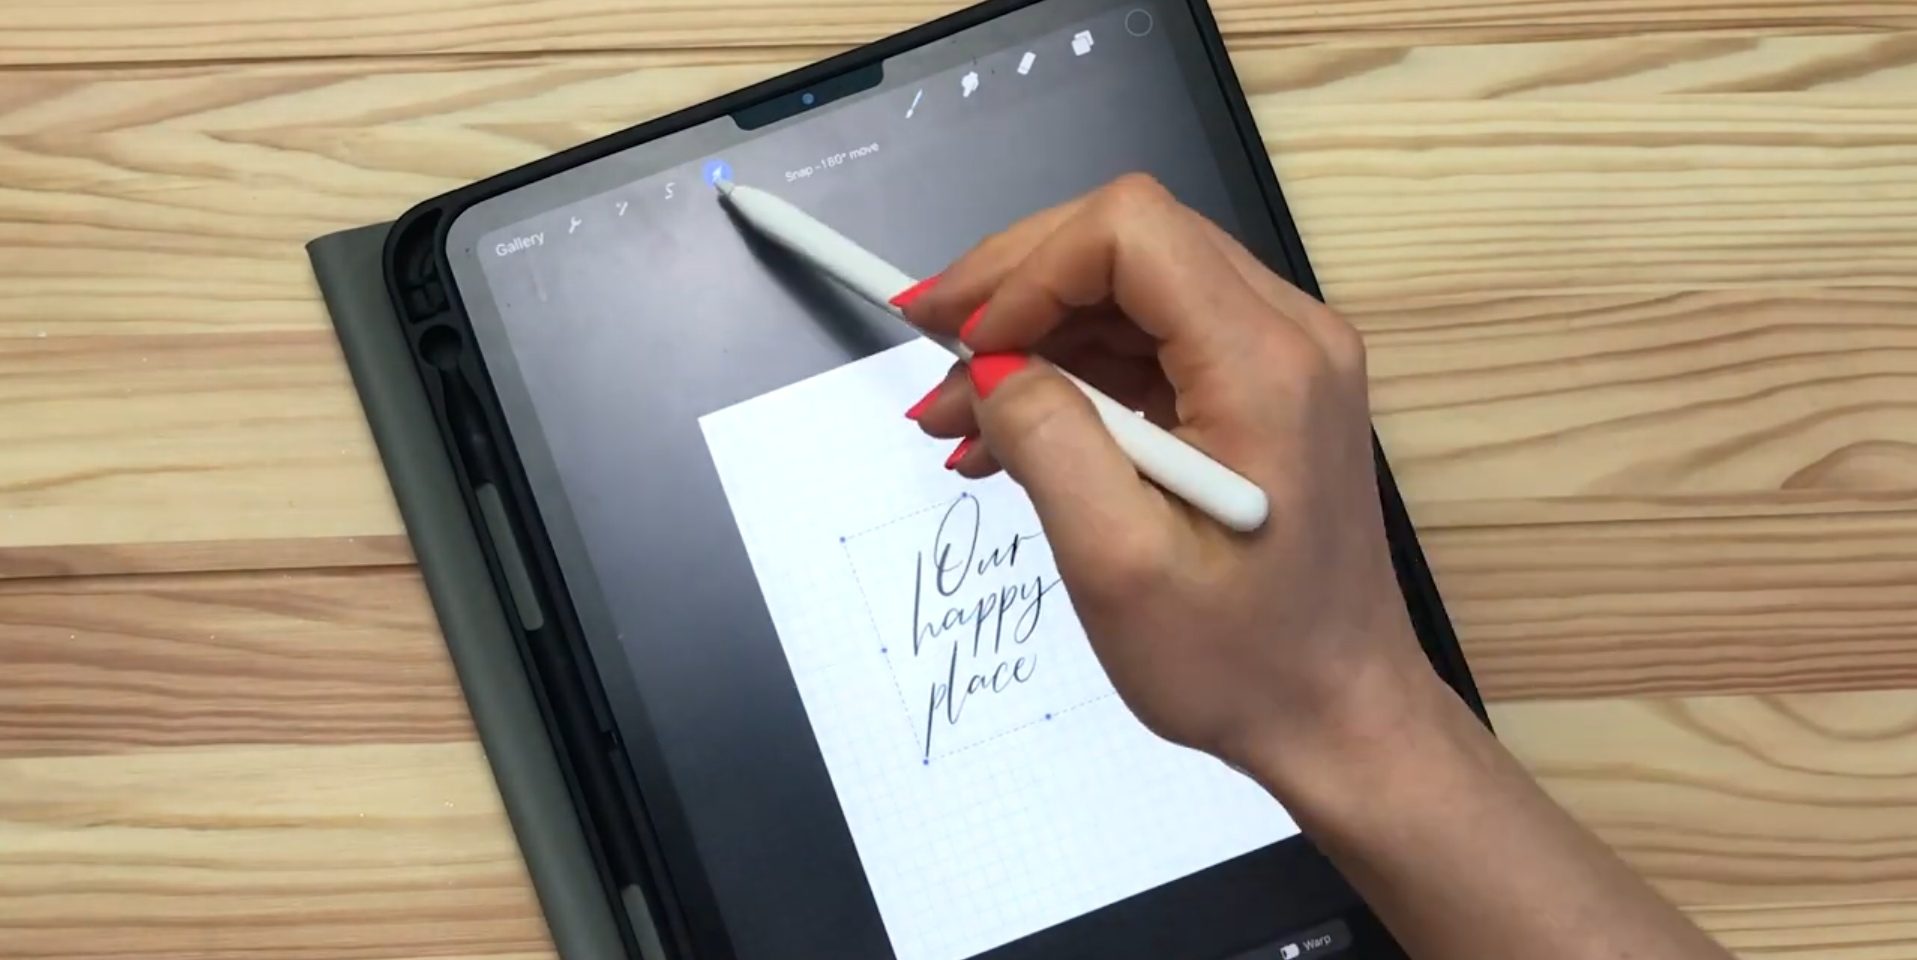
Creating a calligraphy design ready for foiling
I design my artwork on my iPad using Procreate. You can use any software you like, but the key thing is this:
Your design needs to be solid, clean, and high contrast.
The main thing to keep in mind is that your design needs to be suitable for foiling. Fine details can sometimes be trickier, and large solid areas or very delicate lines may need a bit more testing.
Once my design is complete in Procreate, I send it to my computer and bring it into Illustrator.
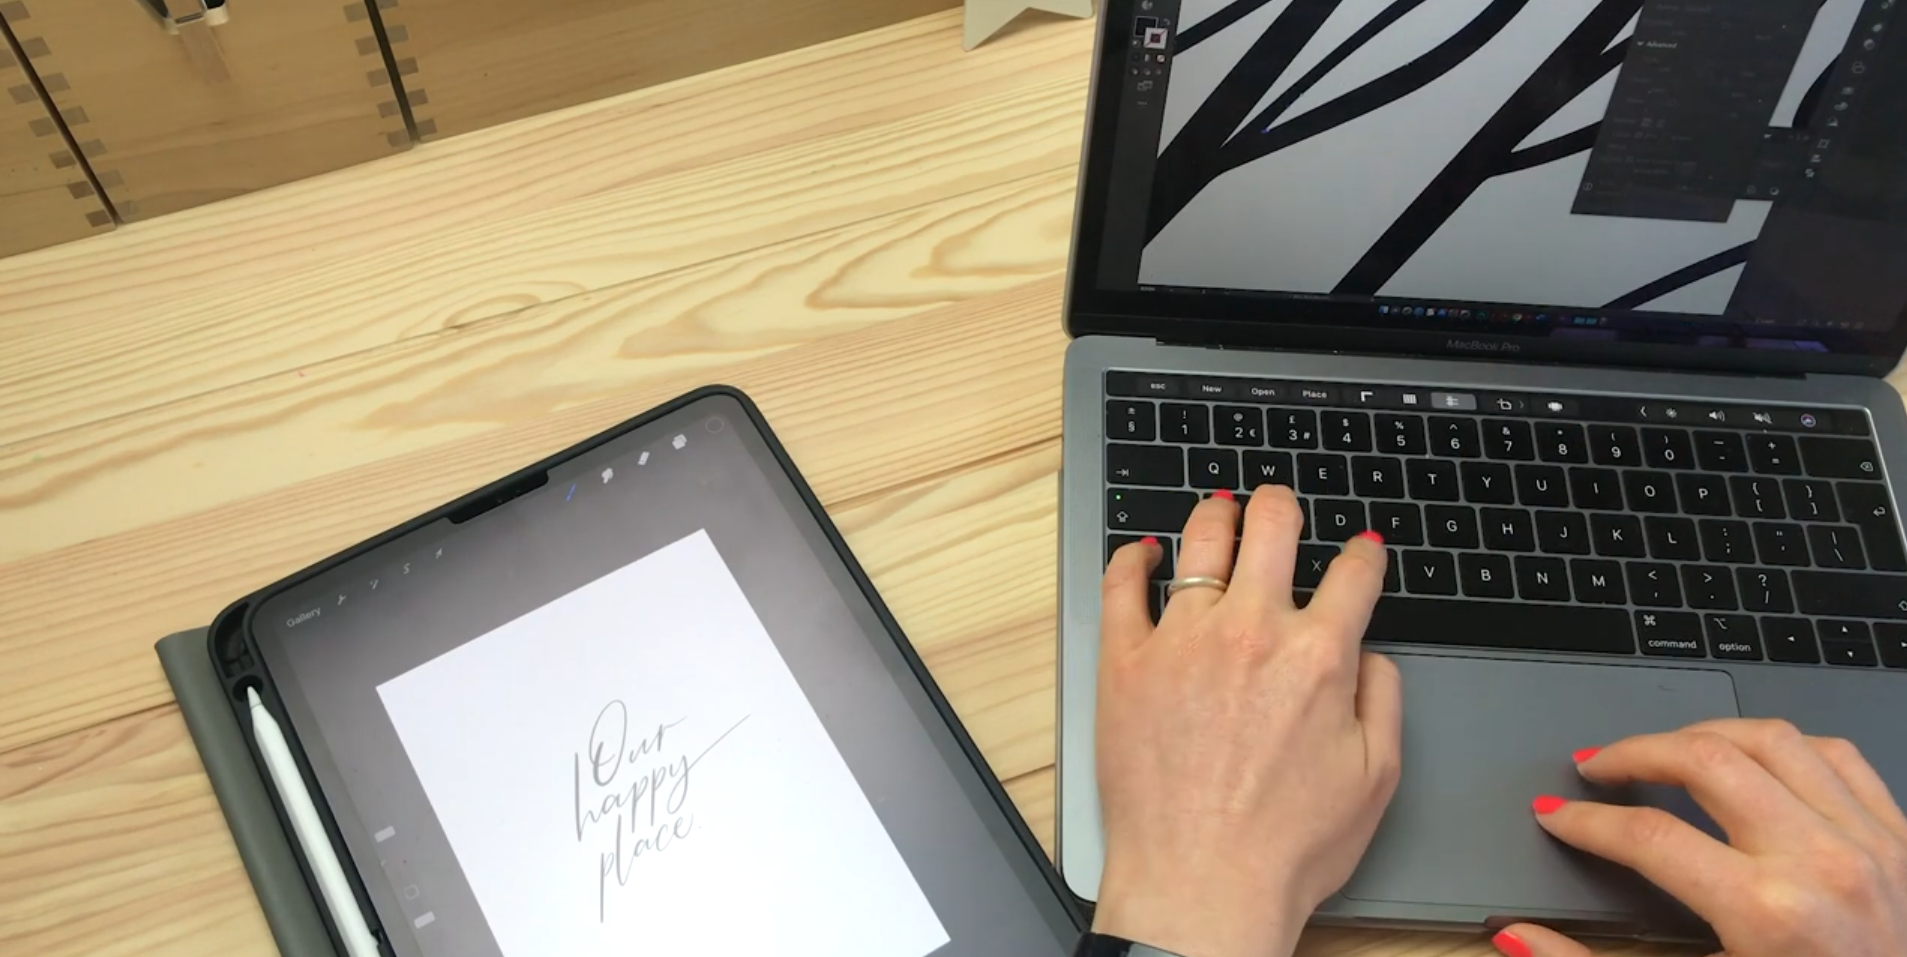
Transferring my design into Illustrator so I can refine and prepare it for a cleaner, sharper foil print.
This step is not essential, but I personally find that vectorising gives me a cleaner, crisper result. Procreate artwork is pixel-based, while vector artwork is more scalable and often works better for printing neatly.
If you are skipping this step, that is fine, but for my own prints, it definitely helps improve the final finish.
Step 2: Prepare Your File for Print
This is one of the most important parts of the process. Before saving my artwork as a PDF, I change the design from standard black to a rich black.
A rich black includes percentages of cyan, magenta, and yellow alongside black. Even though I use a mono laser printer, I have found that setting my artwork up as a rich black helps encourage a stronger toner laydown when printing.
More toner on the paper means there is more for the foil to stick to.
For my own setup, I tend to use a fairly standard rich black mix and save the file as a high-quality PDF. This gives me the best starting point before printing.
One thing that is worth being really clear about is this:
Your design still needs to print as black.
You do not want to print it in grey or another colour and expect the foil to react in the same way. The goal is to get as much solid black toner onto the paper as possible. If you want to combine foil with colour, that usually means creating the colour separately and treating the foiled part as its own printed layer.
Step 3: Print Using a Laser Printer
Toner reactive foil only works with toner, which means you need a laser printer. Inkjet printers use liquid ink, which sinks into the paper and will not react in the same way.
Laser printers use toner, which is made of fine plastic particles that sit on top of the paper. When heated later in the foiling process, that toner softens and becomes tacky enough for the foil to bond to it.
I use a Brother mono laser printer, and one of the biggest things I would recommend is choosing a mono printer rather than a colour laser printer if you can. In my experience, black toner from a mono machine tends to give better foiling results.
My Printer Settings
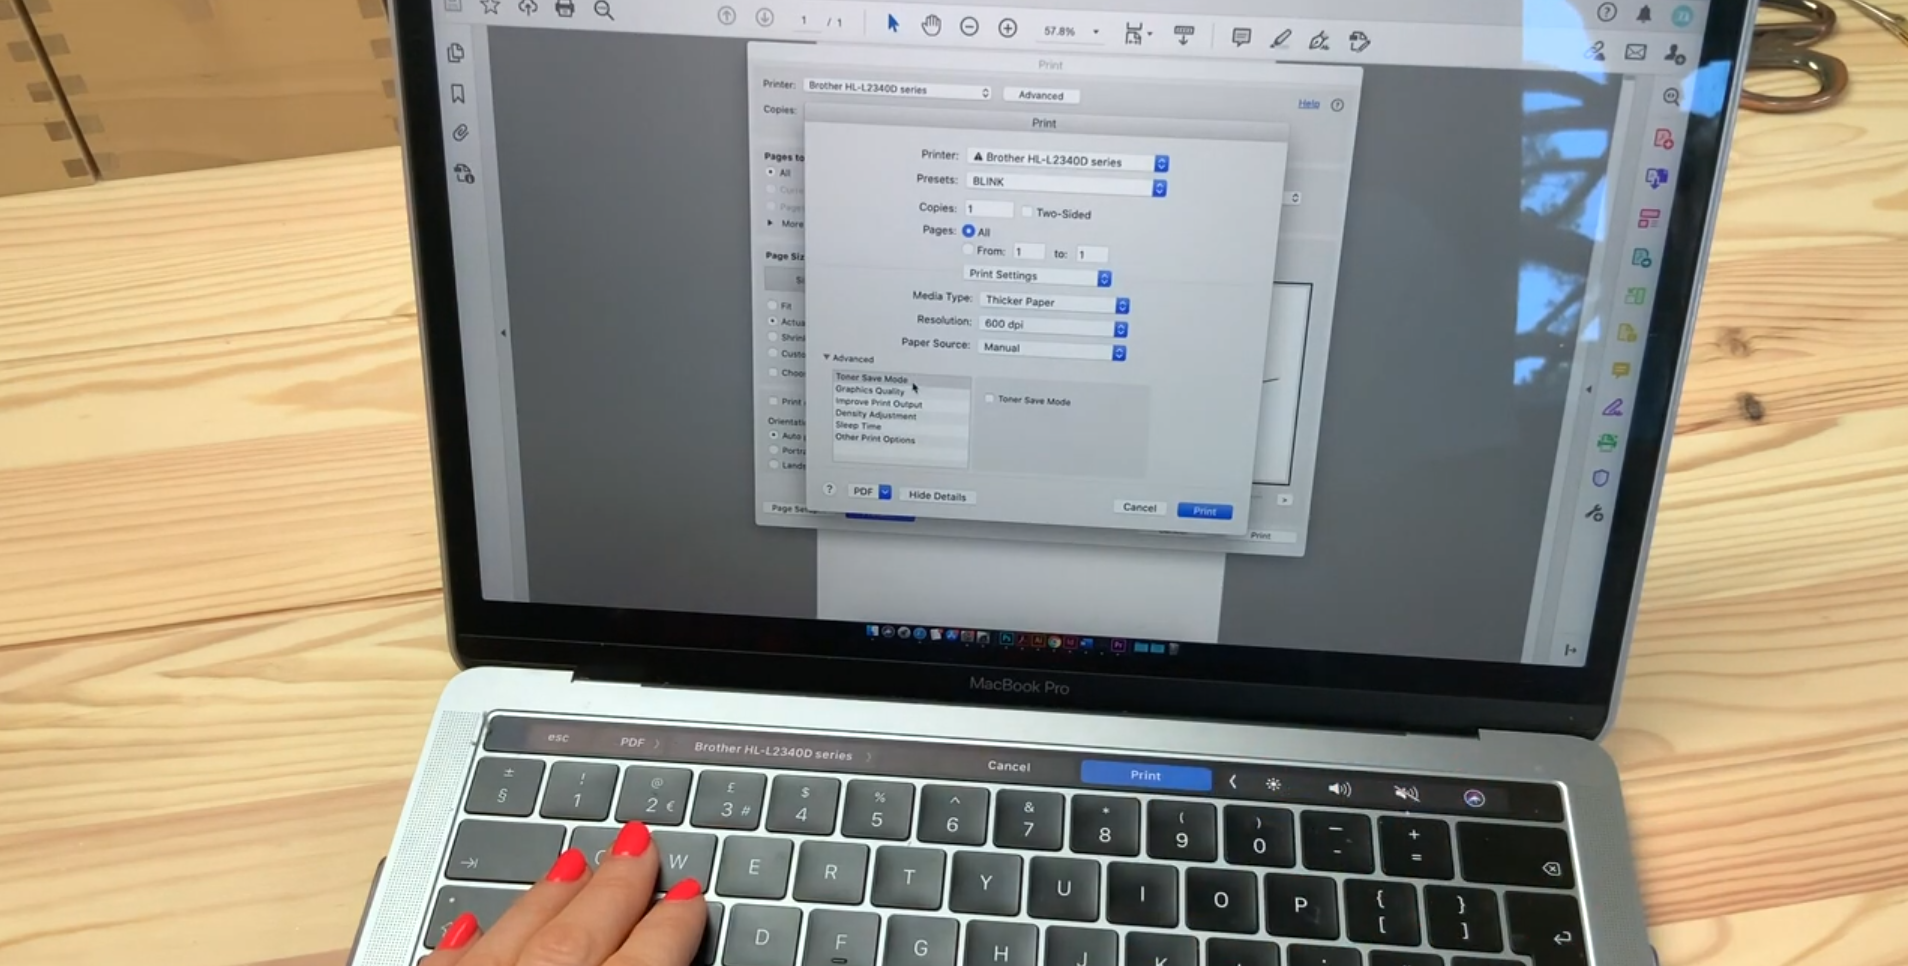
Optimising printer settings for maximum toner coverage
When printing for foiling, I use settings that encourage as much toner as possible to go onto the page. That includes:
Turning toner save mode off
Using the highest density setting
Choosing high quality print output
Using a slower paper setting where possible
Feeding the card through a manual tray so it stays flatter
For my printer, I also set the paper type to sticker paper because it slows the print process down slightly. That may sound odd, but little tweaks like that can make a real difference.
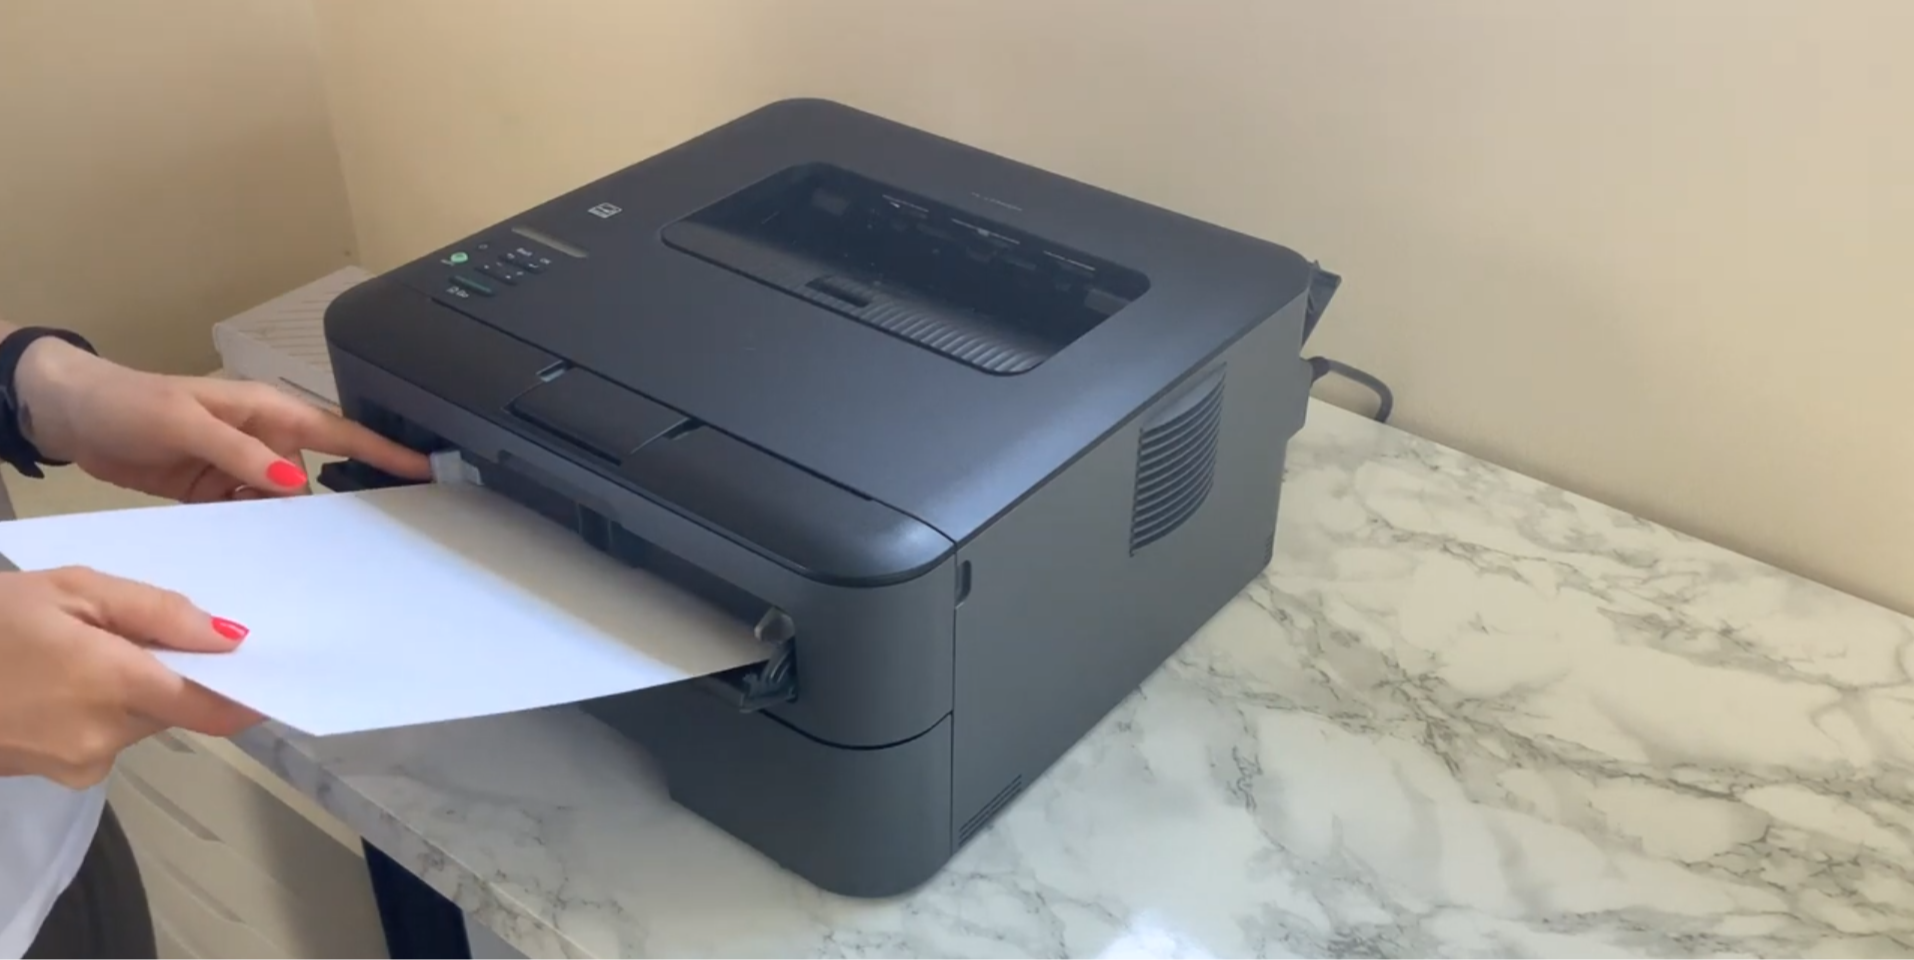
Loading cardstock into a mono laser printer
I also use a manual feed tray so the card stays flat and doesn’t bend.
Step 4: Choose the Right Paper
If there is one thing that made the biggest difference for me, it was the paper.
When I first started learning, so many people recommended papers that were only easily available in the US, which was incredibly frustrating. I’m in the UK, so I needed to find something I could actually access and test for myself.
The paper I use is Craven Silk card.
What matters most is that your card is super smooth, and ideally coated, because toner reactive foil works best when the toner sits neatly on the surface of the card.
Even paper that feels fairly smooth might not foil well.
To prove this, I tested the same design on a regular matte white card. Even though it felt smooth to the touch, the final foil result was much patchier, with more visible black specks and a less even finish.
So if your foil prints are not looking right, paper is one of the first things I would check.
Step 5: Cut and place your foil carefully
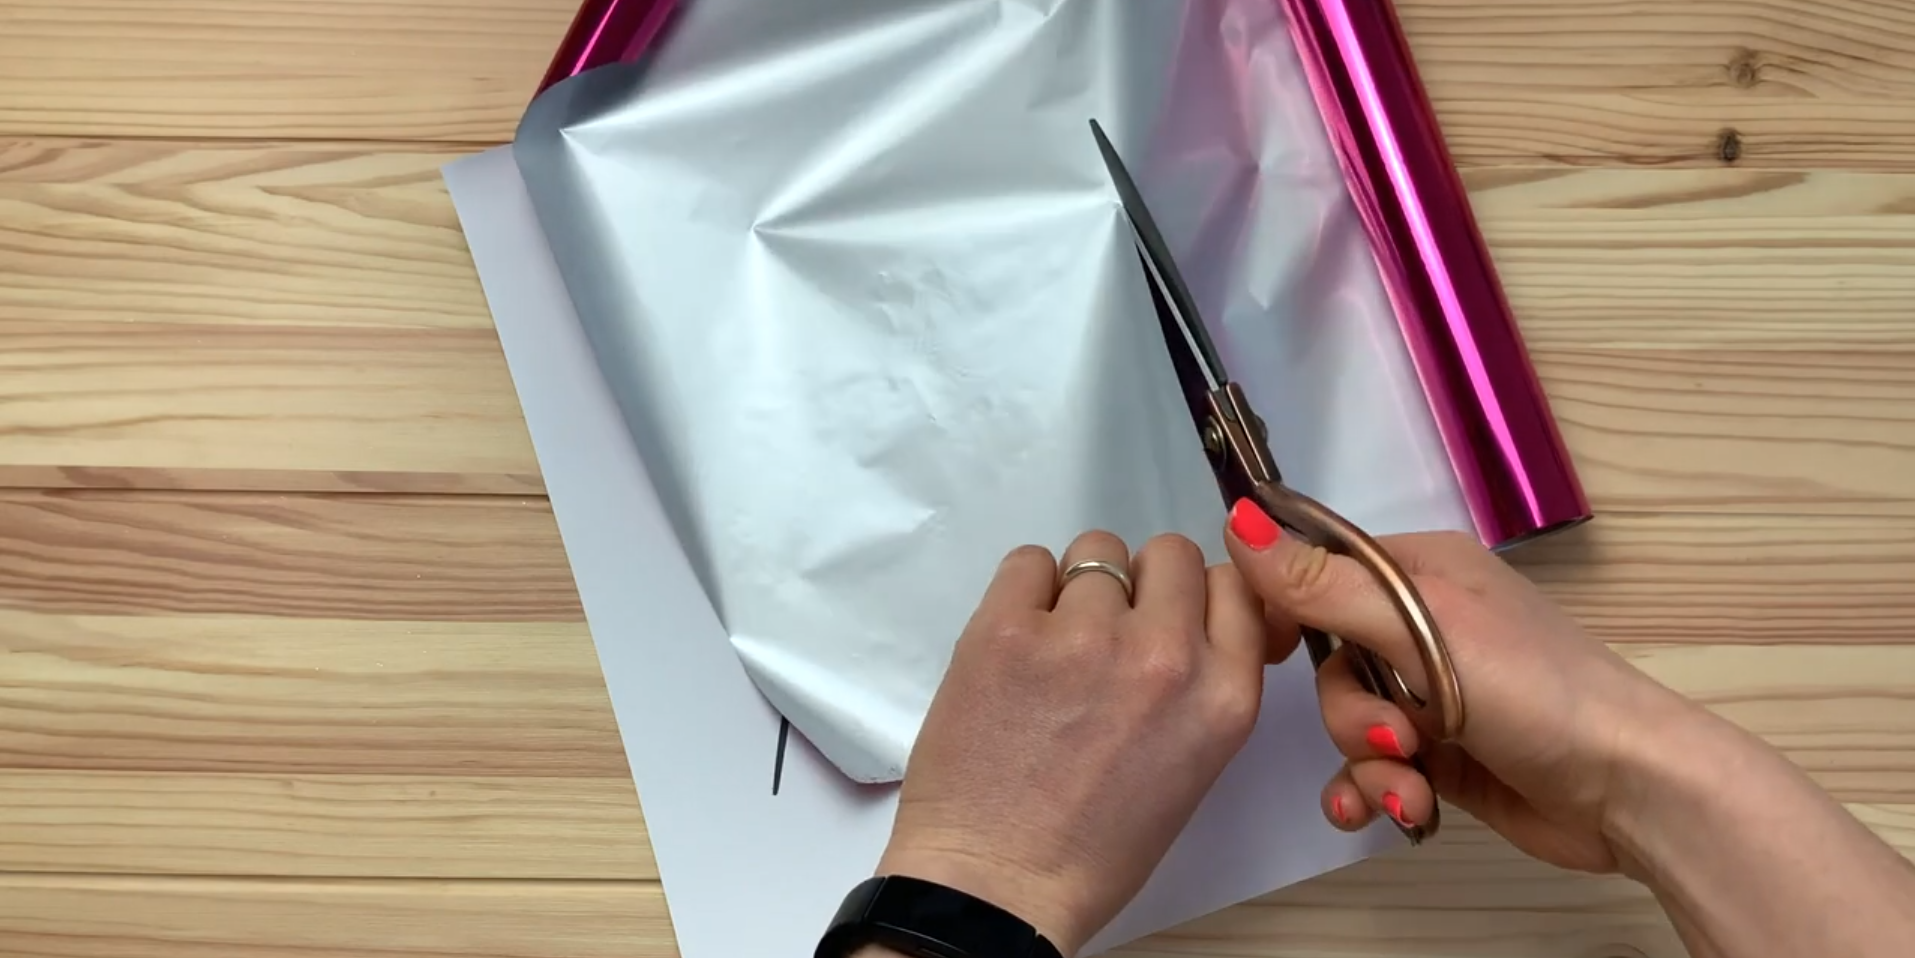
Cutting and placing toner-reactive foil over the printed design
Once your design is printed, cut a piece of toner reactive foil to roughly the same size as the printed area.
Make sure the foil is placed the correct way around. If you are using coloured foil, the coloured side should face upwards, with the duller backing side against the printed design.
I also recommend:
Cutting with sharp scissors for a clean edge
Keeping your foil away from dust
Avoiding scratched or damaged areas of foil over your main design
Dust is one of the easiest ways to ruin a good foil transfer, so I try to keep my foils stored carefully and only expose what I need.
Step 6: Use a transfer folder or carrier sheet
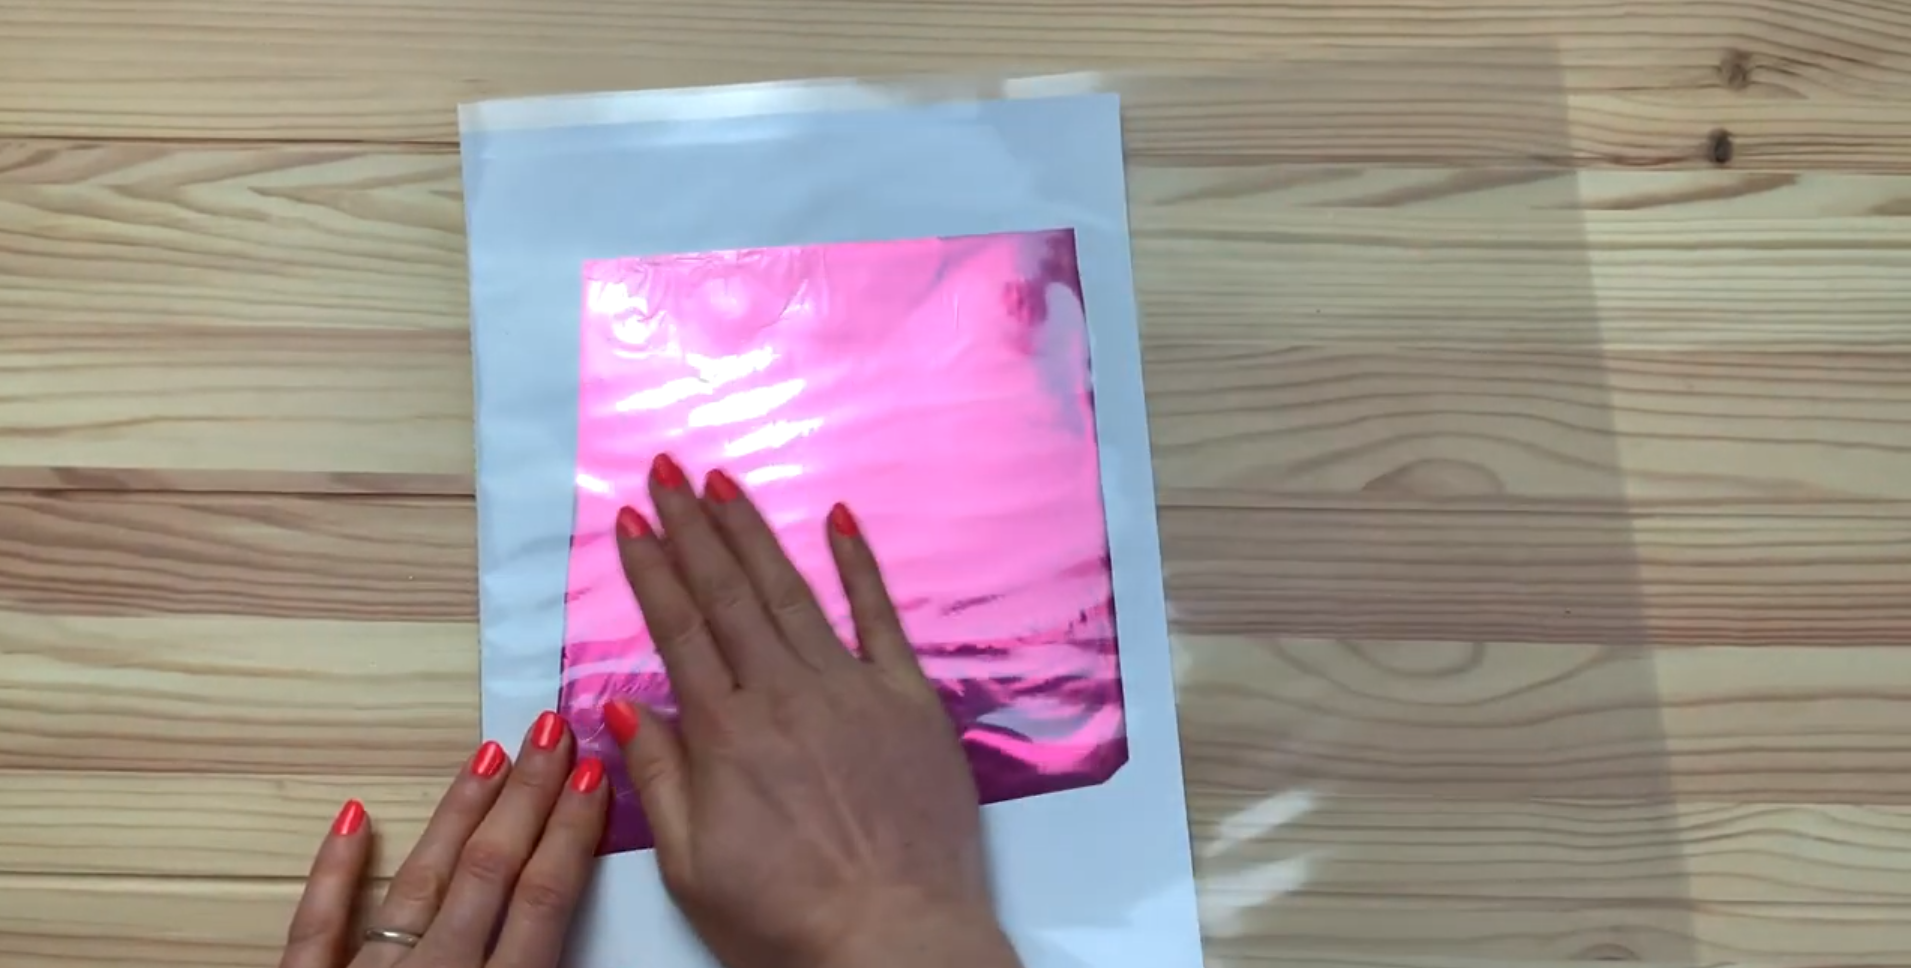
Using a transfer folder for better results
I place the printed card and foil inside a Minc transfer folder before feeding it through the machine.
Some people foil without one, and others use a thin sheet of paper or tape the foil lightly in place. Those methods can work, but using a transfer folder has given me the most consistent results.
When placing your design inside the folder:
Make sure the foil is lying flat
Smooth out any creases
Put the sealed edge through the machine first
It is a small step, but it helps keep everything aligned and protected as it passes through.
Step 7: Run It Through the Foil Machine
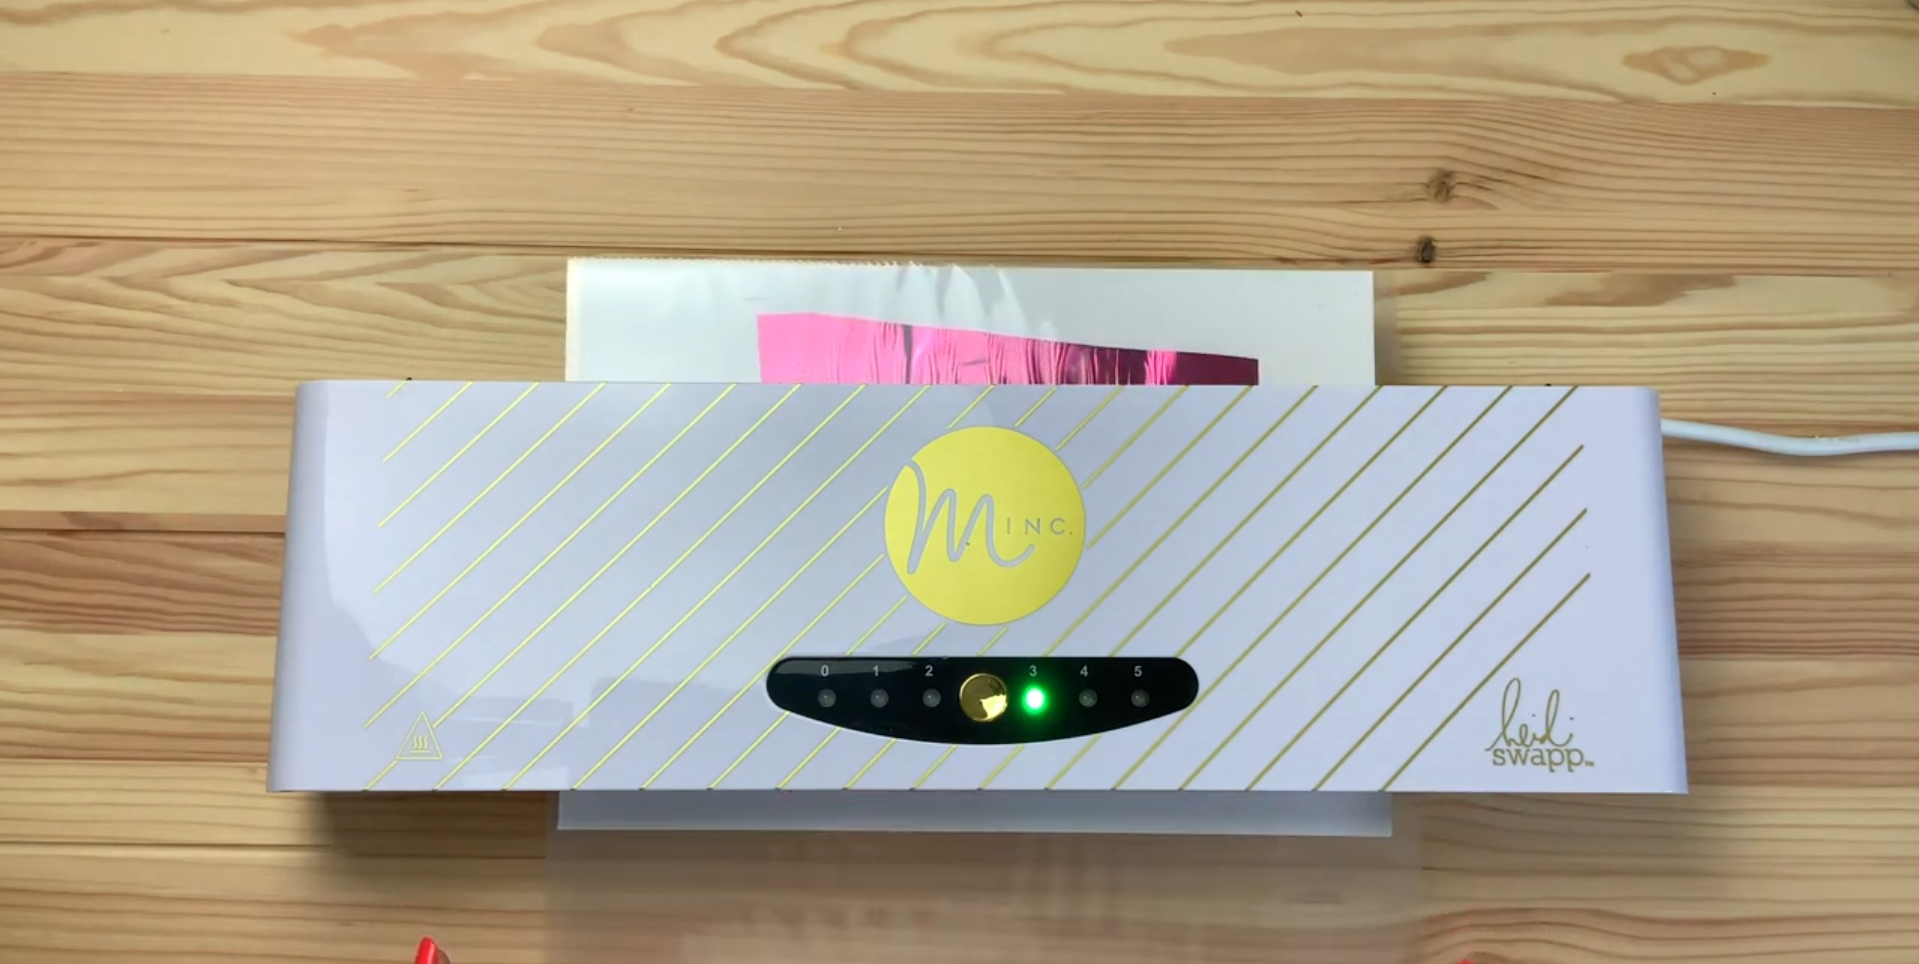
Running the design through the foil machine
I use a Minc foil machine, specifically the 12-inch version. I have tried laminators in the past, and they can work, but the Minc gives me a more reliable result. One reason for that is the way pressure is applied. Laminators often have fewer pressure points, while the Minc provides more even pressure as the piece moves through.
The Minc also has different heat settings, which is important because different papers and cardstocks behave differently.
For my coated card, I usually use setting 3, although sometimes I experiment with setting 4.
A higher setting is not always better. Too much heat can wrinkle thinner paper or damage the finish, so it is worth testing rather than automatically using the hottest option.
I always let the machine warm up fully before using it. Even when the light turns green, I usually give it another few minutes just to be sure it is evenly heated.
Step 7: The Reveal
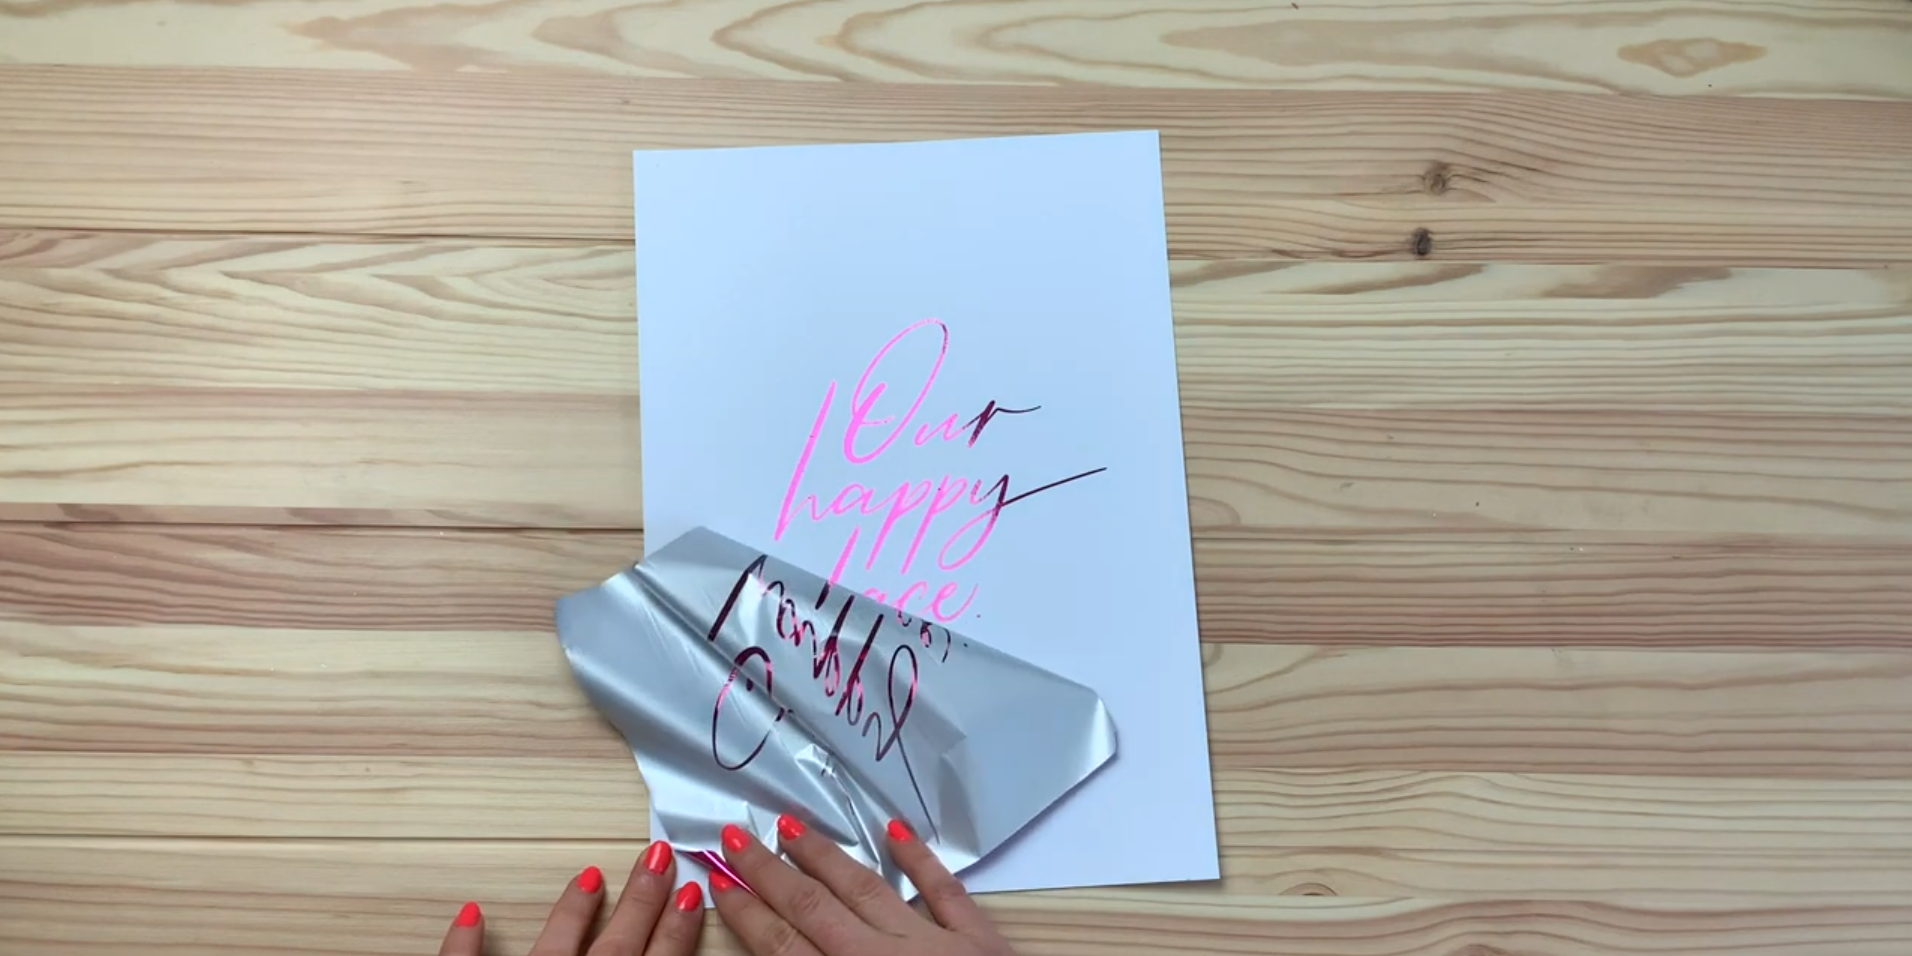
The most satisfying part – the foil reveal!
Once the sheet has passed through the machine, let it come all the way out on its own. Do not pull it.
Then open the transfer folder, remove the print, and peel away the foil.
This is always the most satisfying part.
When everything has worked well, you get that smooth, shiny, metallic finish sitting neatly on top of your design.
You do not need to wait a specific amount of time before peeling. You can peel it straight away or a little later. I have not found timing to be the critical factor here.
Why Your Foiling Might Not Be Working
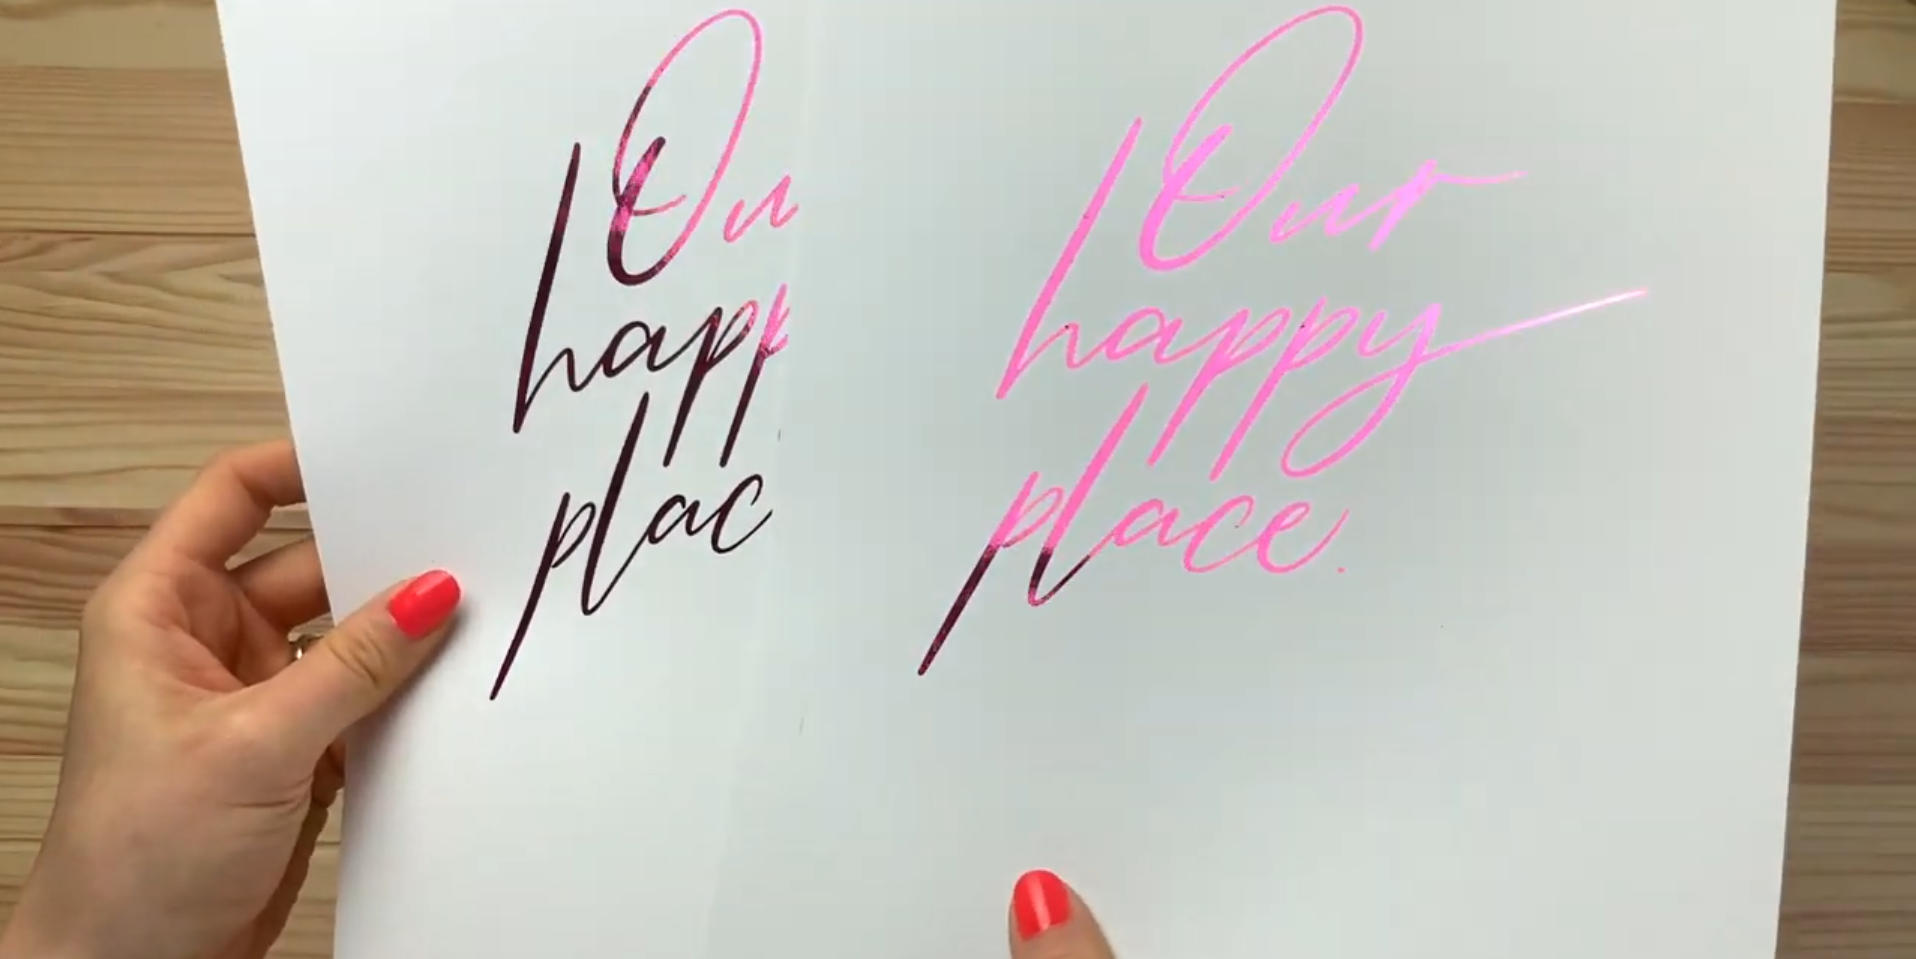
Side-by-side comparison in the light
Patchy foiling is probably the most common frustration, and there are quite a few things that can cause it.
These include:
Not enough toner on the page
Using the wrong paper
Dust on the foil or cardstock
The foil not lying flat
The wrong heat setting
A printer that is not depositing toner heavily enough
A design that is too detailed, too fine, or too solid in places
Even when everything goes fairly well, you may still notice a few tiny black specks. That is very normal with toner reactive foiling.
The goal is not always absolute perfection. It is about getting a finish that looks clean, intentional, and high quality overall.
Why Experimentation Matters
This is the biggest takeaway I can give you. Foiling is not just one technique. It is a combination of moving parts:
Your design
Your file setup
Your printer
Your toner settings
Your paper
Your foil
Your machine
Your heat setting
If one of those things is off, it can affect the final result.
That is why so much of foiling comes down to testing.
It took me a long time to get to a point where I felt really happy with my prints, and honestly, a lot of that came from trying different materials and learning from failed attempts.
Final Thoughts
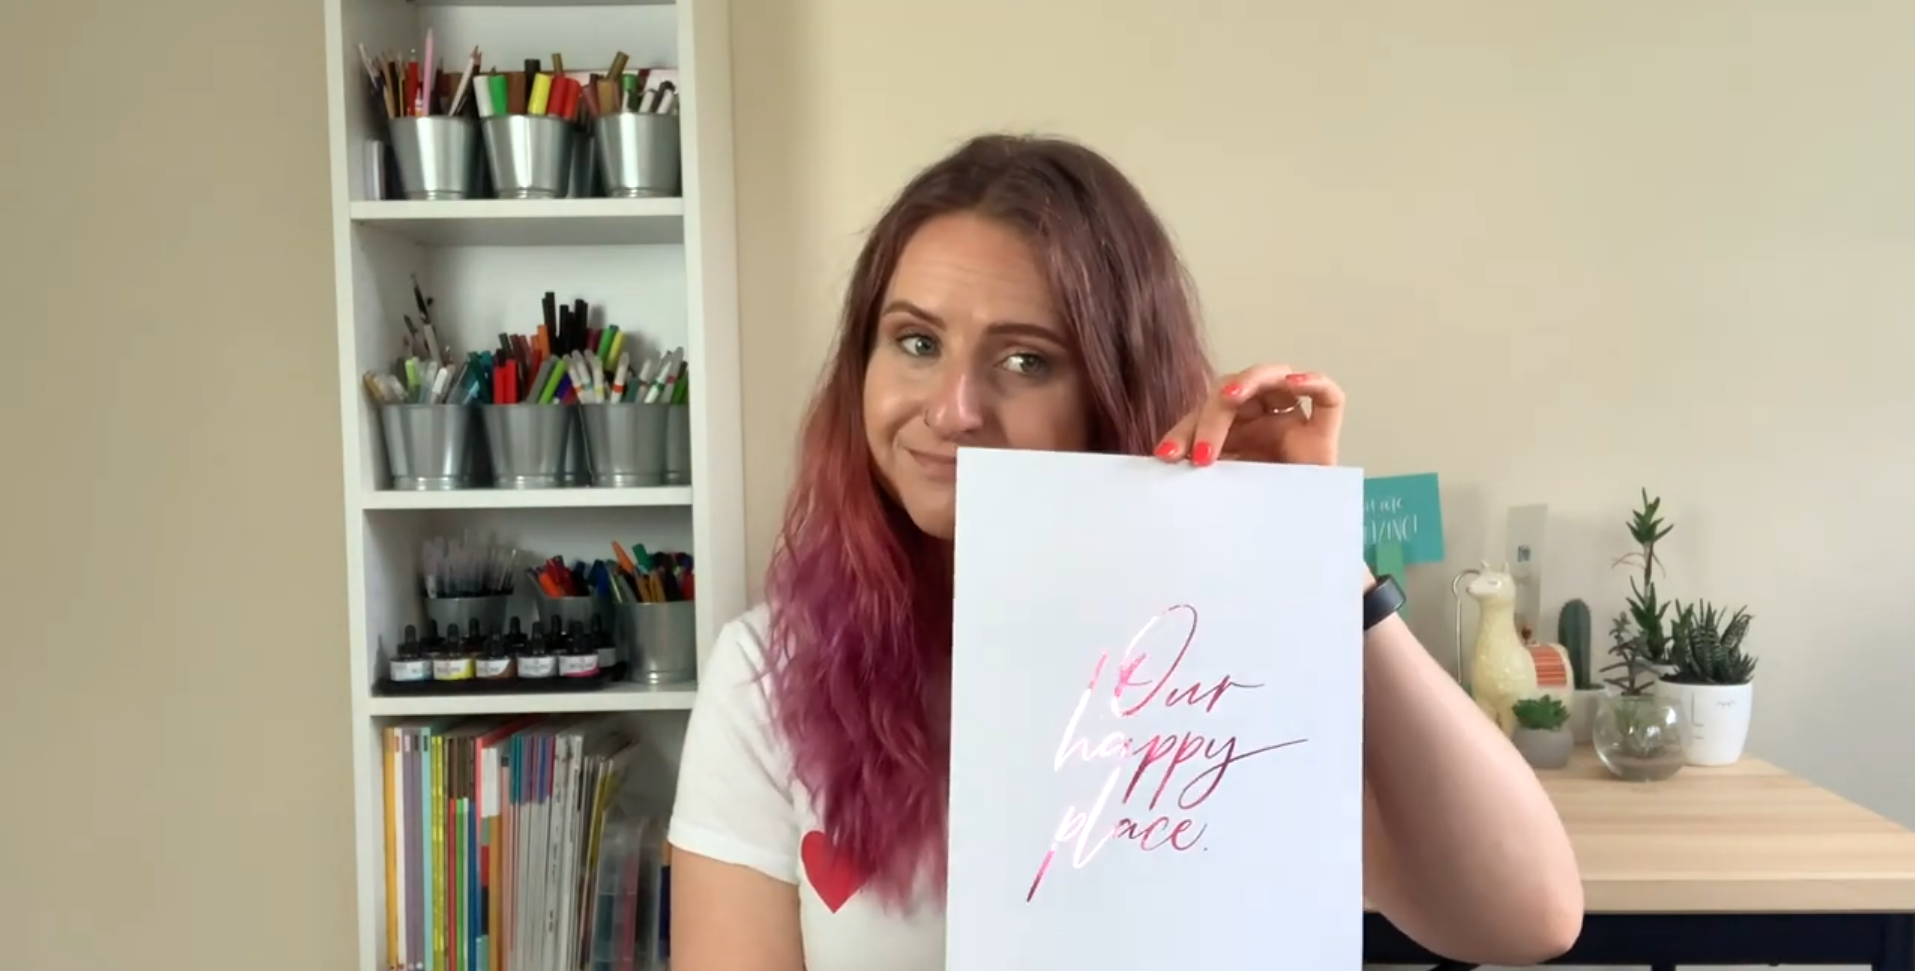
Example of a finished toner reactive foil print
Creating real foil prints at home is completely possible, but it does take patience.
It is not as simple as some tutorials make it look, and if your first few attempts are patchy, inconsistent, or disappointing, that does not mean you are doing everything wrong. It usually just means your setup needs a few tweaks.
For me, the biggest improvements came from:
using a mono laser printer
printing with as much toner as possible
choosing a really smooth coated cardstock
keeping foil clean and dust-free
testing heat settings carefully
Once those pieces started coming together, the results improved massively.
If you are just starting out, keep experimenting. Change one thing at a time, make notes on what works, and do not be discouraged if it takes a few tries. That is all part of the process.
Materials Used
Below are the tools and materials used in this tutorial:
Connect With Me
For more lettering inspiration, tutorials, and behind-the-scenes content, you can find me here:
Website:https://www.blinklettering.co.uk
Instagram:https://instagram.com/blinklettering
Some links in this post may be affiliate links. This means I may earn a small commission if you choose to purchase, at no extra cost to you. This helps support Blink Lettering and the free tutorials I share.
Favourite Supplies:
Amazon Affiliate Shop: https://www.amazon.co.uk/shop/blinklettering