
Easy DIY Mother’s Day Card Using Brush Pens and Foil Lettering
With Mother’s Day just around the corner, I wanted to share a simple but beautiful way to create a handmade card using brush pens and foil lettering, without needing any fancy foiling machines or complicated equipment.
In this tutorial, I’ll show you how to create a floral bouquet using easy brush pen techniques, then add a gorgeous foiled message using a glue pen. It’s perfect for beginners, and the results look so special.
If you’d prefer to follow along visually, you can watch the full step-by-step tutorial on YouTube here:
Let’s get started!
What You’ll Need
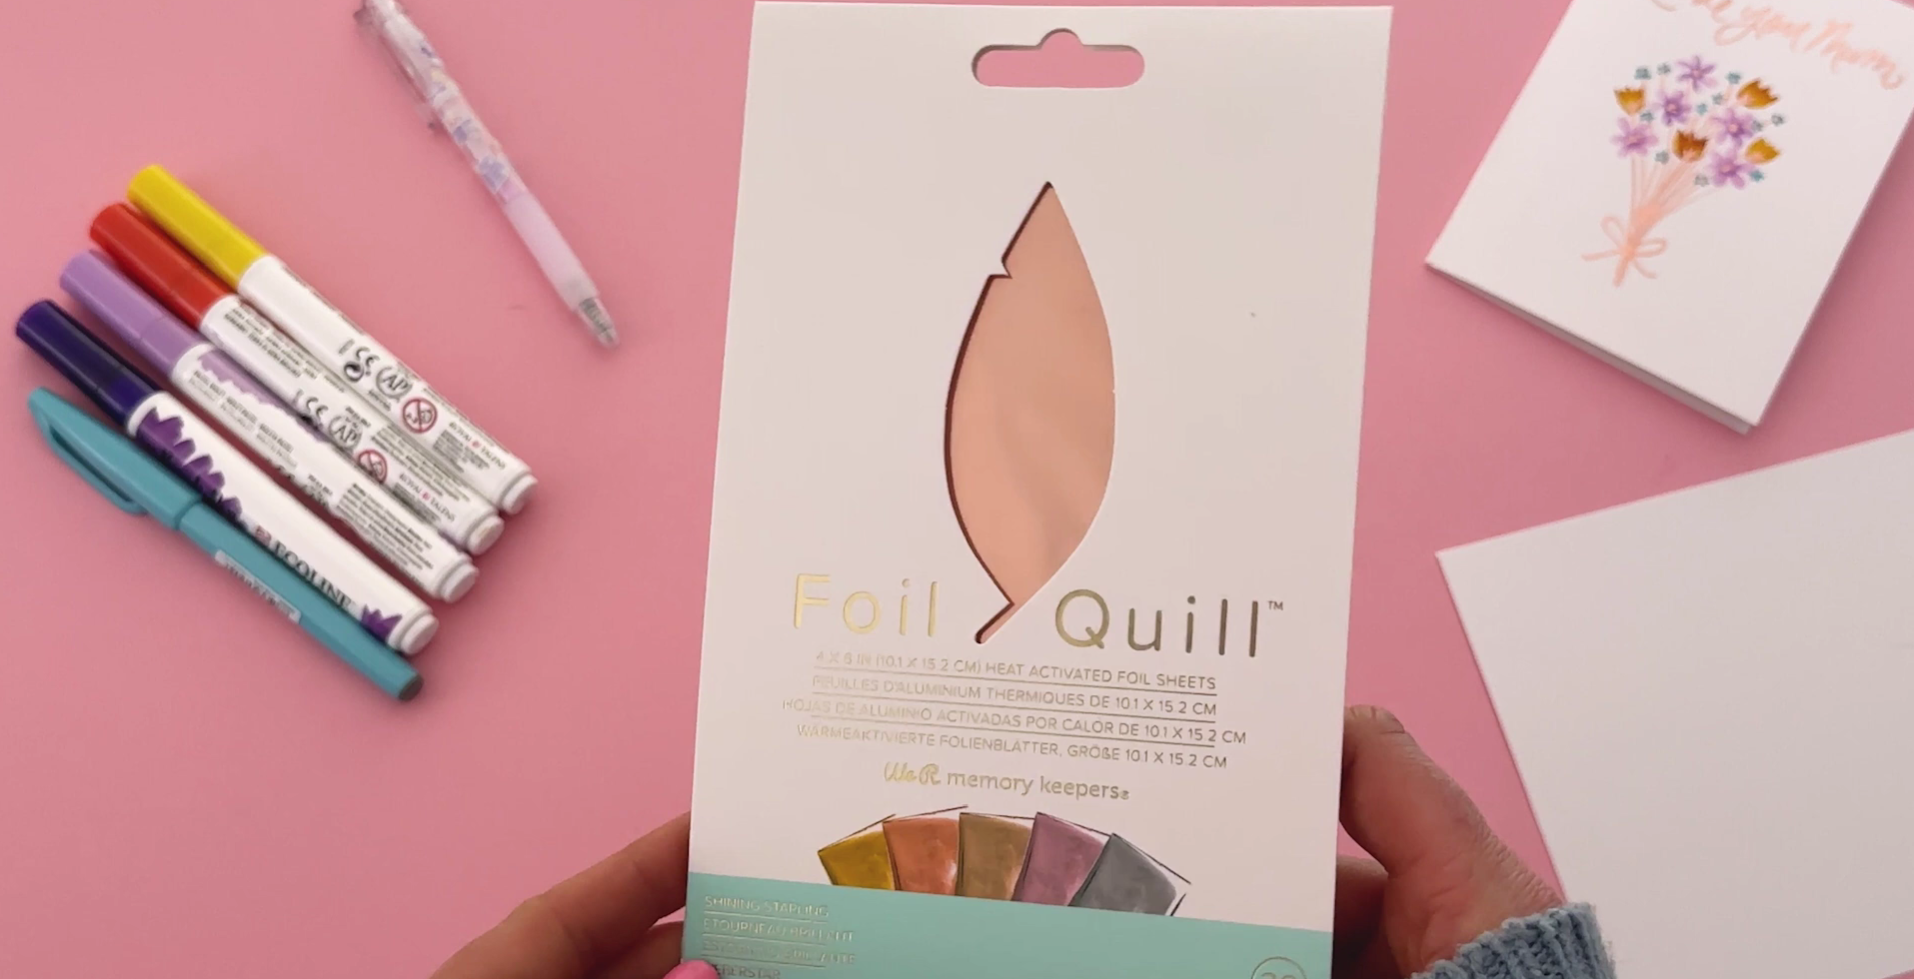
Everything you need to create this floral foiled card.
You don’t need a huge collection of supplies for this project. A few well-chosen tools will do the job beautifully.
Brush pens for the flowers
I recommend using a couple of different brush pen sizes so you can create flowers at different scales.
For this card, I used:
Royal Talens Ecoline Brush Pens for the larger flowers
Purple tones: 579 and 548
Warm tones: 233 and 411
Pentel Brush Sign Pen (pale blue) for the smaller flowers
If you only have one brush pen, that’s absolutely fine. Your flowers can all be one colour or a similar size. This project is very forgiving.
For the foiling
A glue pen (this is essential for the foil technique)
Foil – I’m using We R Memory Keepers Foil Quill foil, but other hot stamping foils work well too
Card
Smooth card stock is really important I’m using Winsor & Newton Bristol Board, trimmed to A5 and folded to A6
Step 1: Fold Your Card
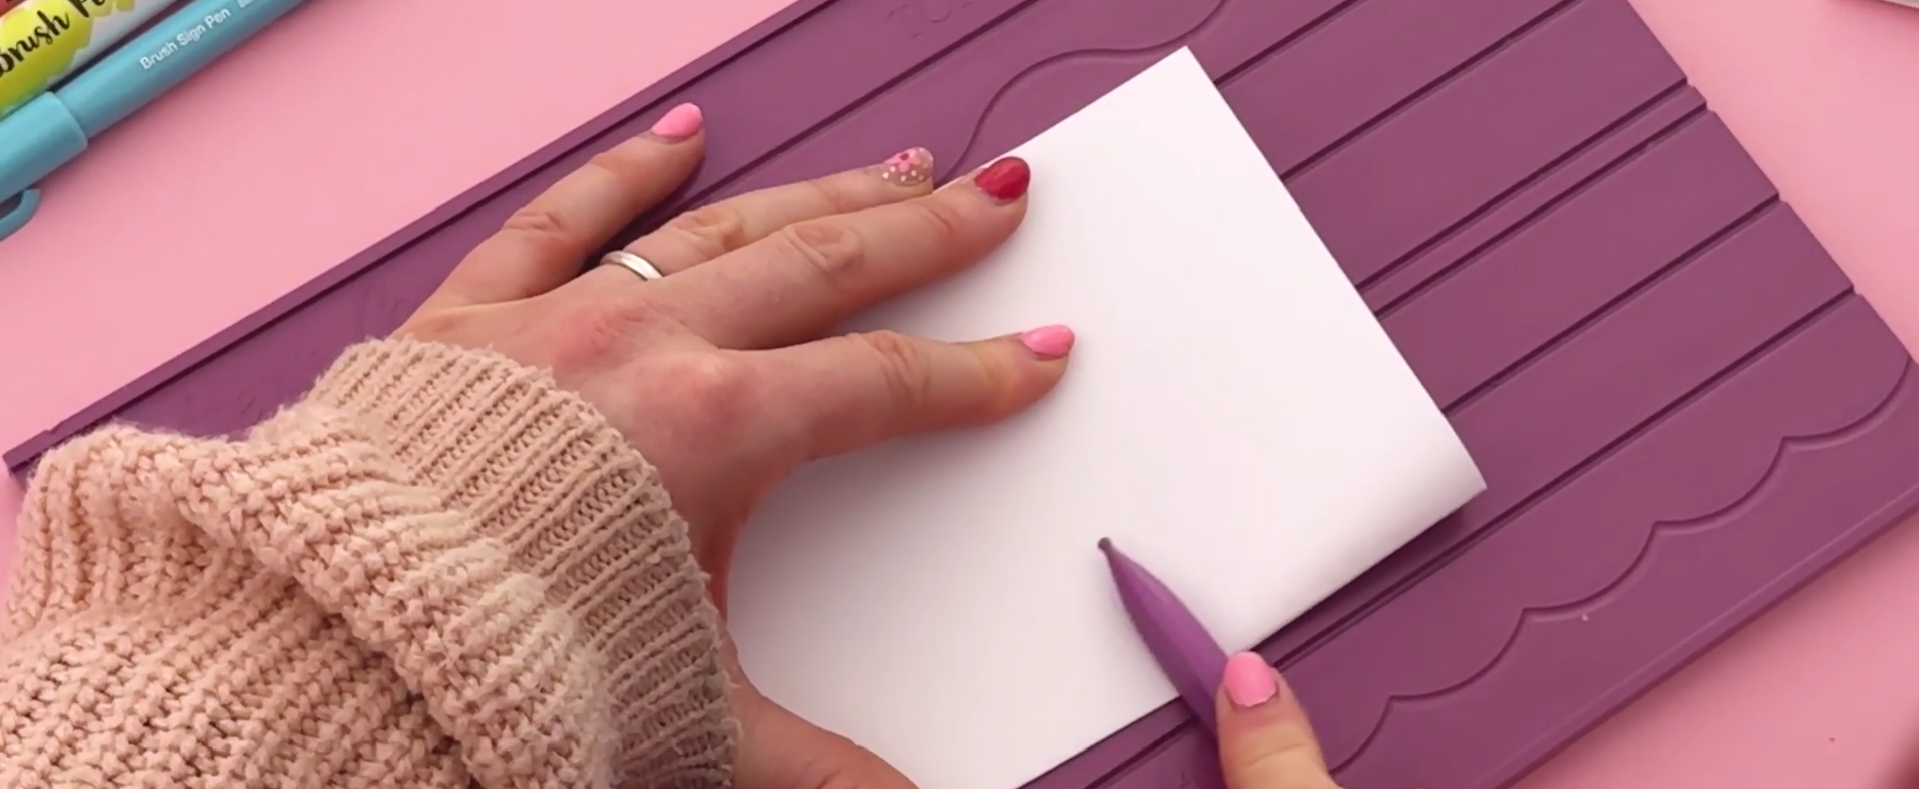
Scoring and folding A5 card to create an A6 greeting card.
Start by folding your A5 card in half to create an A6 greeting card.
If you have a scoring board, this makes it much easier, but you can also score lightly with a ruler and bone folder.
Once folded, burnish the crease so your card sits flat.
Step 2: Create the Large Two-Tone Flowers
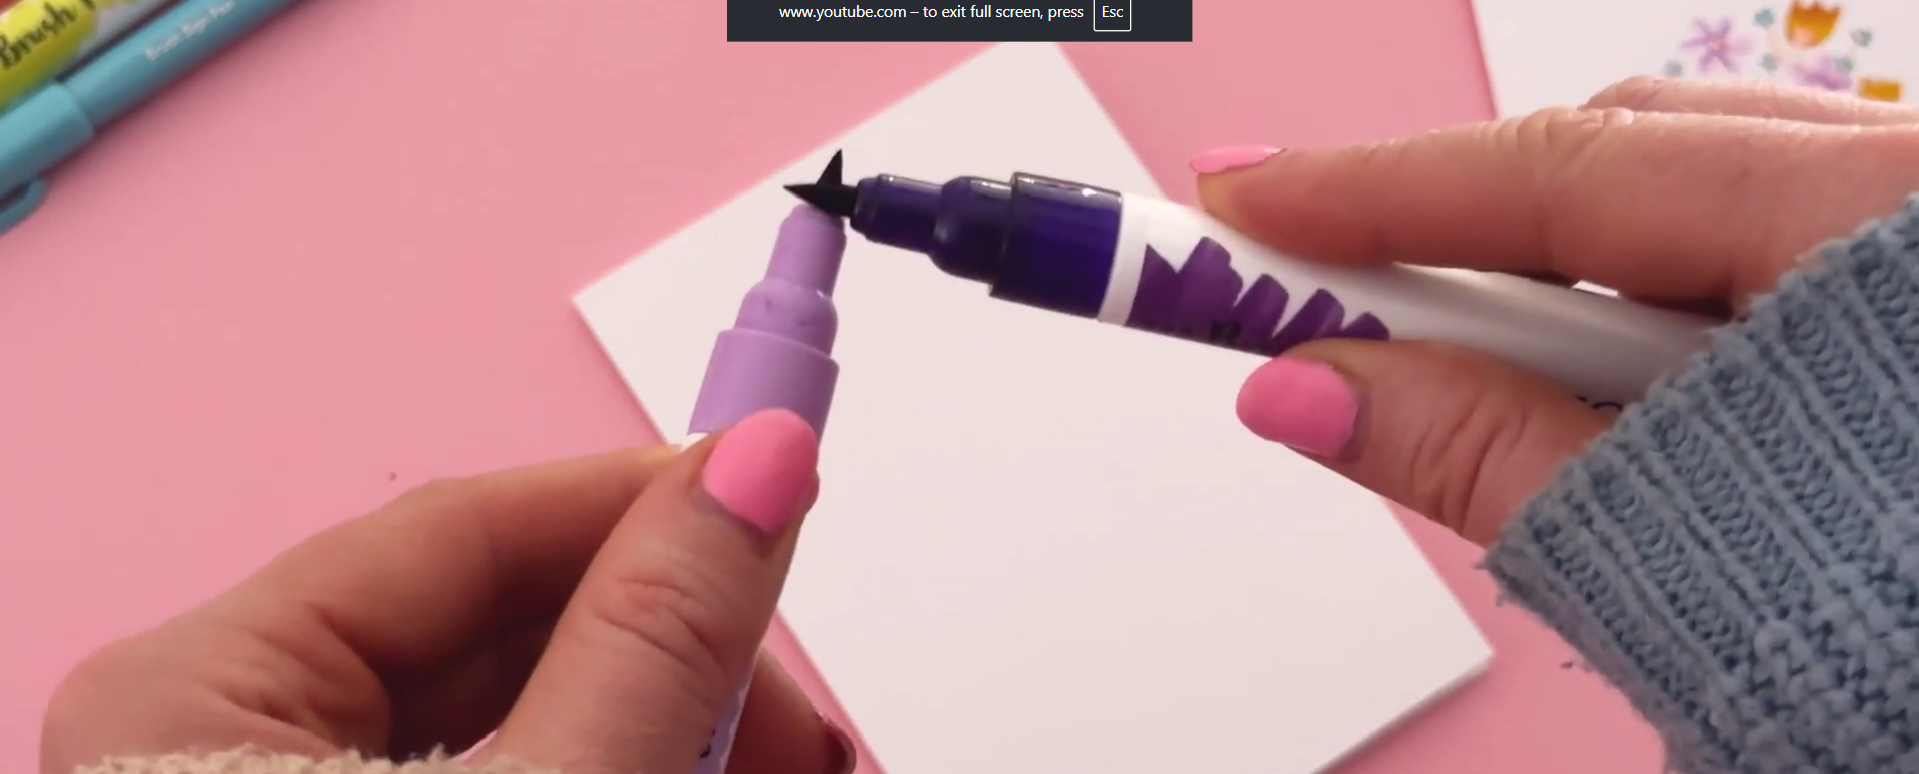
Colouring the nib to create a soft two-tone effect.
We’ll start with the larger flowers, as these take up the most space.
To create the two-tone effect:
Take your lighter brush pen.
Gently colour part of the nib using the darker brush pen.
Don’t cover the entire nib - leaving some untouched helps create a natural gradient.
Drawing the petals
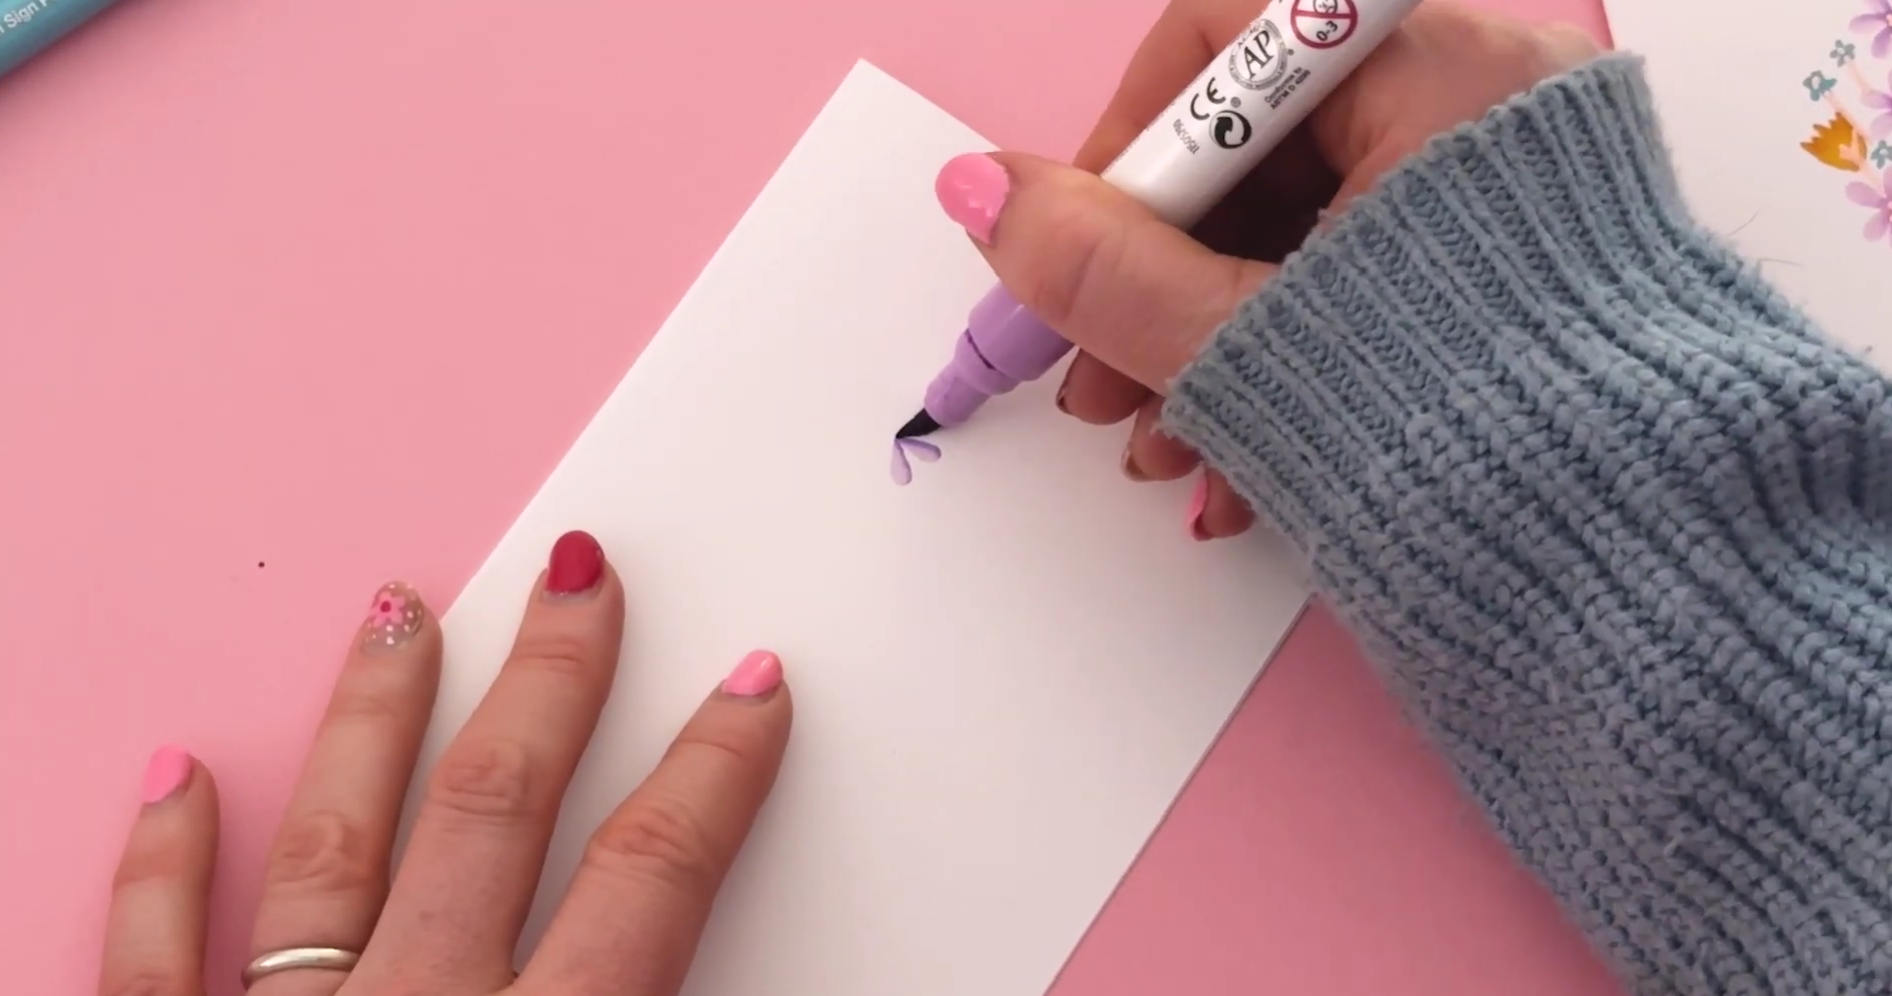
Press and lift to form each petal.
Place the tip of the brush pen in the centre of where the flower will be.
Press down slightly to create each petal.
It’s easier to rotate the paper rather than twist your wrist.
Vary the pressure to create lighter and darker areas within each petal.
You can add five, six, or even more petals. There’s no right or wrong here – it’s all about experimenting and seeing what you like.
Larger, flexible brush pens work best for this step.
Step 3: Add the Warm-Toned Flowers

Building the base of the bouquet with larger blooms.
Next, repeat the same nib-colouring technique using your warm tones.
This time:
Colour the nib of the yellow pen with the orange.
Press down to create petals, but slightly change the angle to vary the flower shape.
Using the same technique with small adjustments helps create variety, even though the process stays simple.
Add a few of these flowers to balance out the bouquet.
Step 4: Fill Gaps with Small Flowers
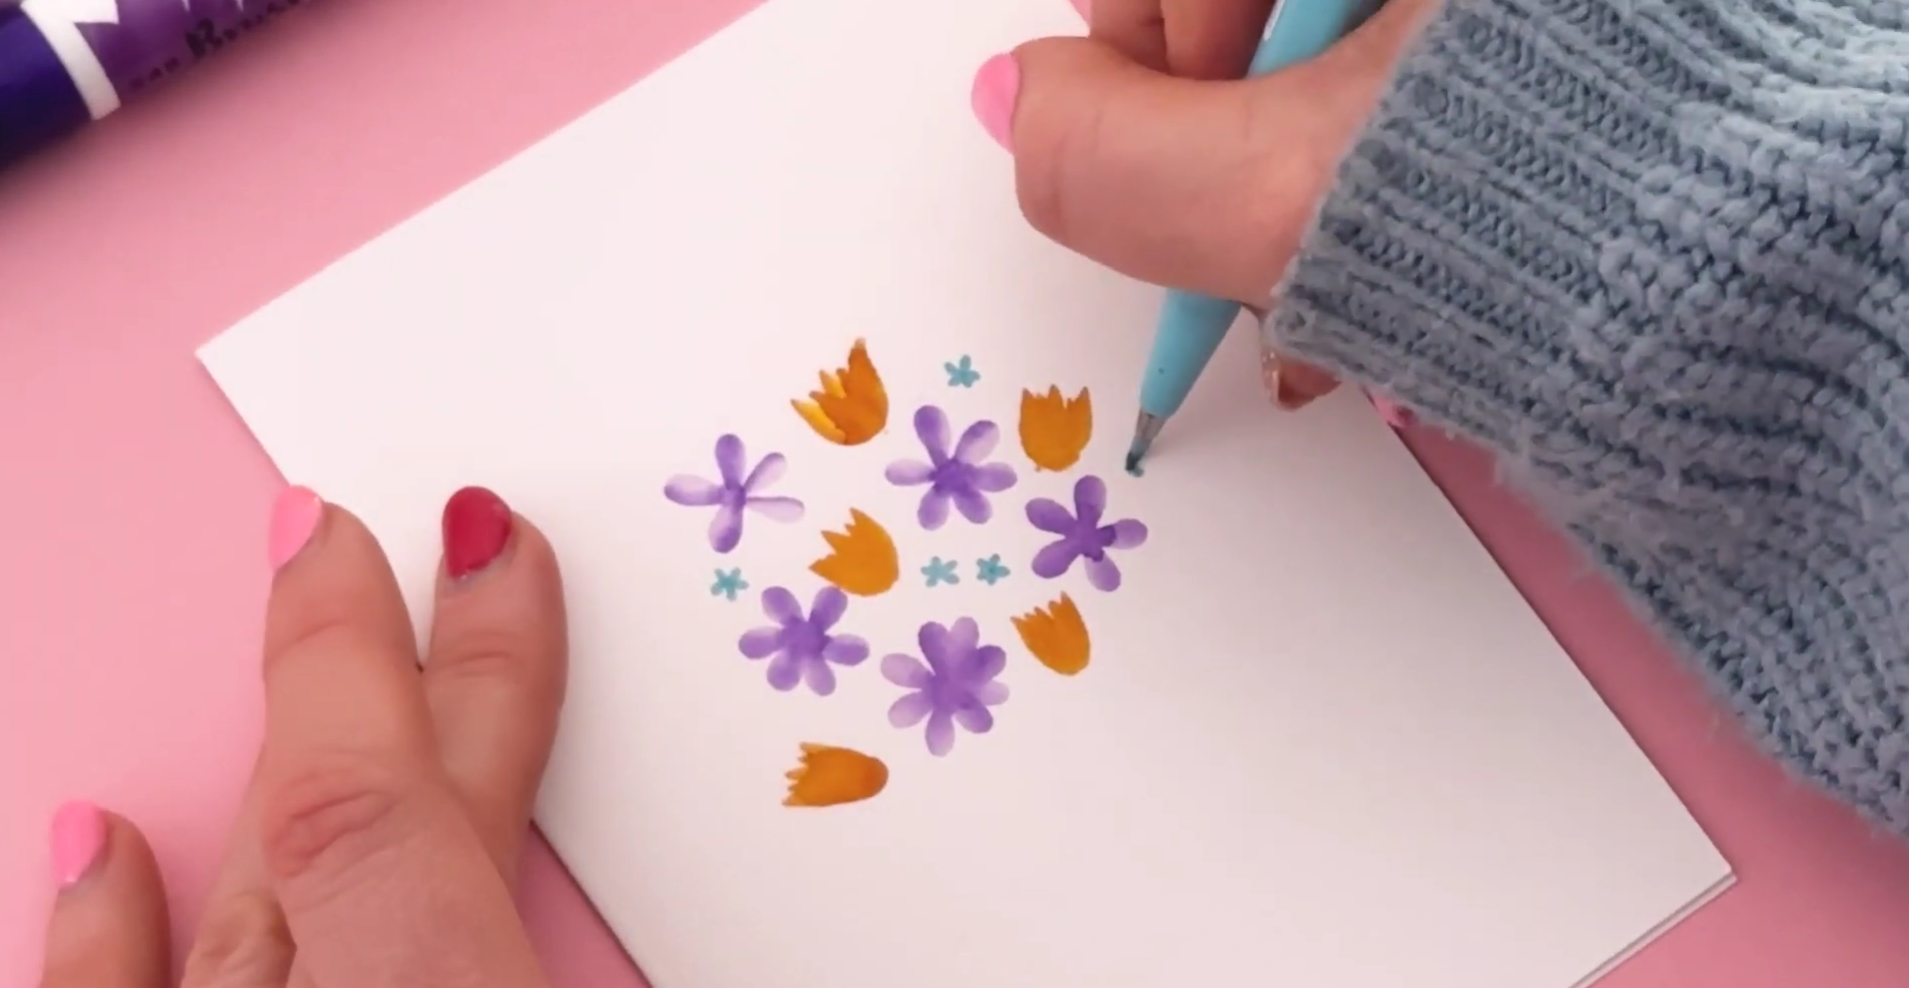
Using smaller flowers to fill gaps and add detail.
Now it’s time to add the smaller flowers.
Using your Pentel Brush Sign Pen:
Create small, delicate flowers using gentle pressure.
These are perfect for filling awkward gaps between larger flowers.
Because the nib is smaller, a two-tone effect won’t be as noticeable, so single colours work best here.
If your bouquet feels a bit heavy in one colour, this is a great moment to introduce a softer shade, like pale pink or light blue.
Step 5: Make Sure the Ink Is Fully Dry
Before moving on, make sure all your brush pen ink is completely dry.
This is important, as we’ll be adding glue next, and wet ink can cause smudging.
Step 6: Add the Lettering with a Glue Pen
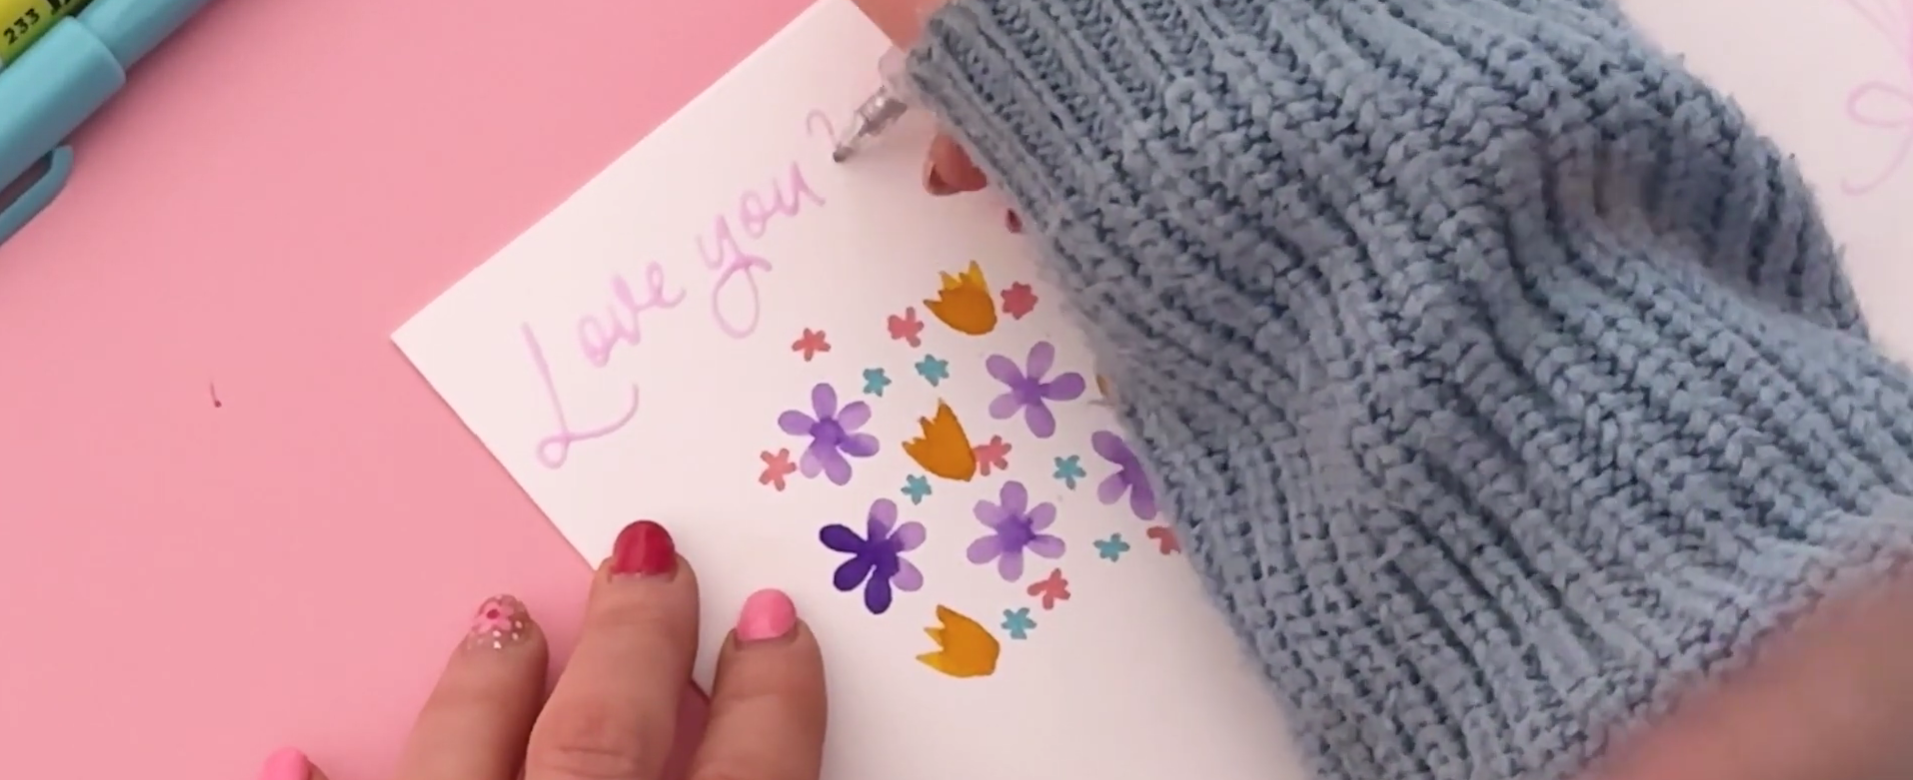
Writing monoline lettering with a glue pen.
This is where the foiling magic starts.
Using your glue pen:
Write your message in a monoline style.
That means no thick downstrokes – just even, consistent lines.
Go slowly and deliberately to ensure enough glue is laid down.
You can use:
Your own handwriting
Calligraphy-style lettering
Or even a child’s handwriting for something extra sentimental
The key is slow, steady strokes.
Step 7: Add Glue Details to the Flowers
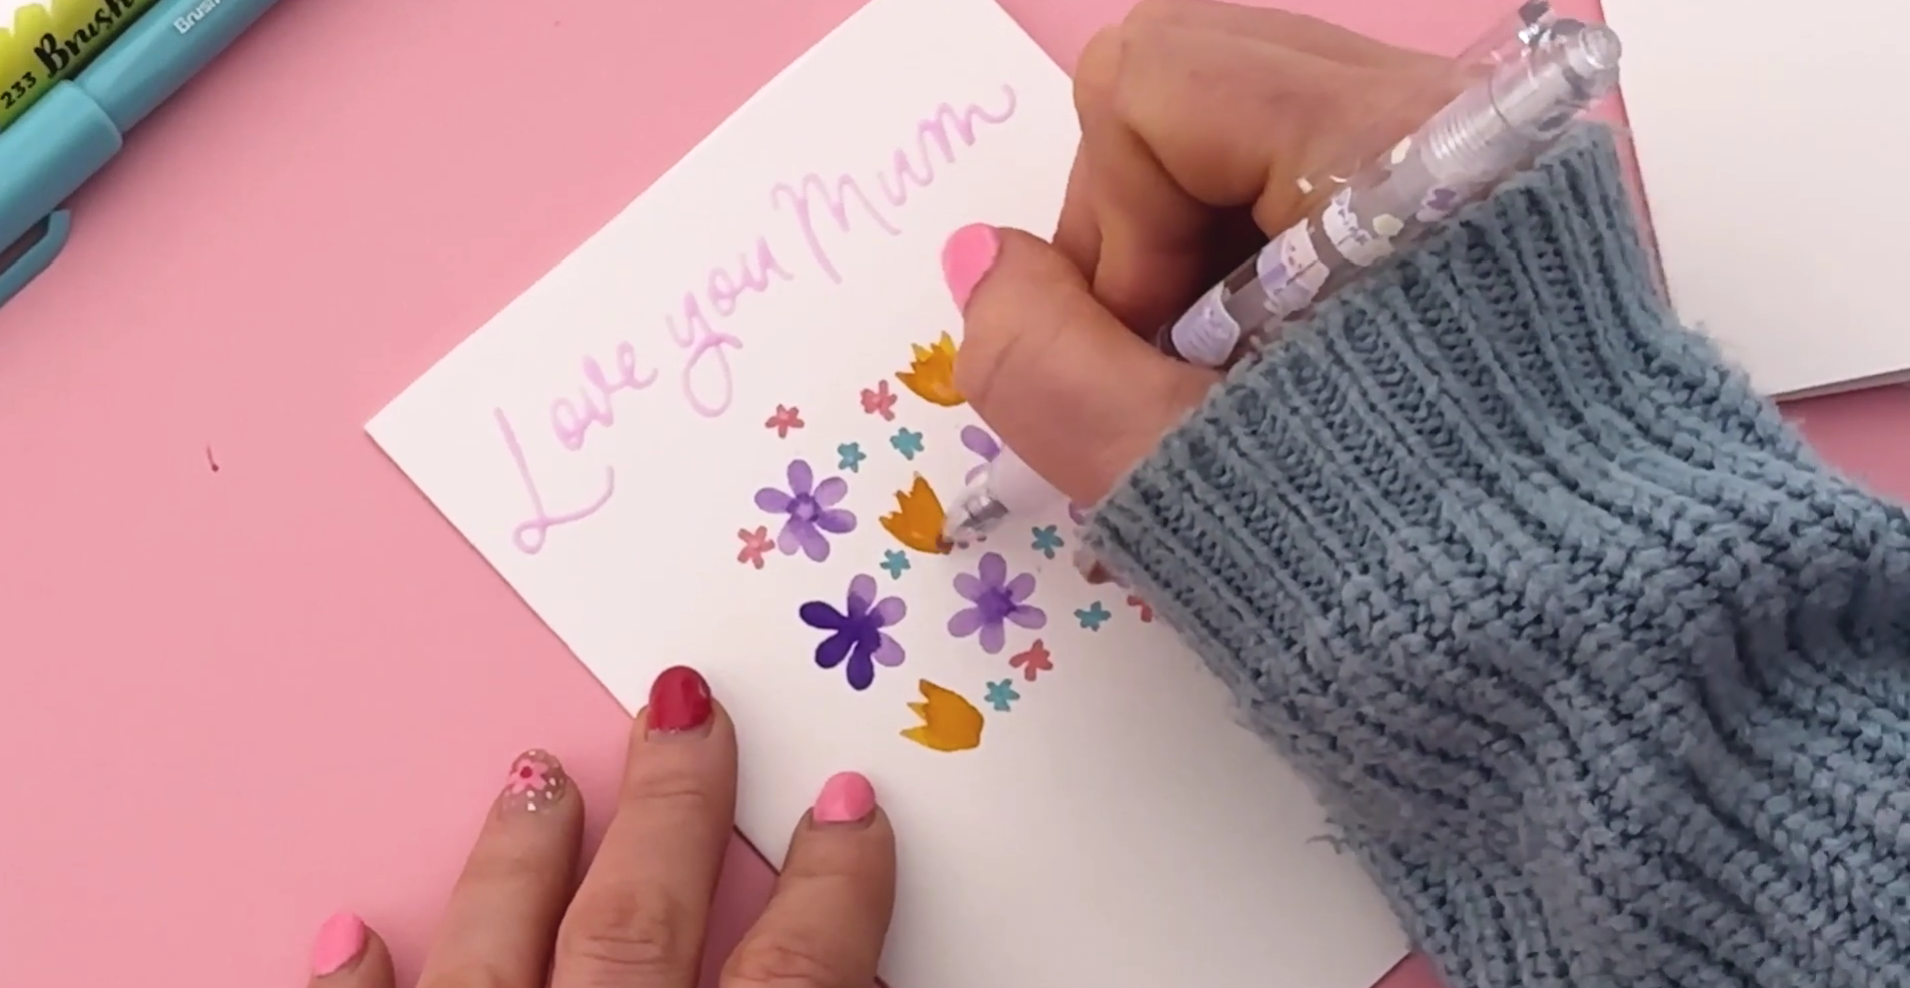
Adding simple glue details to the flower centres.
Now add small glued details to bring the bouquet together.
Small flowers: add a single dot in the centre
Large purple flowers: add a few dots
Warm-toned flowers: add three small strokes from the base
Next, draw the stems:
Bring all stems down towards a central point
Skip over flowers rather than drawing straight through them
Go slowly so the glue flows evenly
Finally, add a simple bow using two loops and trailing ribbon lines.
Step 8: Let the Glue Dry Properly
This step is crucial.
You want the glue to be:
Dry to the touch
But still slightly tacky
If the glue is wet, the foil will smear and won’t stick properly.
Leave the card for at least 1–2 hours. If you have time, leaving it longer is even better.
Step 9: Apply the Foil
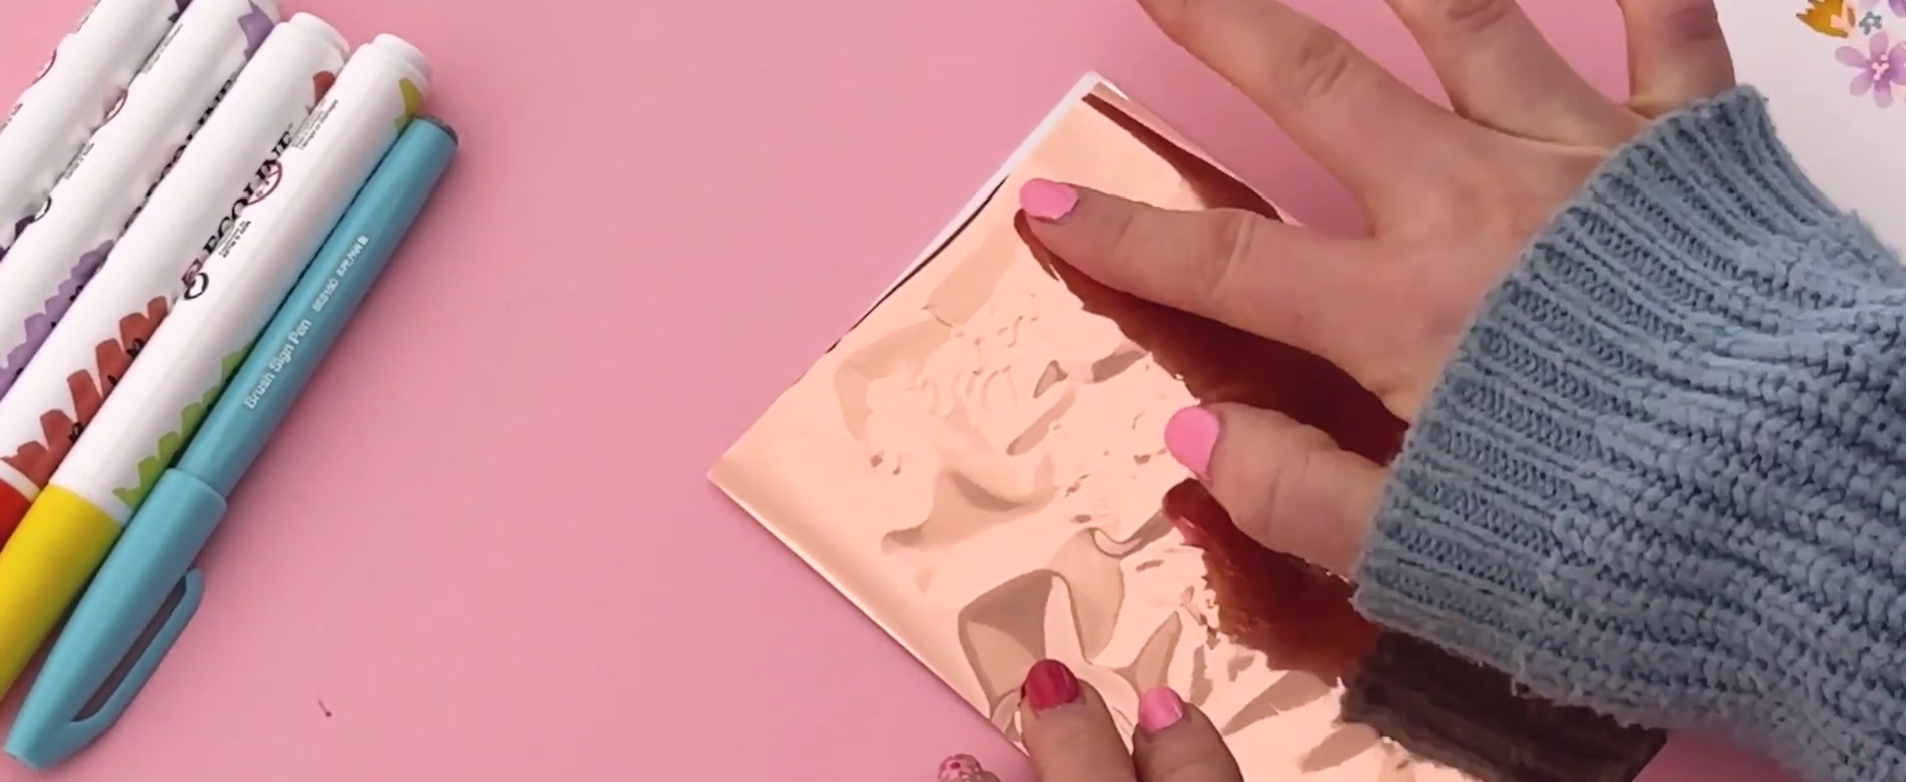
Placing foil over the dried glue design.
Once the glue is ready:
Place a sheet of foil over the glued areas (shiny side up).
Gently press down over the lettering and details.
Apply even pressure with your fingers.
Make sure all glued areas are covered.
Step 10: The Foil Reveal
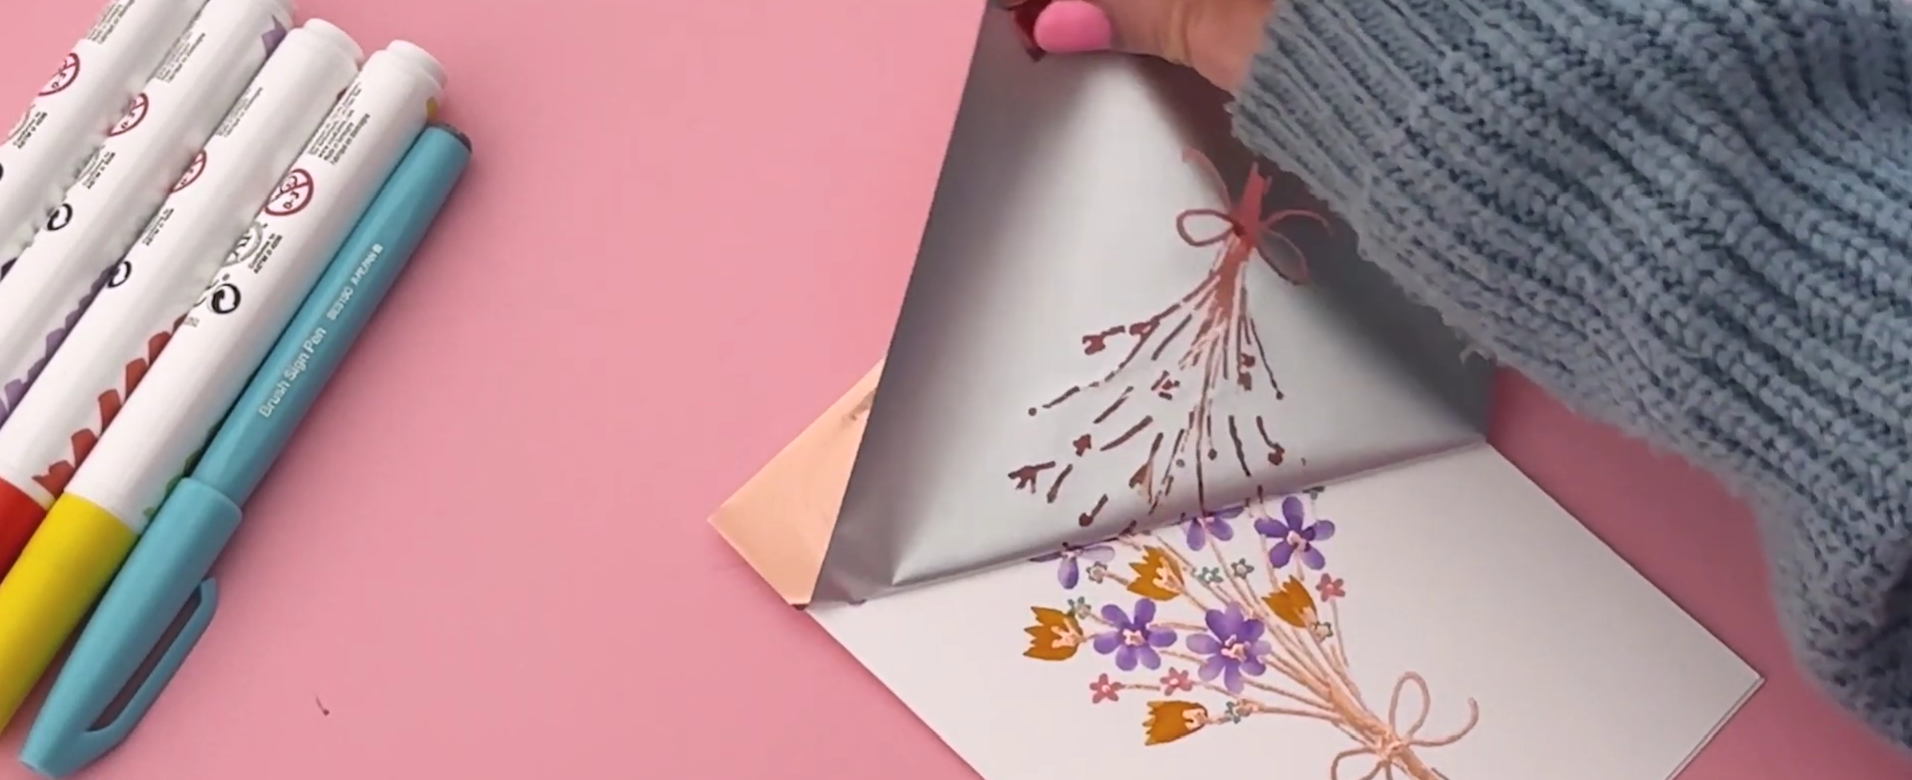
Peeling back the foil to reveal the lettering.
Slowly peel back the foil to reveal your design.
If some areas didn’t stick:
Lay the foil back down
Press again
Peel from a slightly different angle
You can experiment with different foil colours to completely change the look of the card.
Finished Handmade Mother’s Day Card
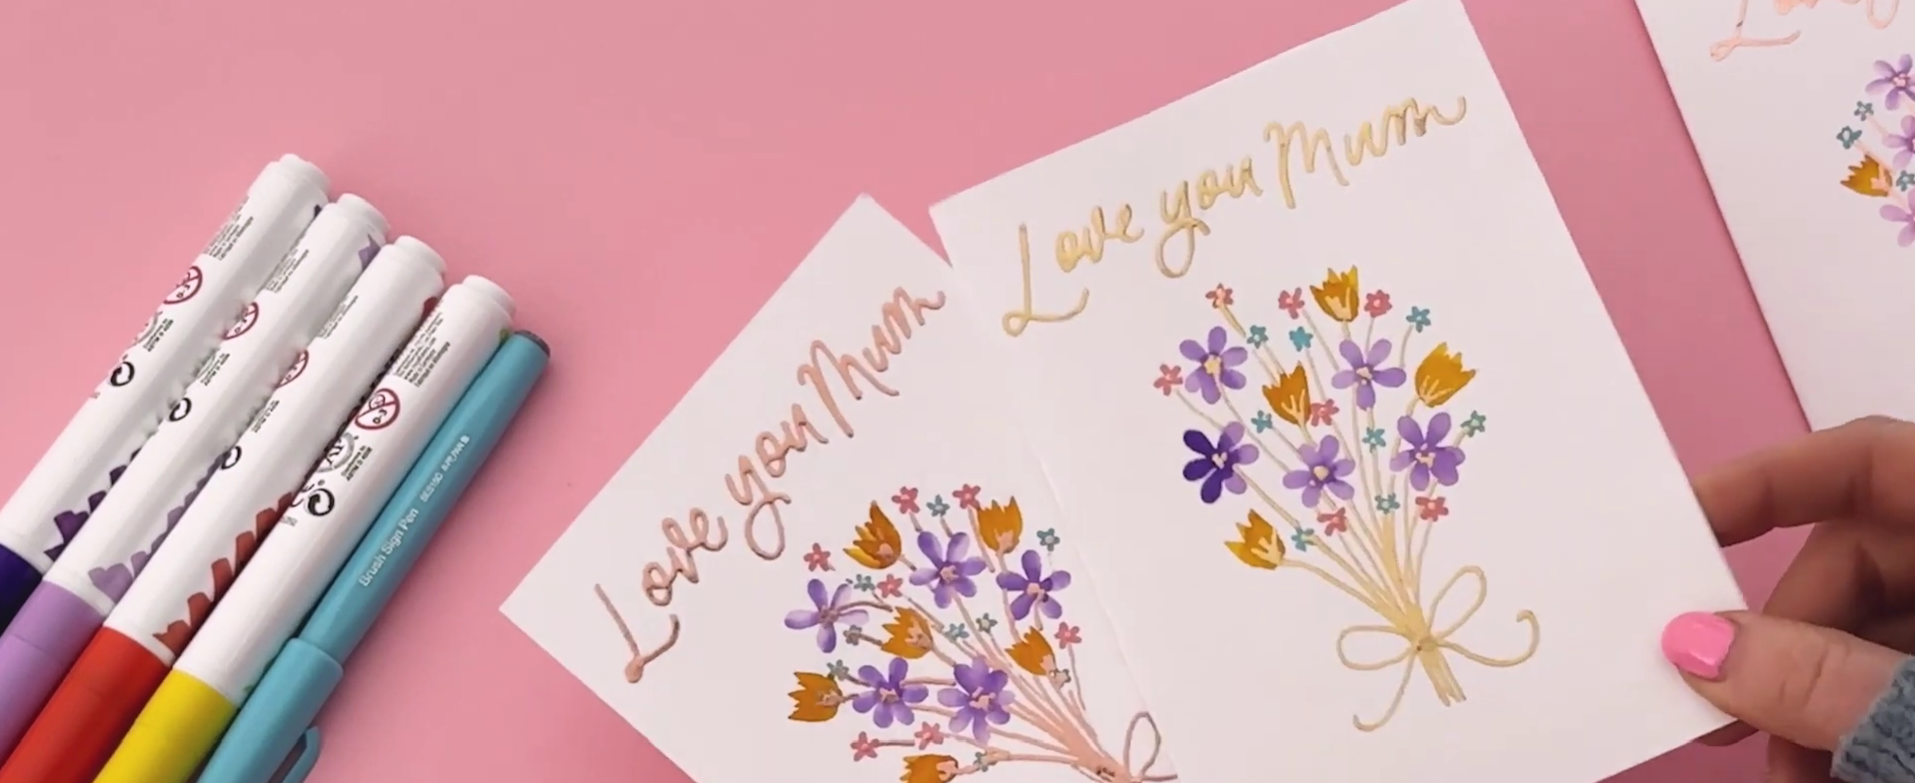
Two finished cards using different foil colours.
By changing the flower colours, foil colour, or layout, you can create endless variations of this card. This technique also works beautifully for:
Birthdays
Thank you cards
Home décor prints
If you make one, I’d absolutely love to see it. Feel free to share your creations with me on Instagram @blinklettering
Thank you so much for crafting along with me.
Materials Used
Below are the tools and materials used in this tutorial:
Royal Talens Ecoline Brush Pen
Connect With Me
For more lettering inspiration, tutorials, and behind-the-scenes content, you can find me here:
Website: https://www.blinklettering.co.uk
Instagram: https://instagram.com/blinklettering
Some links in this post may be affiliate links. This means I may earn a small commission if you choose to purchase, at no extra cost to you. This helps support Blink Lettering and the free tutorials I share.
Favourite Supplies:
Amazon Affiliate Shop: https://www.amazon.co.uk/shop/blinklettering