
How to Create a Personalised Floral Pen Pot Using Porcelain Brush Pens
Looking for a fun and creative DIY craft project?
In this tutorial, I’ll show you how to create a beautiful floral personalised pen pot using Edding Porcelain Brush Pens. Whether you’re into calligraphy, want to personalise your desk decor, or just love experimenting with new art supplies, this is such a lovely project to try.
If you’d prefer to follow along visually, you can watch the full step-by-step tutorial here:
What You’ll Need
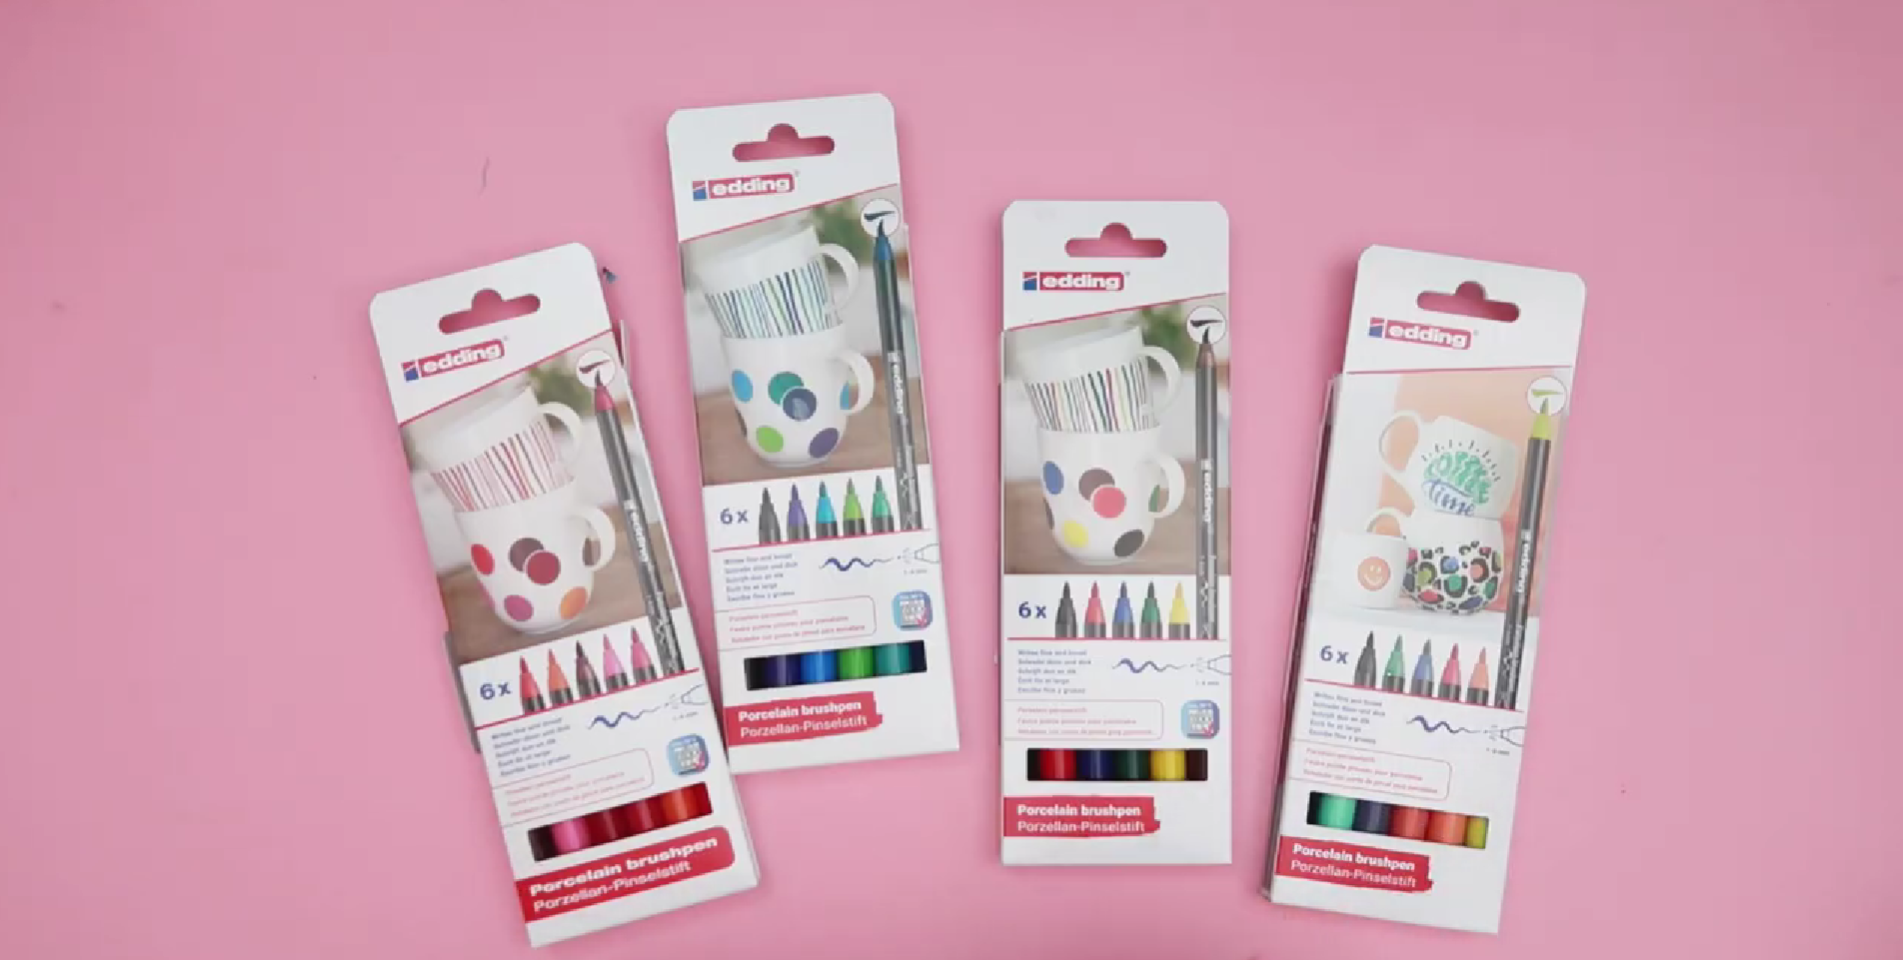
Edding porcelain brush pens
Here’s everything you’ll need for this project:
Porcelain or ceramic pen pot
Cloth and glass cleaner (for prep)
Oven (for curing your design)
A Quick Look at the Pens
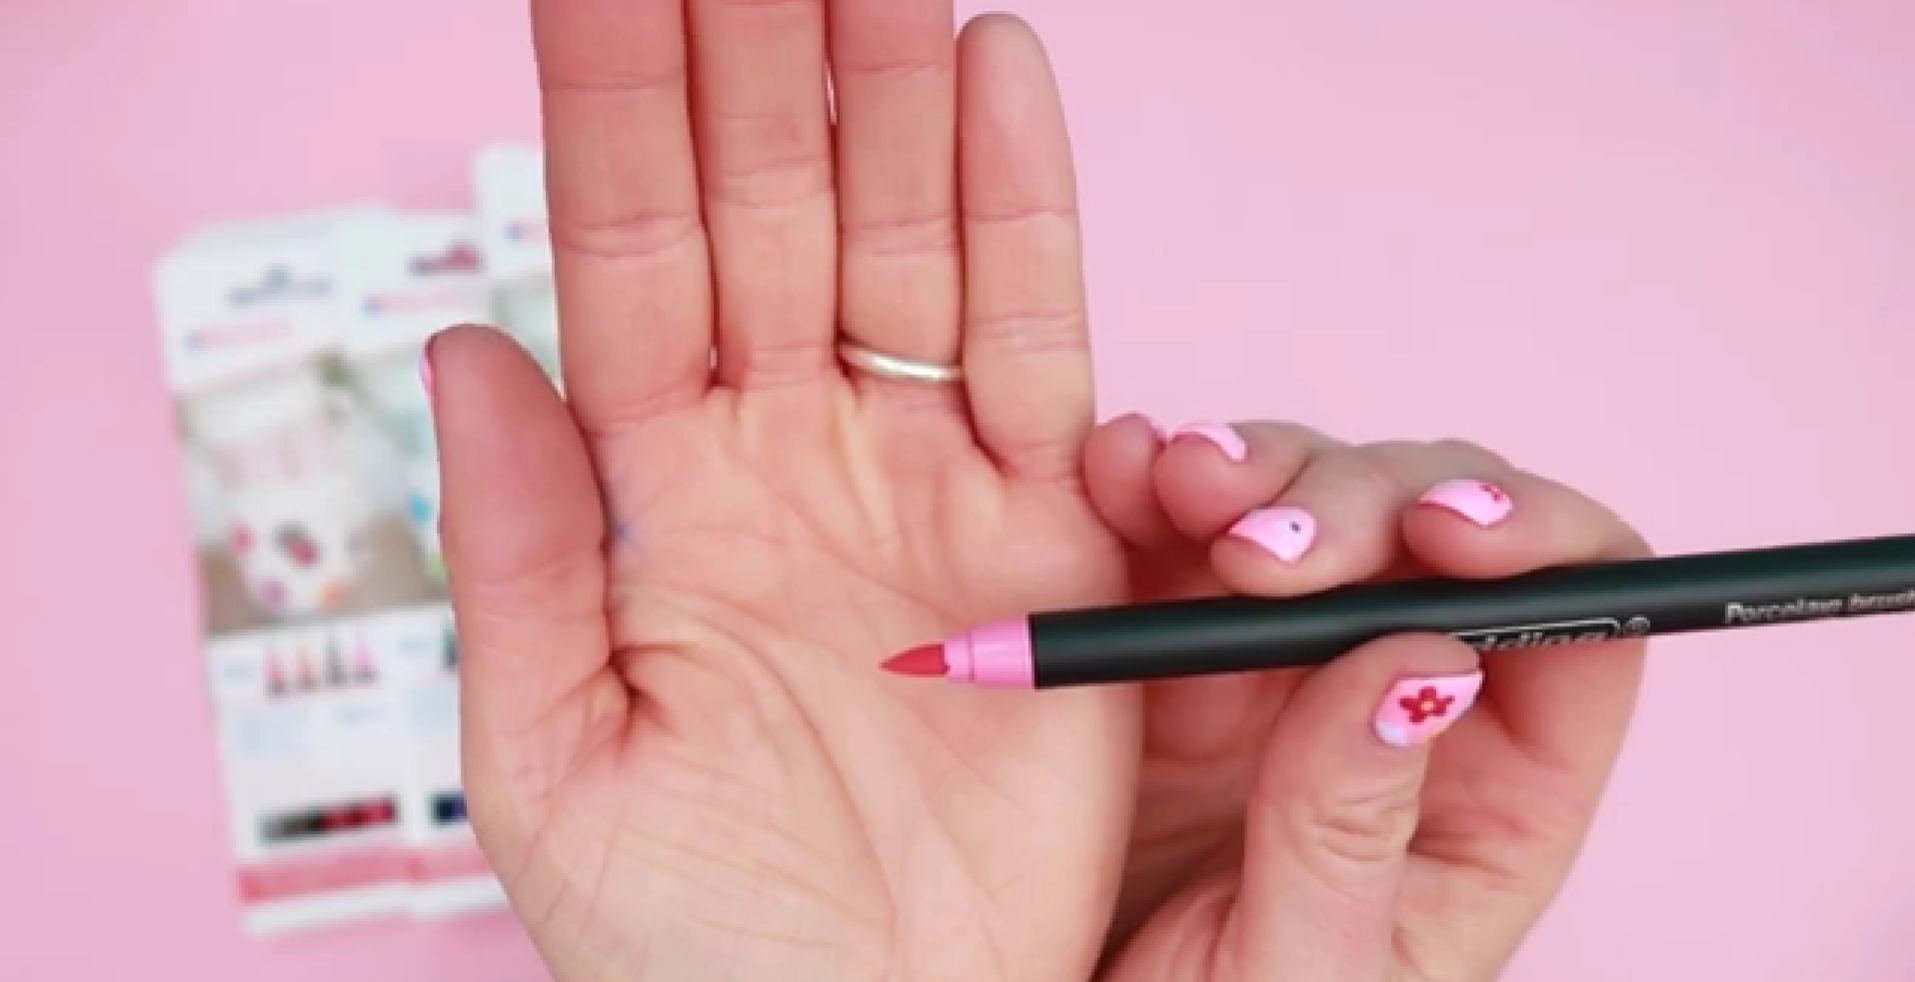
Close-up of porcelain brush pen tip
Before we dive into the tutorial, I wanted to have a quick chat about the pens.
I was sent four different packs, each with six colours. There are warm tones, cool tones, primary colours, and a more muted set. A few colours do overlap between packs, like black, red, and brown.
The packaging is cardboard, which is great because it can be recycled. The pens themselves have the instructions printed on them, which is really handy because I will definitely forget those otherwise.
The nib is quite chunky and not super flexible. That might sound like a downside, but actually it’s really helpful when working on smooth surfaces like ceramic or glass. If the nib was too flexible, it would likely slip and slide around more. This gives you much more control.
Testing the Pens: Swatches & Blending
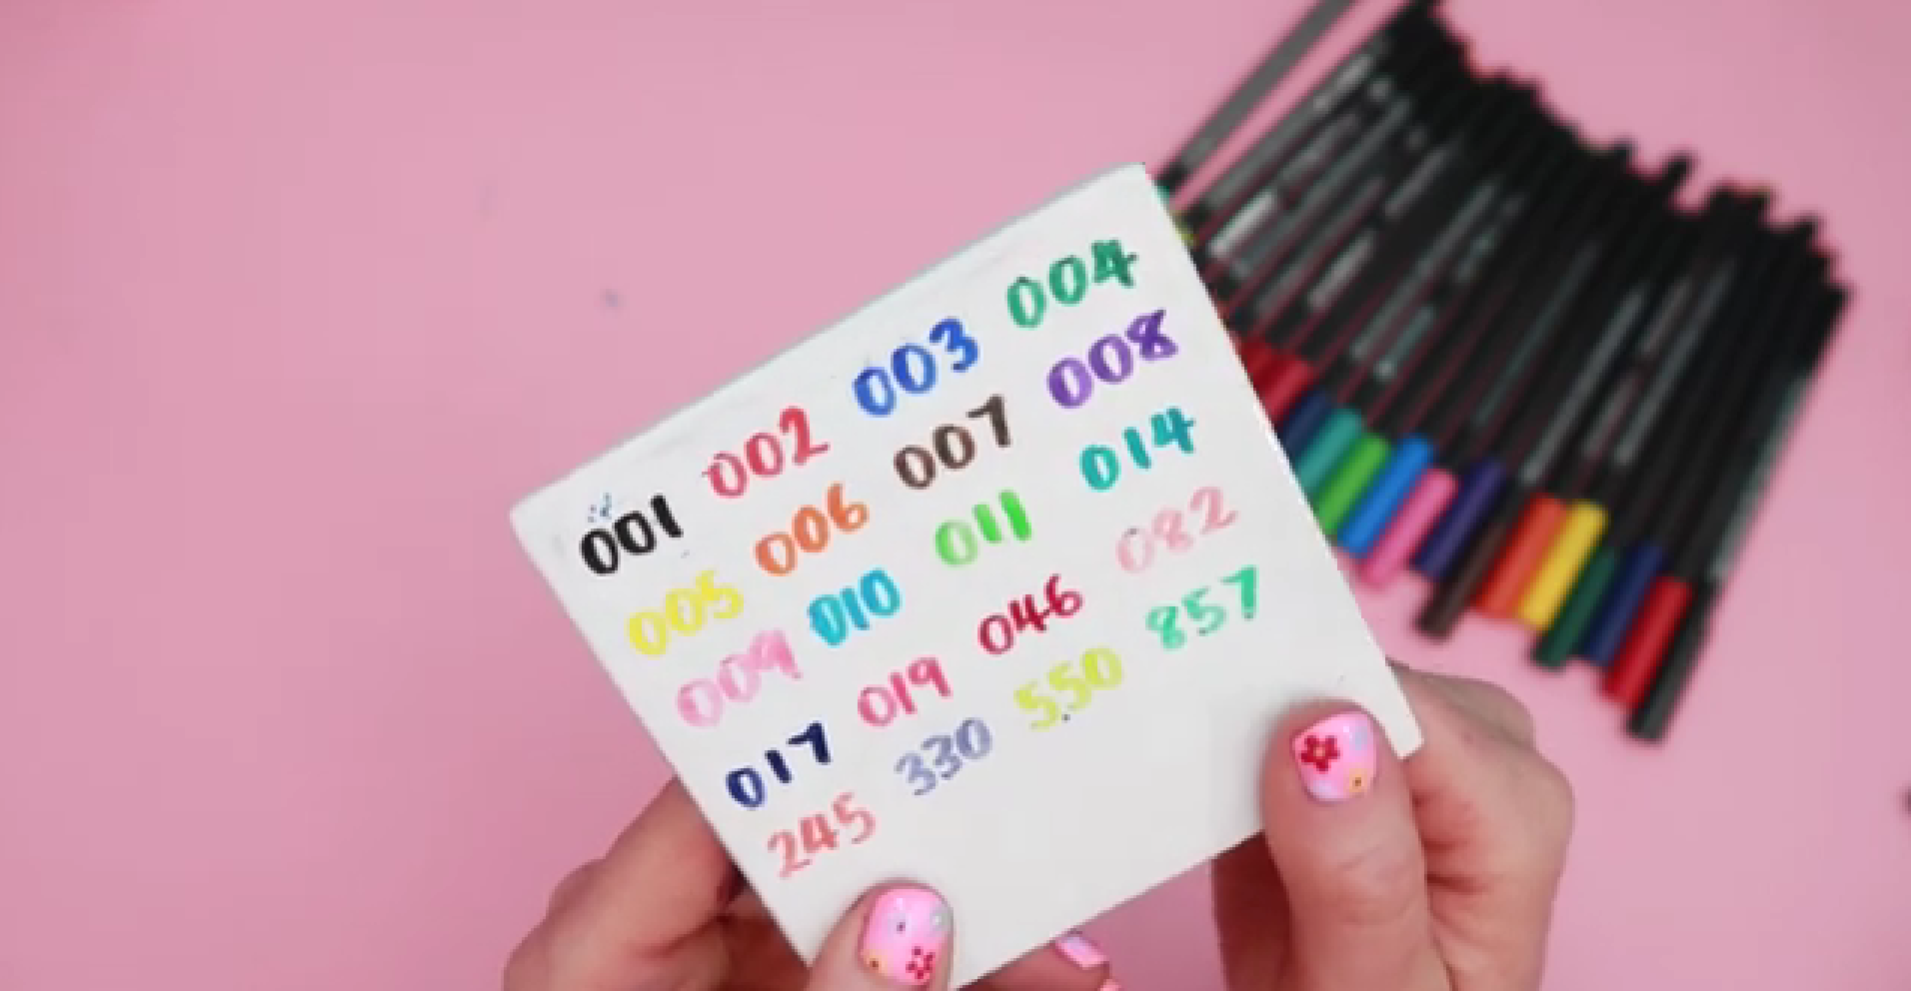
Colour swatches of porcelain paint pens on ceramic surface
Before starting the final design, I did a swatch test on a ceramic coaster.
I wanted to see what the colours looked like before baking and after baking, as I was really curious if they would change.
Quite a lot of the colours are really opaque, which is lovely. The lighter colours aren’t as opaque, but that’s to be expected. I actually quite like the gradient effect that creates.
The black is a really nice, strong black too, which isn’t always the case with paint pens.
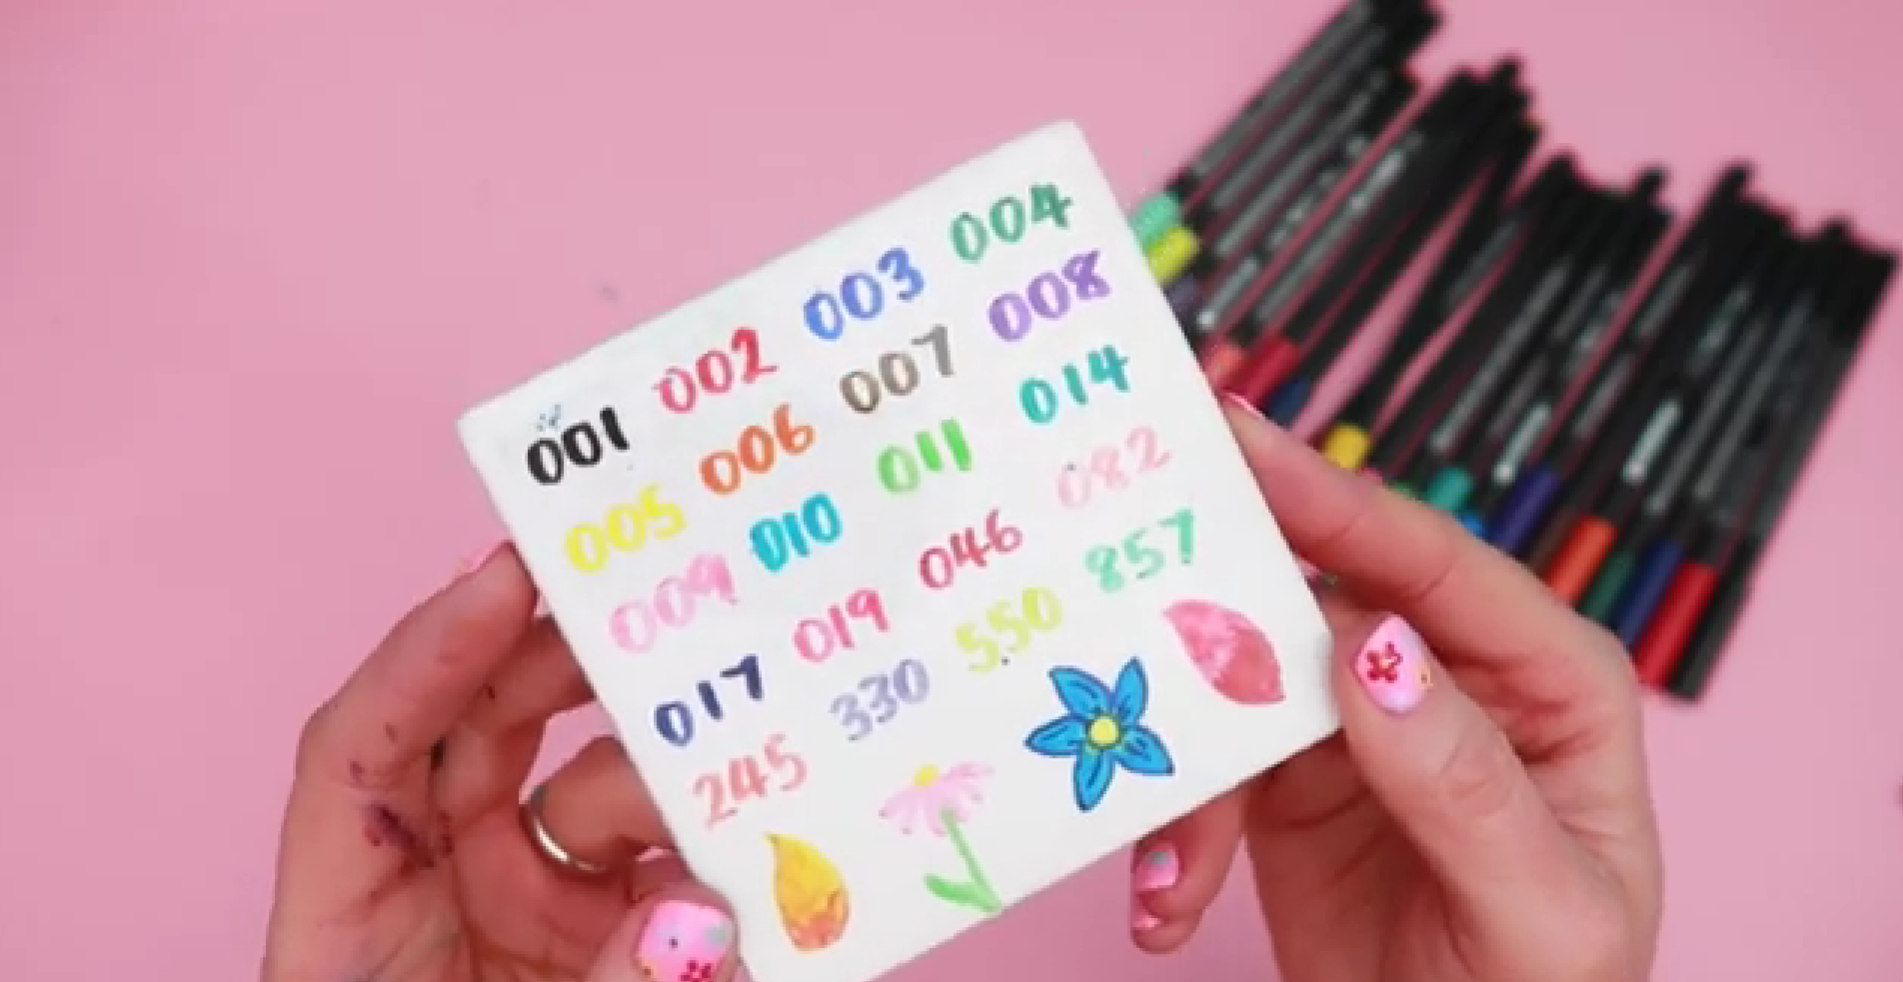
Test of layered and blended porcelain paint pen colours on ceramic
I also tested blending and layering.
I managed to blend some colours slightly, like yellow into orange and pink into red. It’s not a smooth blend, but I actually really like the texture it creates.
If you don’t want colours to bleed into each other, you do need to let each one dry before adding another on top.
After baking, the colours stayed really true, which is great because it means what you see is what you get.
Before You Start
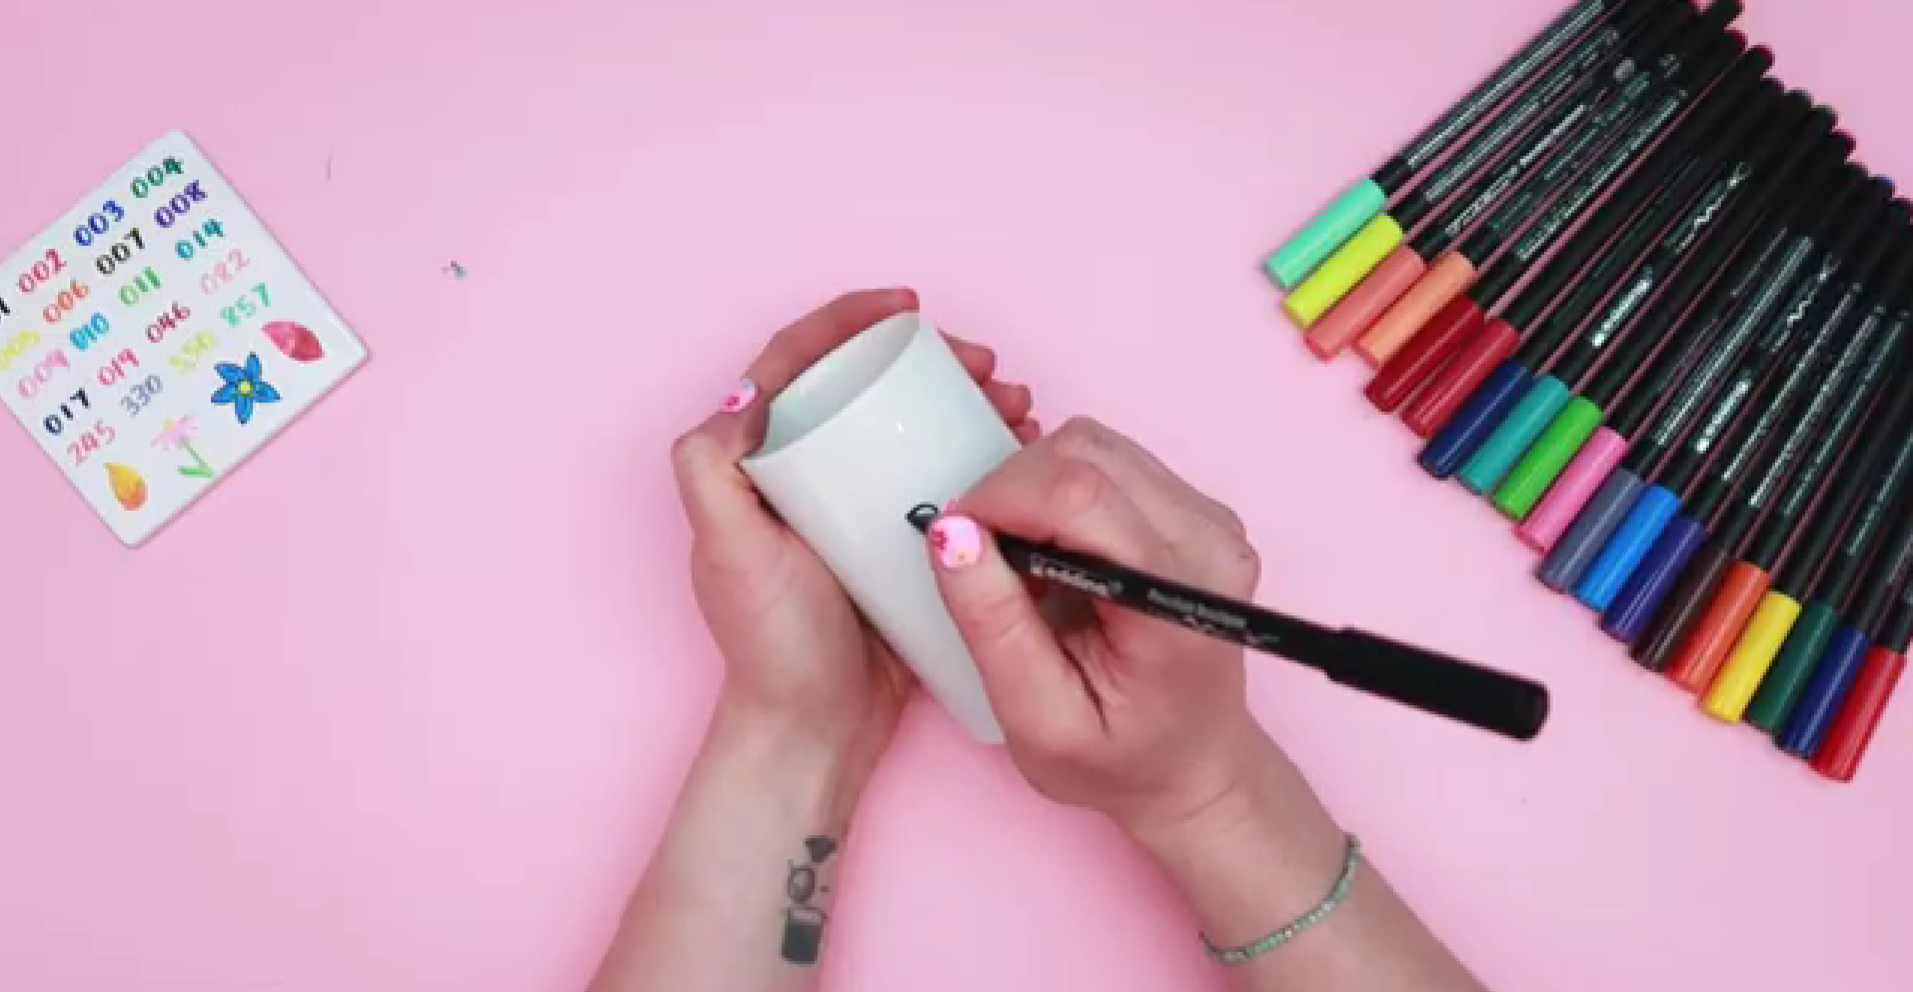
Blank Pen Pot Before Design
Make sure your surface is thoroughly clean and free from dust or grease before you start.
The pens should be left to dry for around 15 minutes before baking, and then baked in a preheated oven at 160°C for 25 minutes. After that, leave it in the oven to cool down.
One really helpful thing is that if you make a mistake, you can wipe it off before it dries.
Step-by-Step: Floral Calligraphy Pen Pot
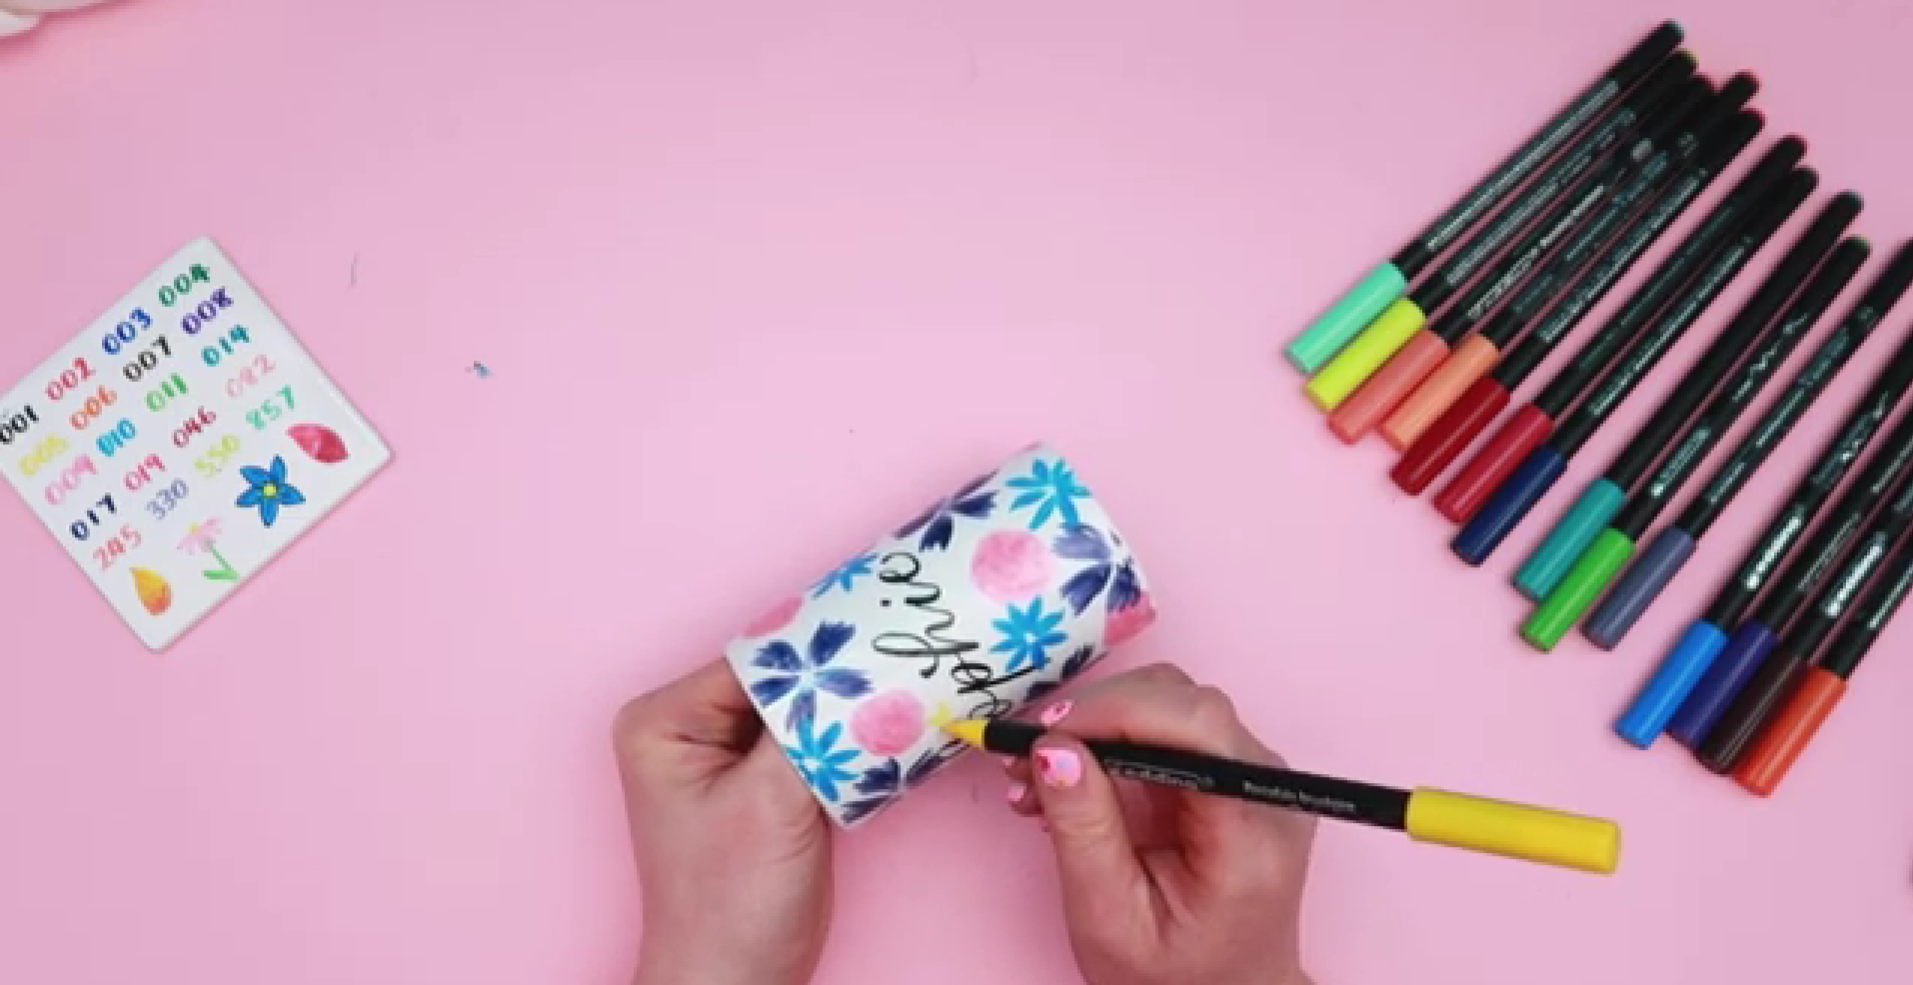
1. Add Your Calligraphy
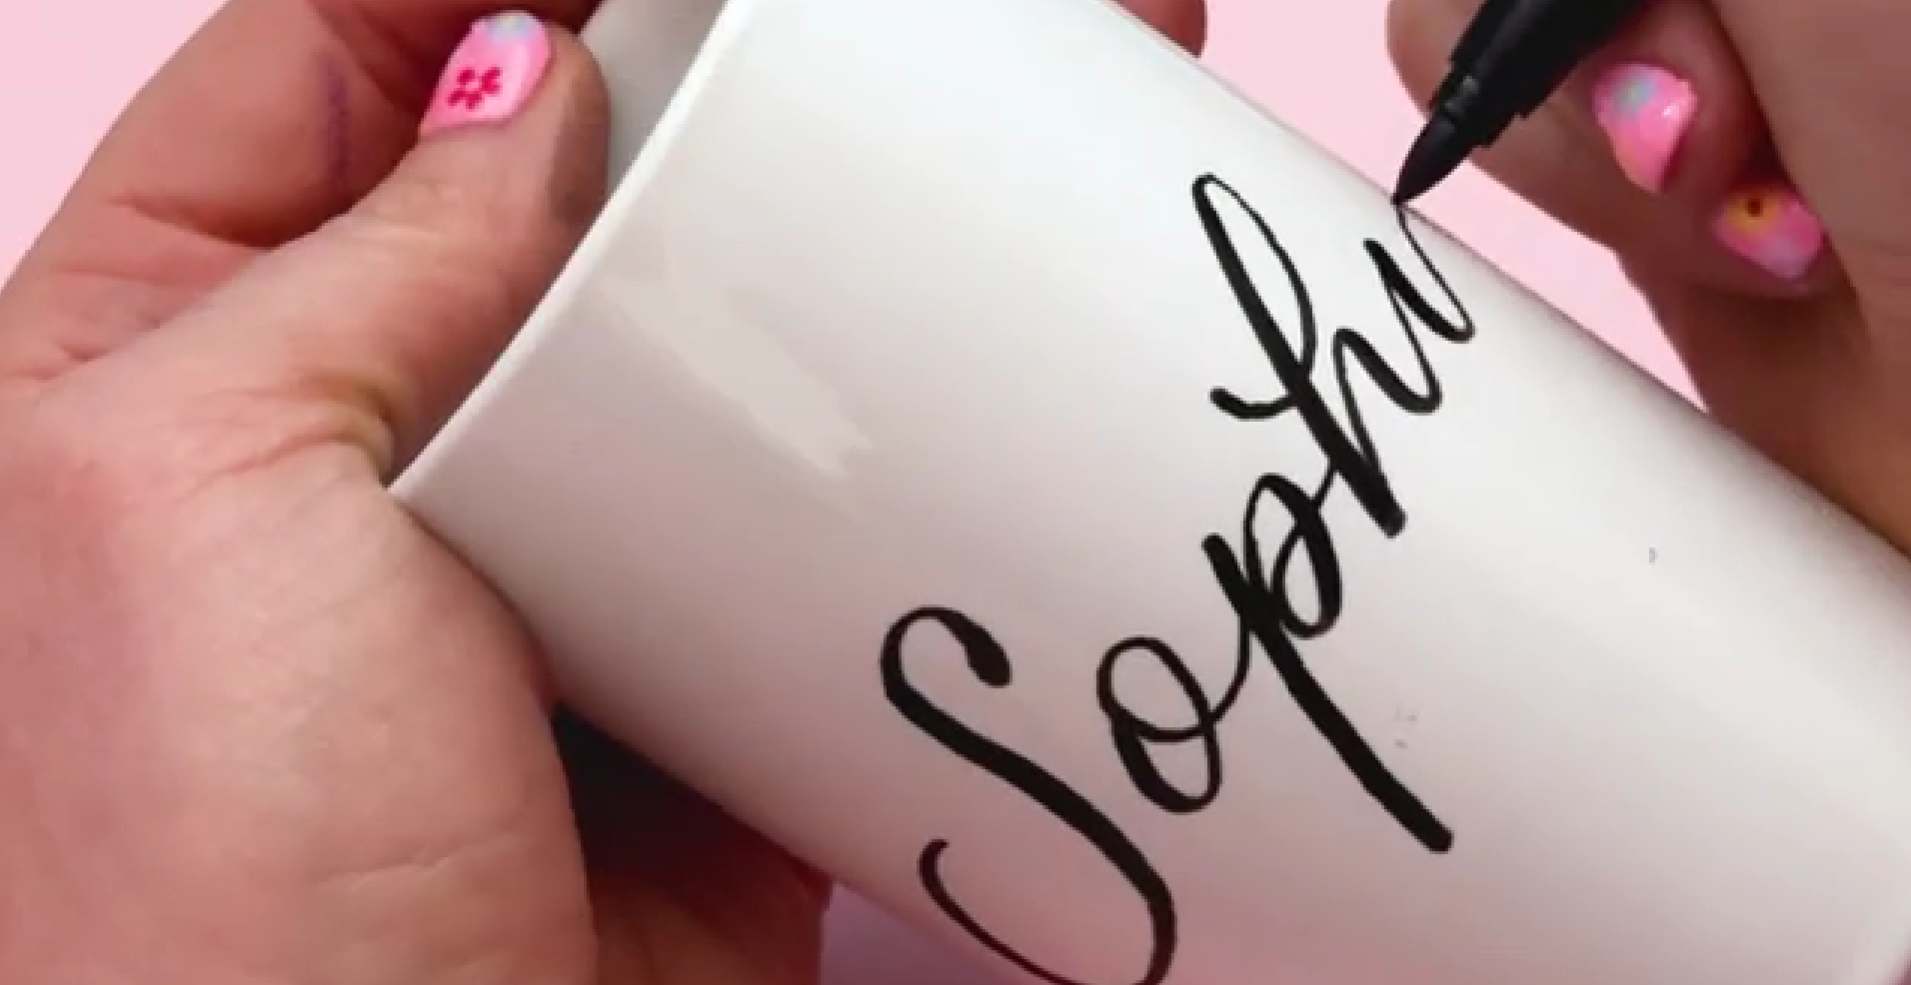
Adding black calligraphy lettering
Start by writing your name in calligraphy using a black pen.
Any downward stroke should be thick and any upward stroke should be thin.
Because the surface is smooth and curved, it can feel a bit tricky, so take your time. If you need to, reposition the pen pot as you go. And remember, you can wipe it off and start again if needed.
2. Create the Rose Base

Painting pink rose flowers
We’re going to start with roses as they’re the easiest.
Create rough circular shapes and fill them in using a scribble motion. Keep the edges wobbly and uneven so they look more like petals.
They won’t look like much at first, but they really come to life later.
3. Add Five-Petal Flowers
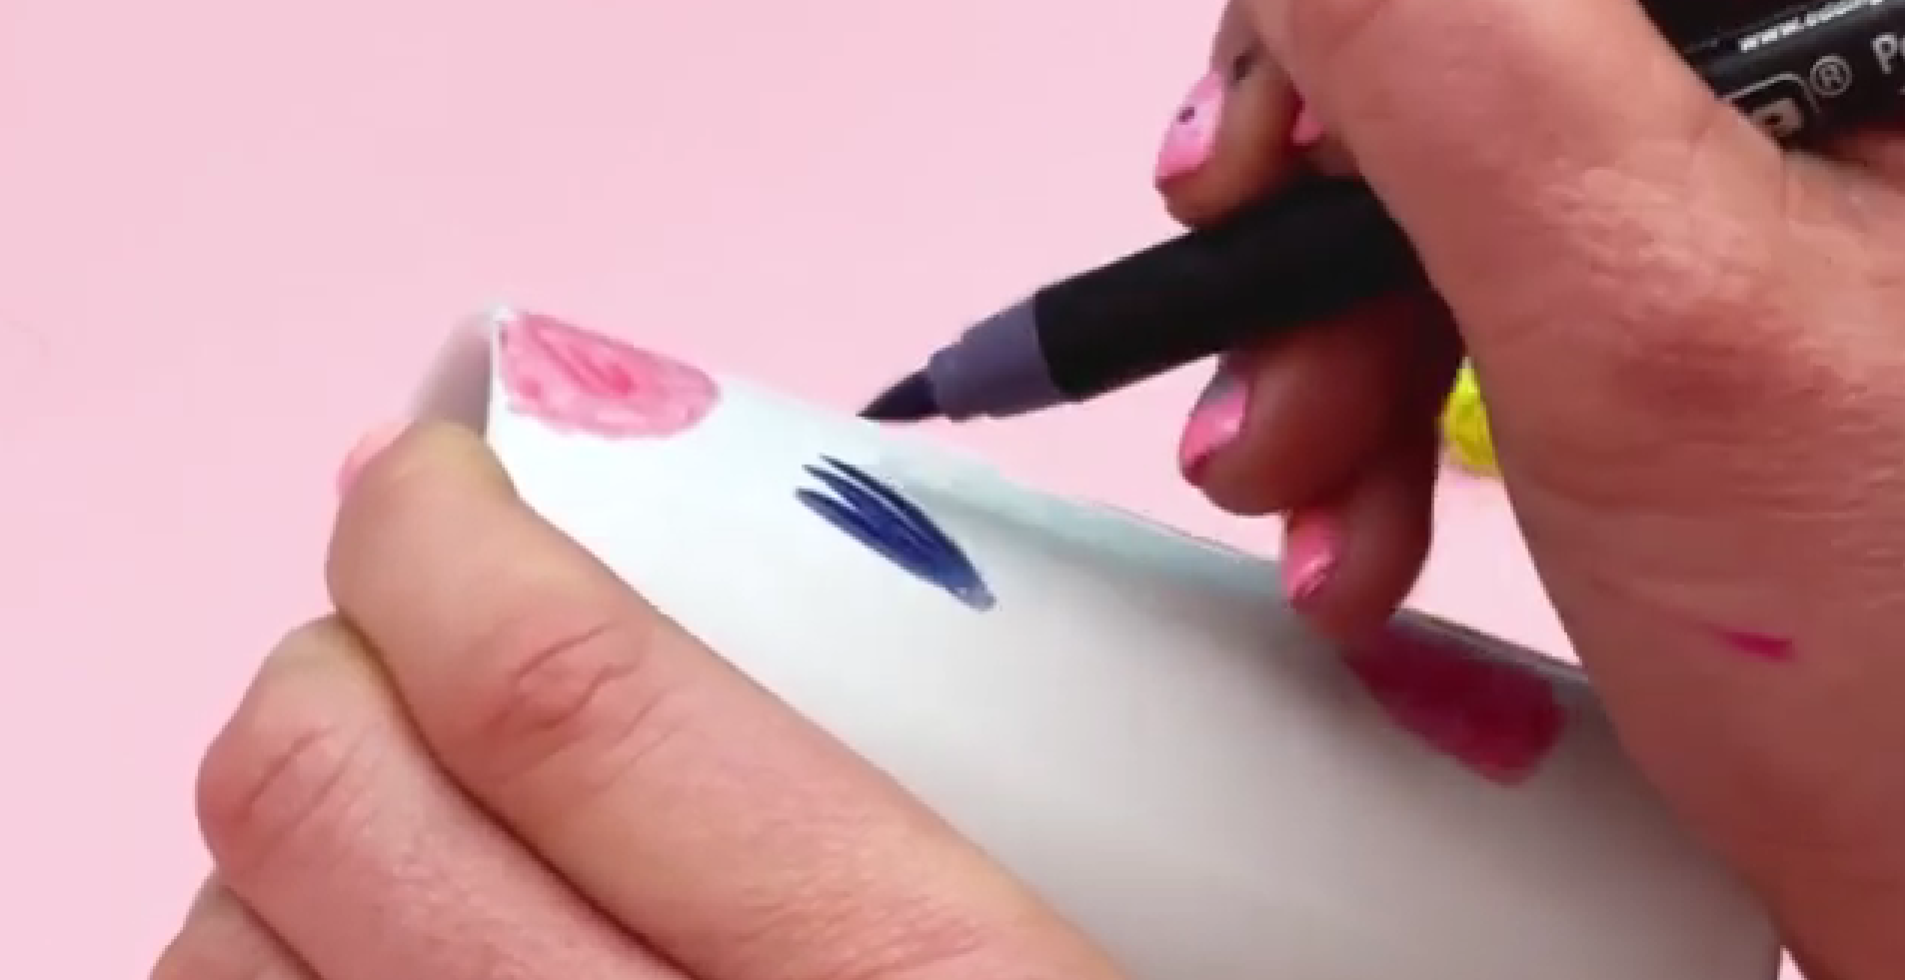
Adding purple flowers
Next, create five-petal flowers.
The petals don’t need to be perfect. Use the tip of the brush to create little waves and texture. This gives a really nice painted effect.
Leave a gap in the middle so you can add the centre later.
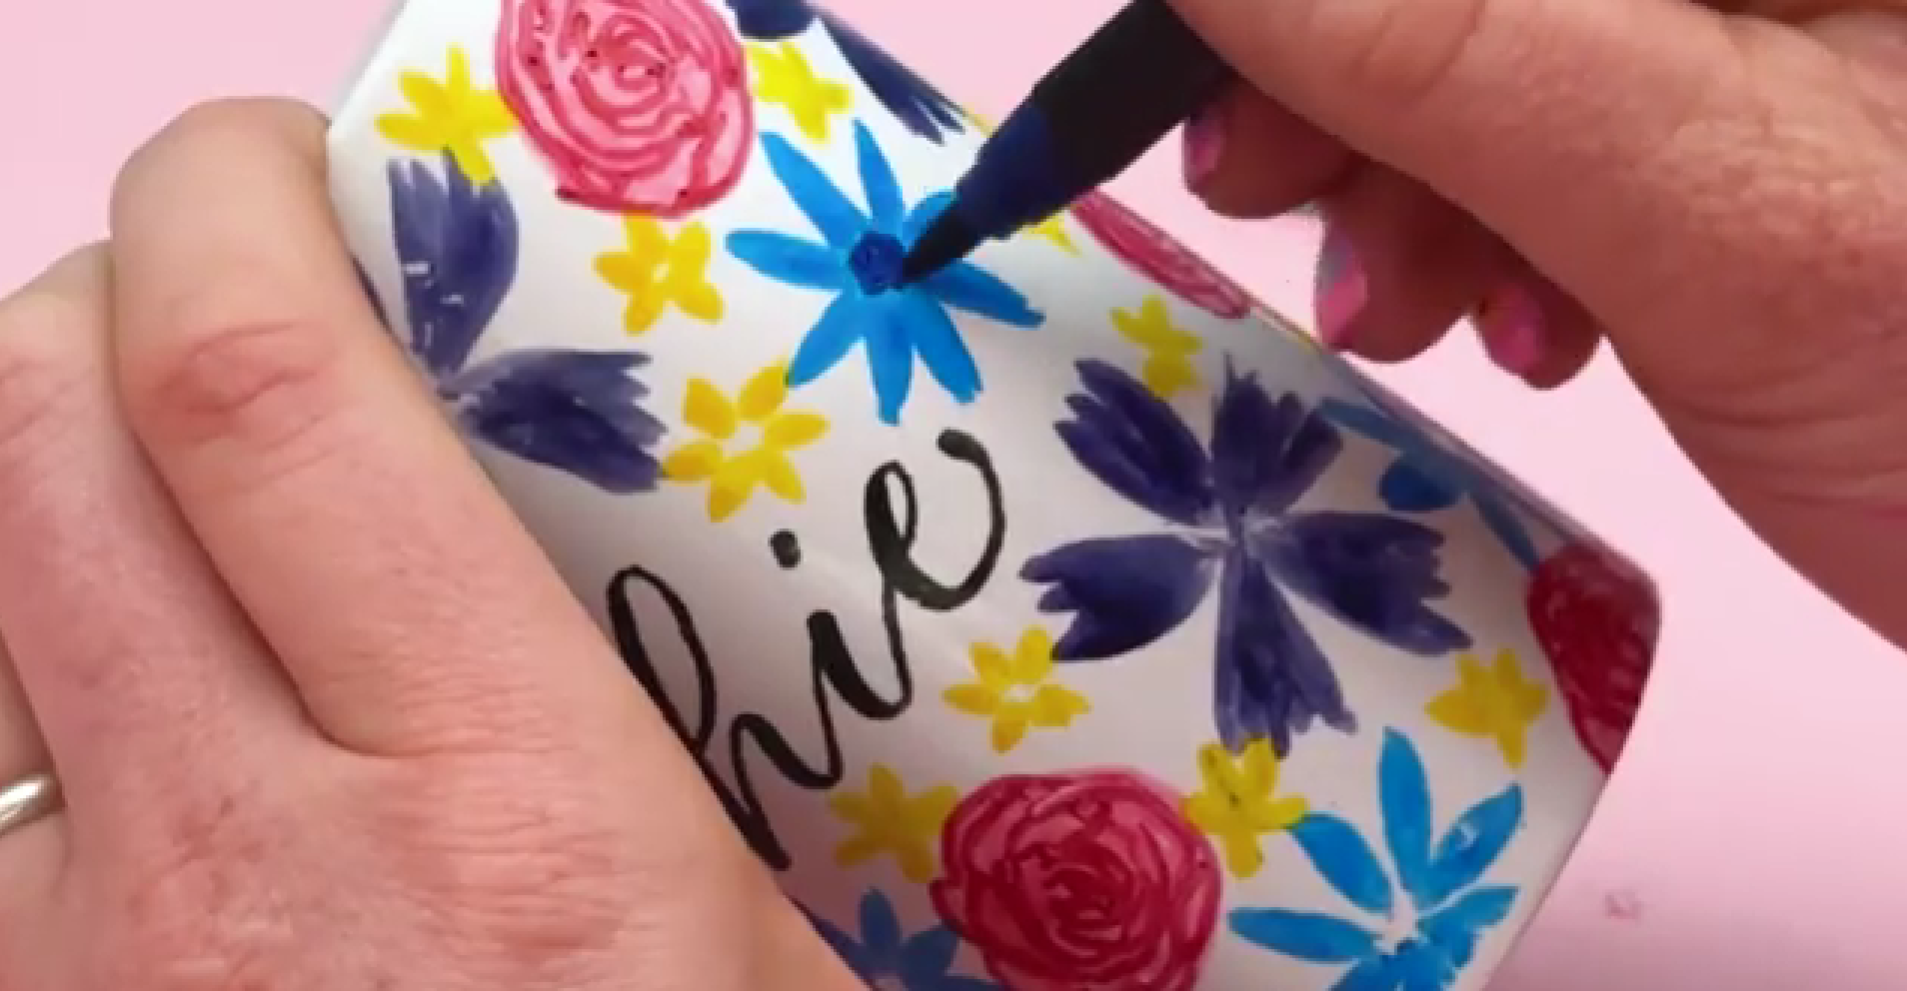
4. Add Blue Flowers
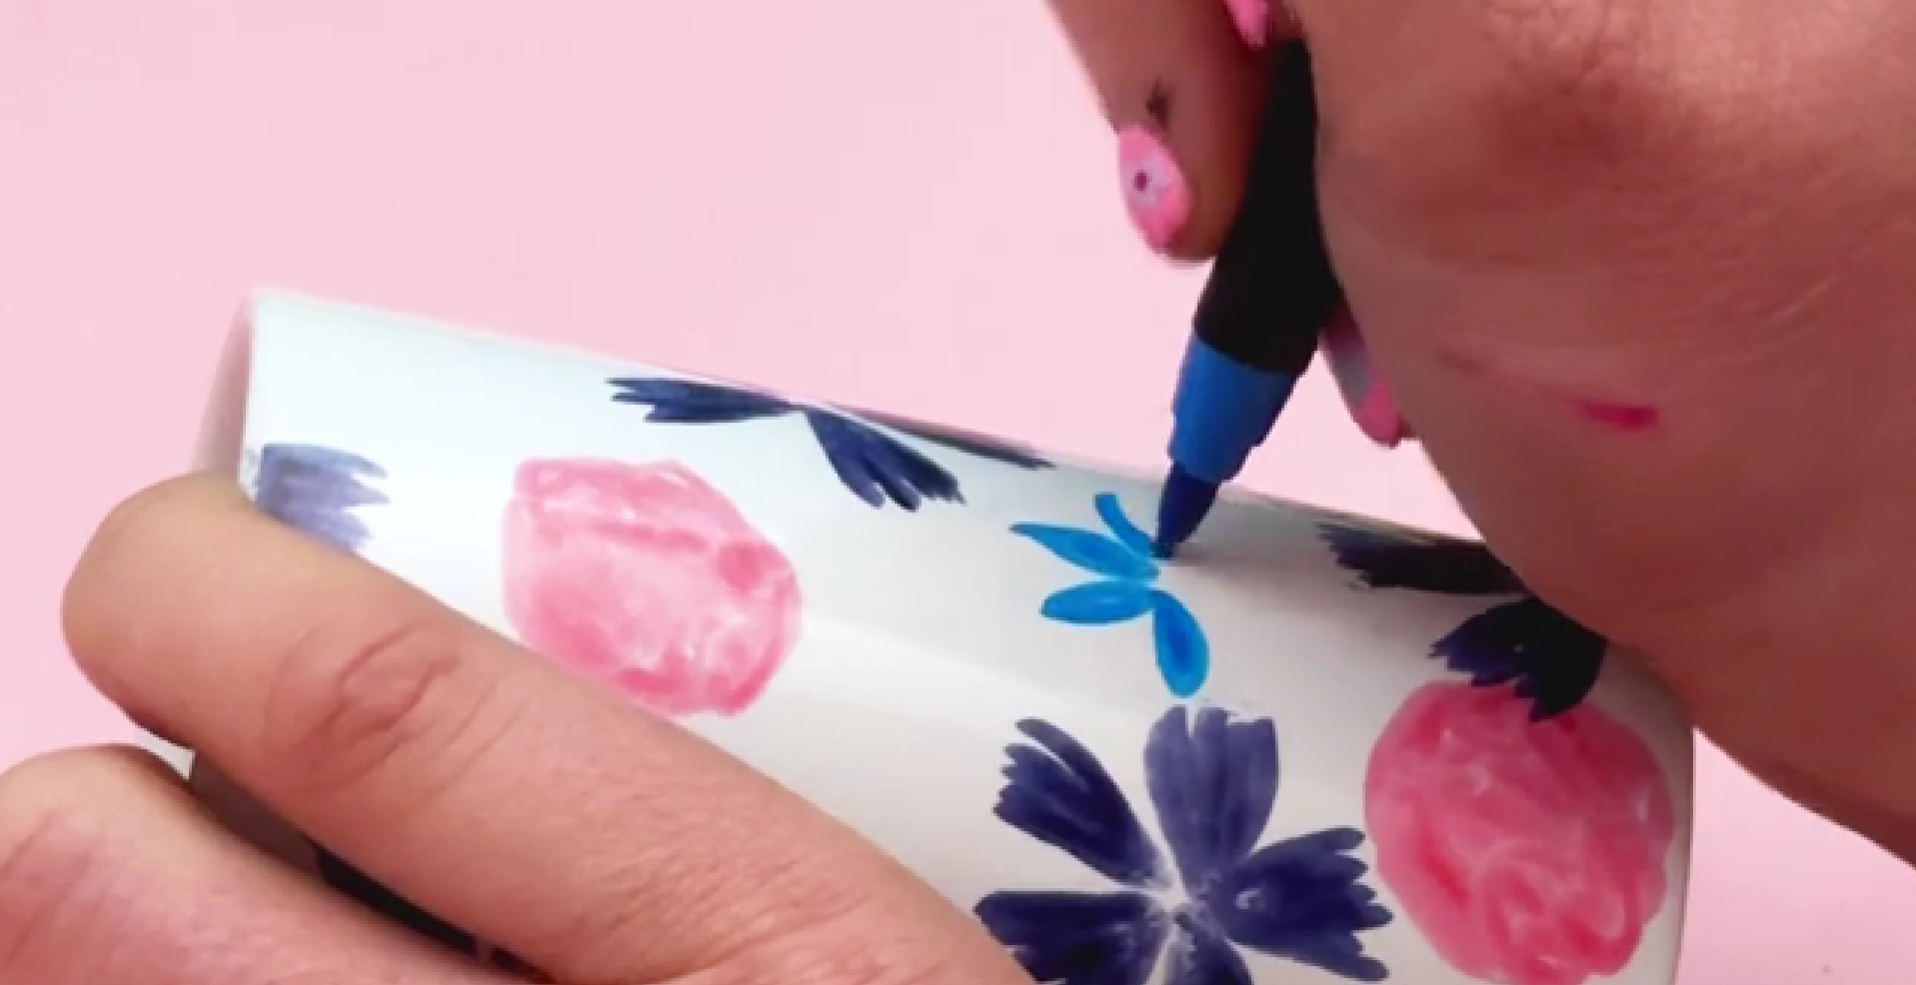
Creating small blue layered flowers
These flowers have more petals and are a bit more uniform.
Use a teardrop shape for each petal and work in a circular motion. These are great for filling slightly larger gaps.
5. Fill Gaps with Yellow Flowers
Painting small yellow five petal flowers to fill gaps
These are smaller five-petal flowers that help fill in the gaps.
Just apply a little pressure with the nib for each petal. They don’t need to be perfect, and you can make them slightly bigger if needed.
6. Add Detail & Texture
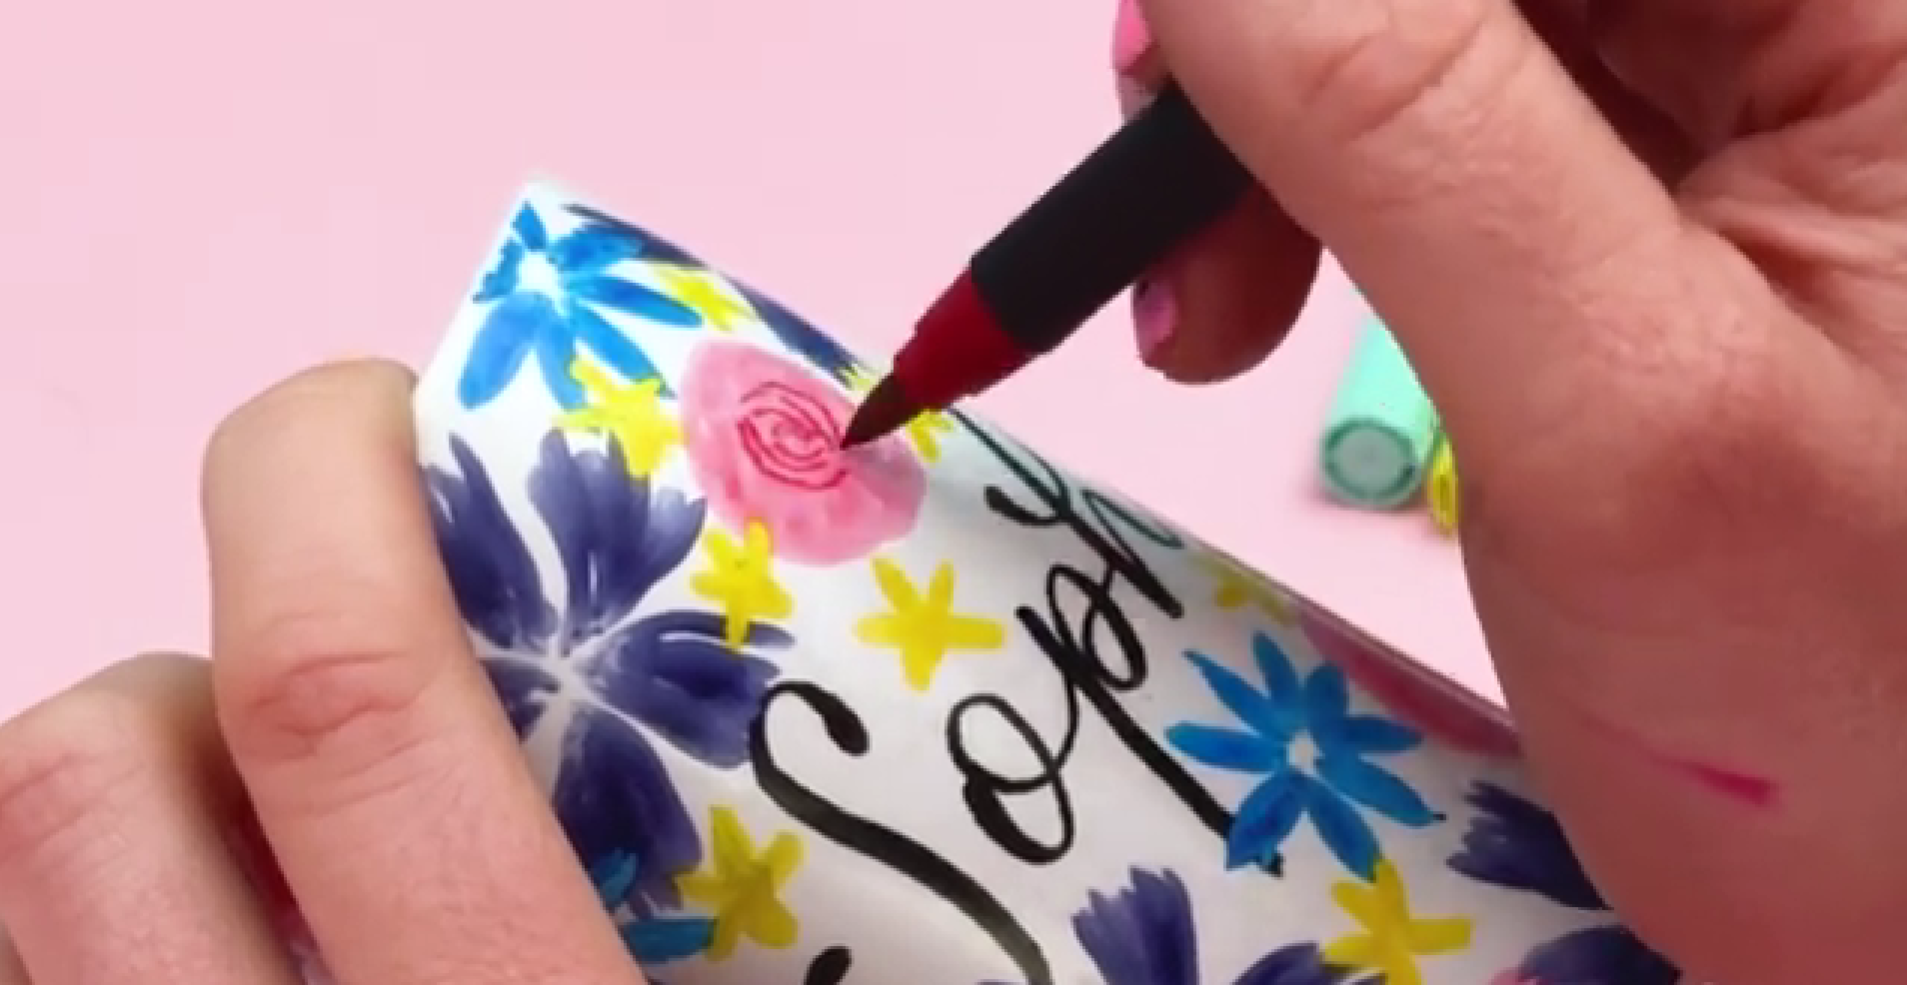
Adding Rose Detail
This is where everything comes to life.
For the roses, use the tip of the pen to draw wobbly spiral lines from the centre outwards.
Adding centres and texture to flowers
Add centres to the flowers using contrasting colours and dotting techniques.
You can also add extra lines and texture to petals to give more depth and detail.
7. Add Leaves & Final Details
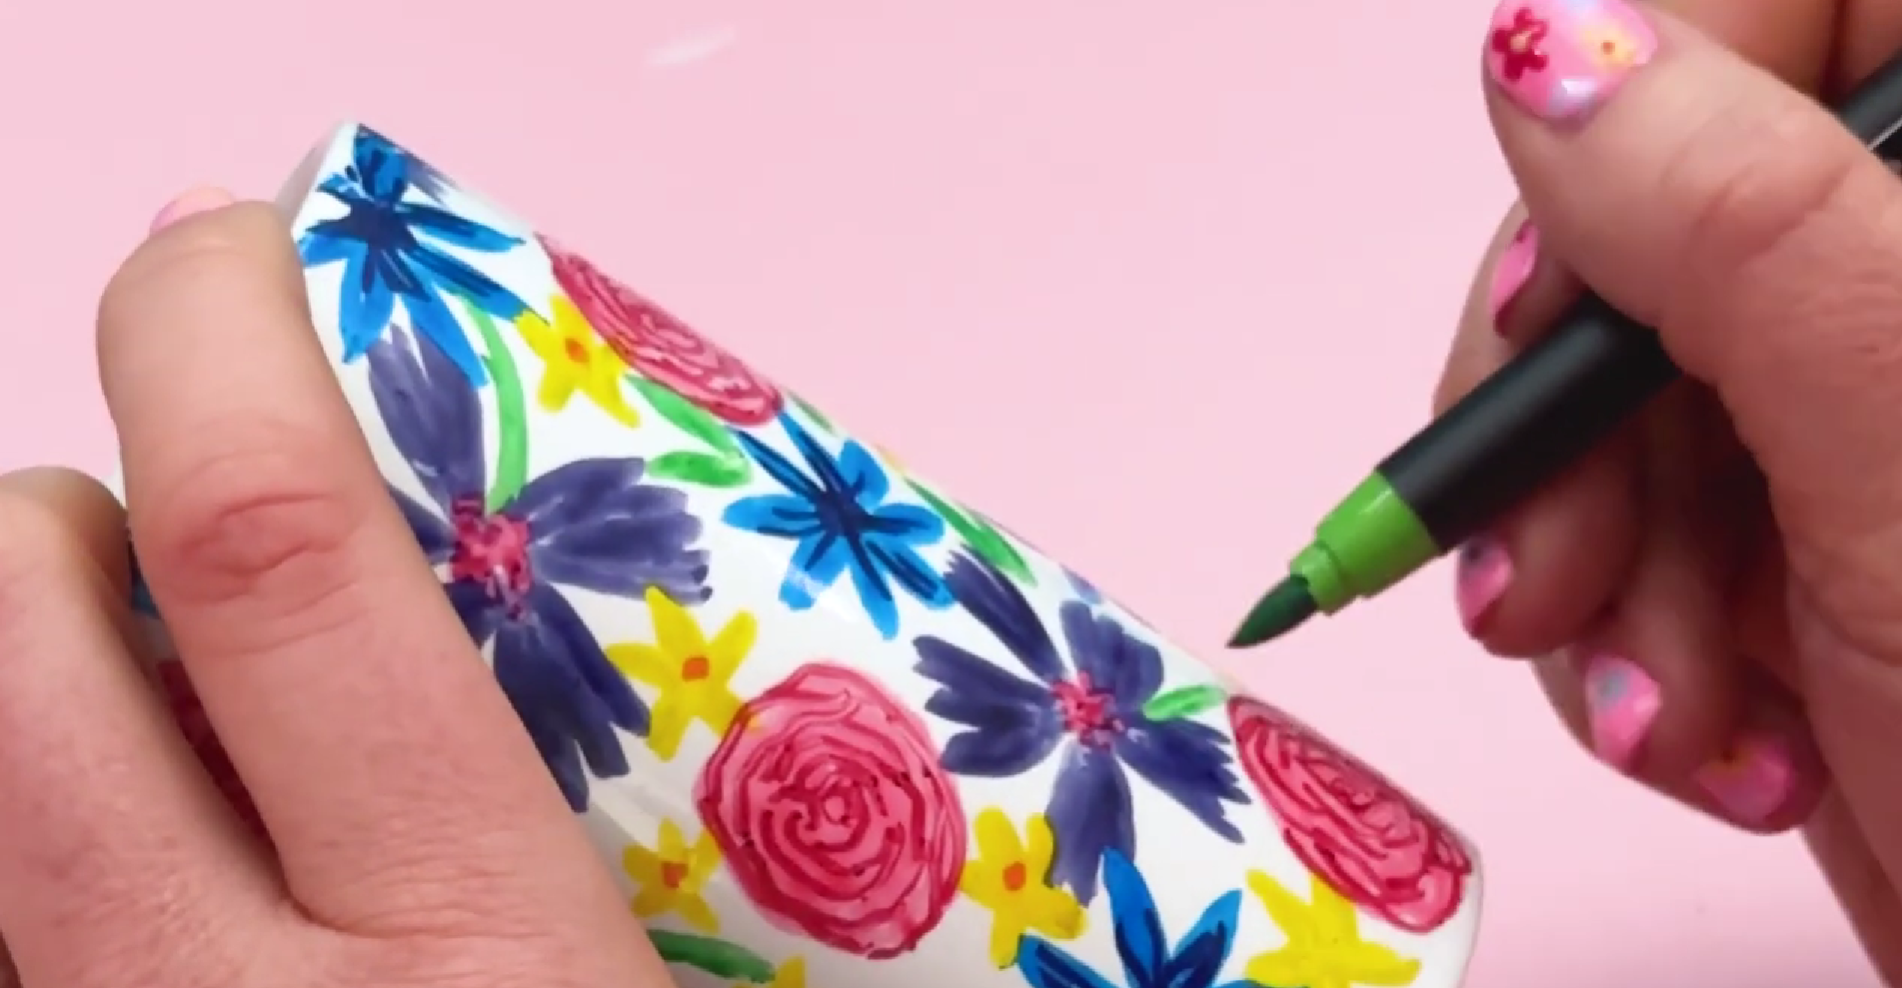
Painting green leaves and stems around the floral design
Add stems and leaves using a green pen.
Use teardrop shapes for leaves and let them overlap slightly with the flowers to make everything feel connected.
If you want to take it further, you can outline petals or add extra colour layers to give a more illustrative look.
Baking Your Design
Once you’re happy:
Leave to dry for 15 minutes
Bake at 160°C for 25 minutes
Turn the oven off and let it cool inside
Final Result
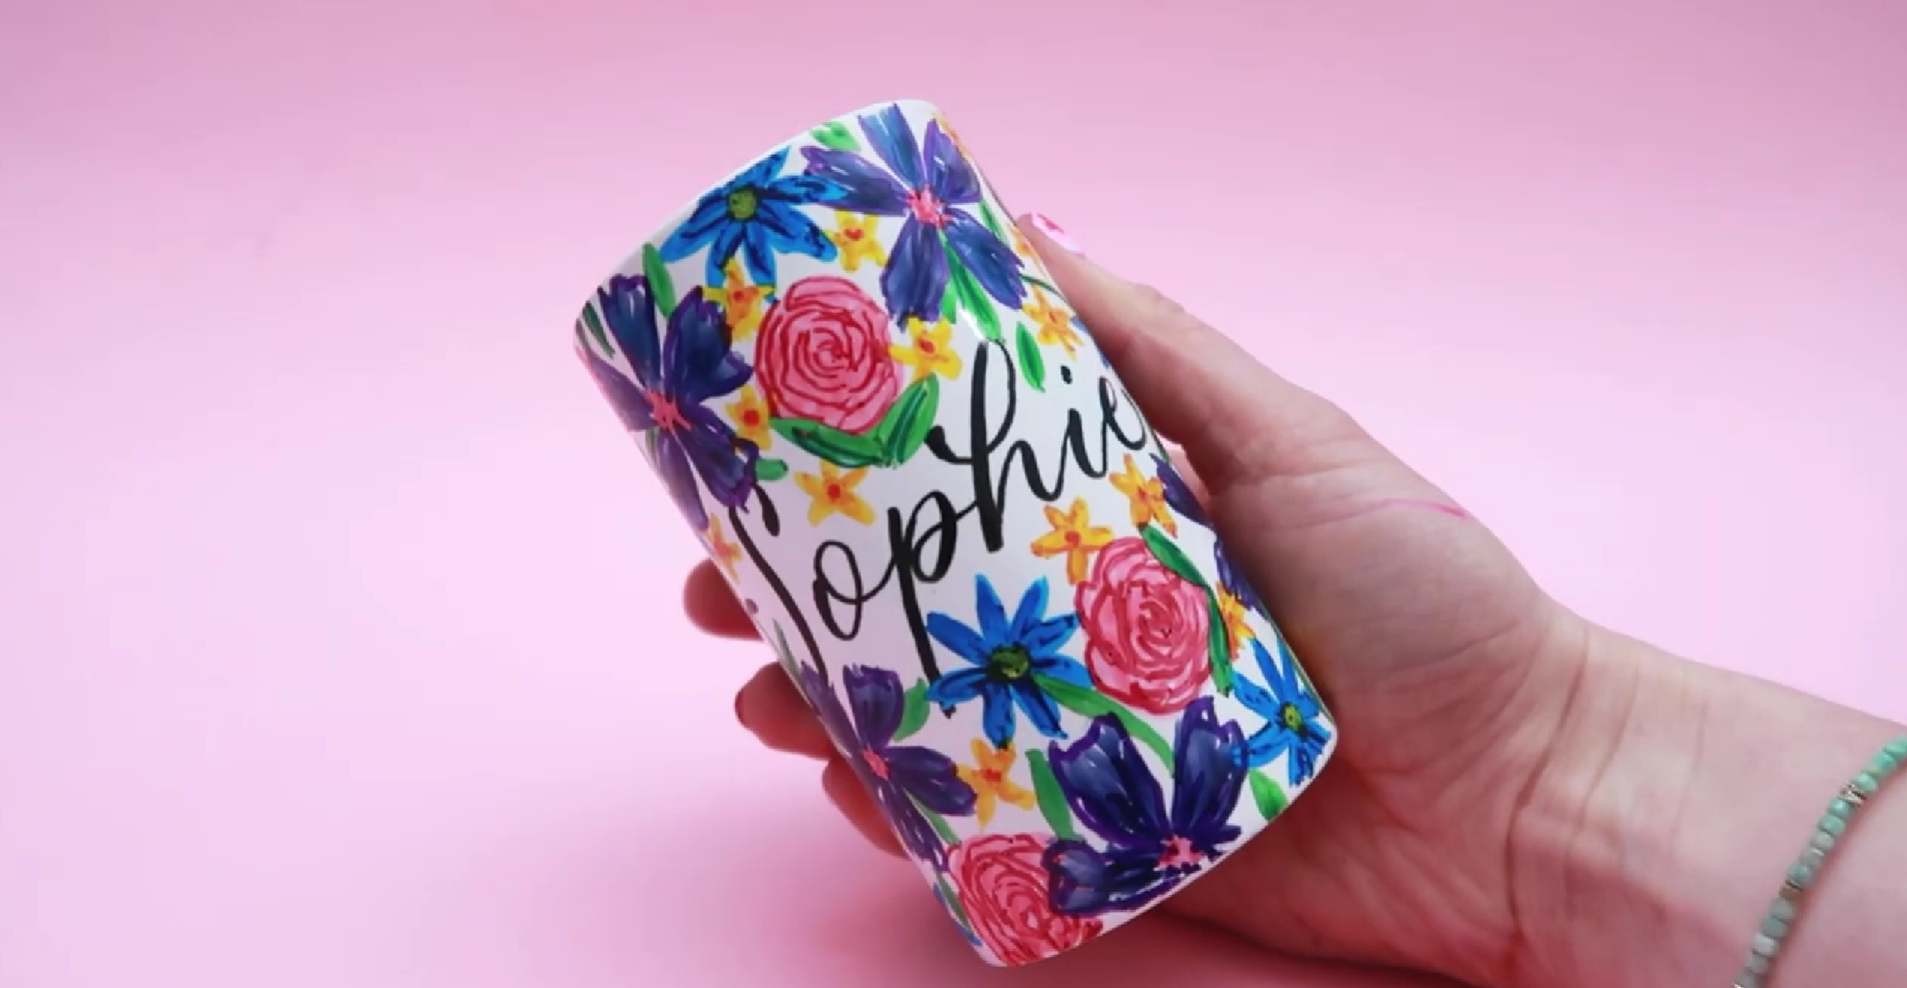
Finished Pen Pot After Baking
I love how this turned out. The layering and detail creates such a lovely illustrative style, and it pairs so nicely with the simple black calligraphy.
These pens were actually really easy to use. They dry quickly, don’t smell, and are much more convenient than traditional porcelain paints.
Final Thoughts
If you wanted to keep this more simple, you could just focus on one flower type. I’d definitely recommend the roses as they’re the easiest to create.
This is such a lovely project for:
Personalised gifts
Desk decor
Practising calligraphy on different surfaces
Let’s Stay Connected
If you try this tutorial, I’d love to see what you create! Tag me on Insta - @blinklettering
You can also find me here:
Website: https://www.blinklettering.co.uk
Instagram: https://instagram.com/blinklettering
Some links in this post may be affiliate links. This means I may earn a small commission if you choose to purchase, at no extra cost to you. This helps support Blink Lettering and the free tutorials I share.
Favourite Supplies:
Amazon Affiliate Shop: https://www.amazon.co.uk/shop/blinklettering