
Seen Ohuhu markers all over your social media feed and wondered if they could actually work for calligraphy?
I'll be honest, it can sometimes be really hard to do creativity just for fun and not for work. Colouring in with these pens has genuinely helped me switch off a little and just enjoy being creative again. And the thing I love the most? The colour. They are SO bright and bold.
I've recently been working through a gorgeous colouring book by small business Sam Jane Designs. It's full of beautiful lettering and it got me thinking: could I actually use these pens for calligraphy? I absolutely love brush pens for calligraphy, but most of mine are water-based. I have tried alcohol markers before, but if I'm honest I've never really given them a proper chance, partly because I haven't had the right paper. So, I decided to properly put these to the test!
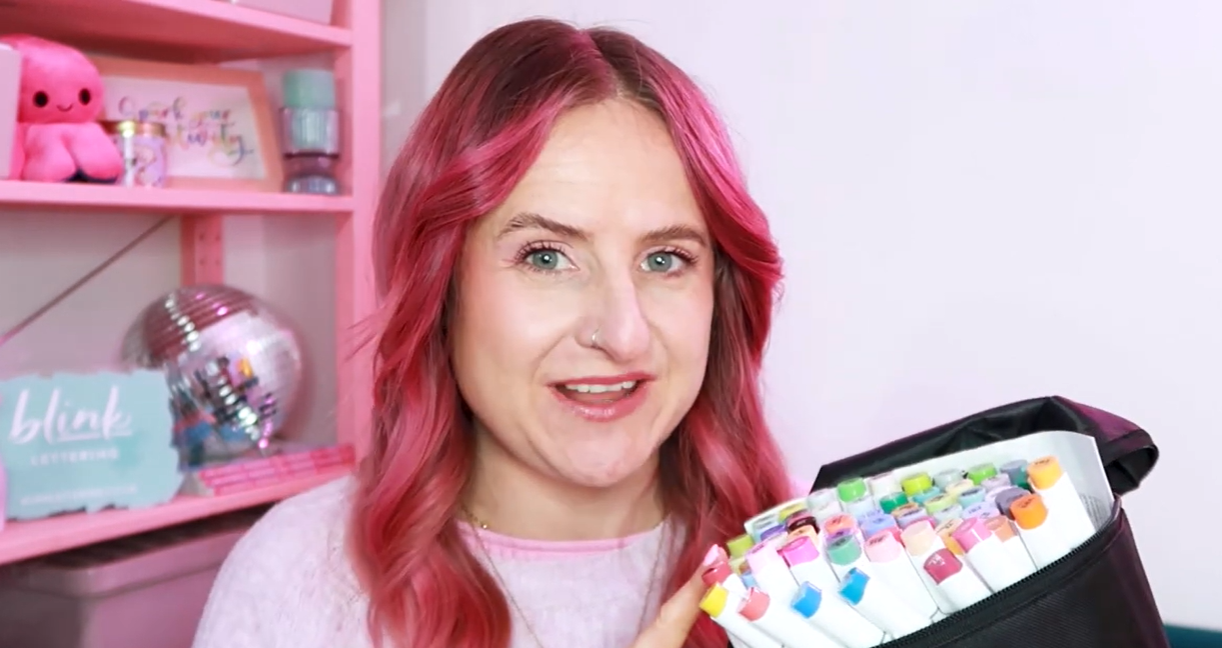
Milly, calligraphy tutor and founder of Blink Lettering, holding Ohuhu alcohol brush markers and smiling at the camera
Quick note of transparency before we get into it: the team at Ohuhu did reach out and offer to send me these pens and after watching countless videos of people using them, I simply couldn't say no! However, everything I share here is completely my own honest opinion. I wasn't asked to create this, I was genuinely curious to see if they'd be any good for calligraphy.
If you’d prefer to follow along visually, you can watch the full step-by-step tutorial here:
👉 Watch on YouTube: https://www.youtube.com/watch?v=L63RrB0uzuQ
First Look: Unboxing the Ohuhu Markers
The pens come in a really lovely carry case which is super convenient for storing and they need to be stored upright, so the case is perfect for that. Inside, there are so many gorgeous colours and I especially love that there are quite a few pastels in the set, which would be brilliant for adding shadows to calligraphy pieces.
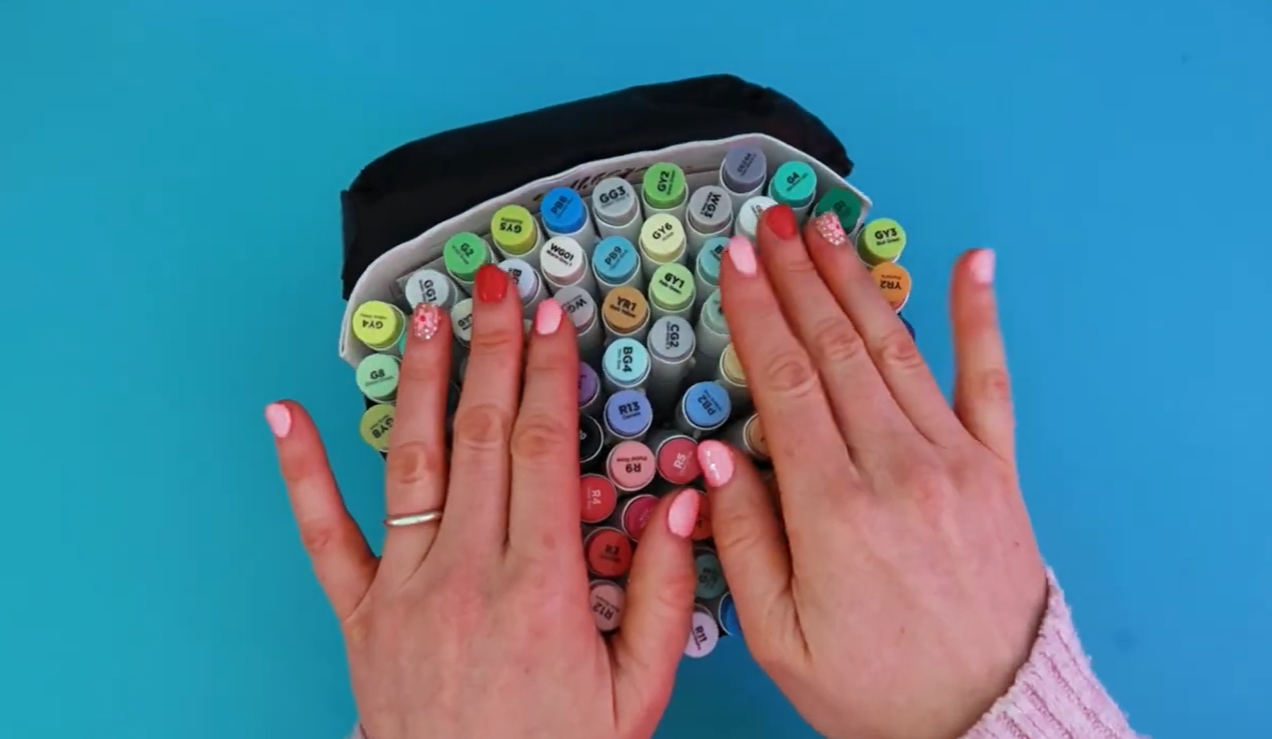
Ohuhu carry case open, pens fanned out showing colours
These are dual-ended alcohol markers, so at one end you have a broad tip (great for colouring large areas) and at the other end, the bit I was most excited about, a brush tip. When you're doing calligraphy, a flexible nib is really important and that's exactly what the brush tip offers.
Size-wise, the brush tip is quite large. To give you a comparison: it's more similar in size to a Tombow Dual Brush Pen than a Pentel Brush Sign Pen. I'd already noticed from using them for colouring that the nib isn't quite as flexible as the Tombow, so it was going to be really interesting to test out for calligraphy and to see whether they'd be suitable for beginners too.
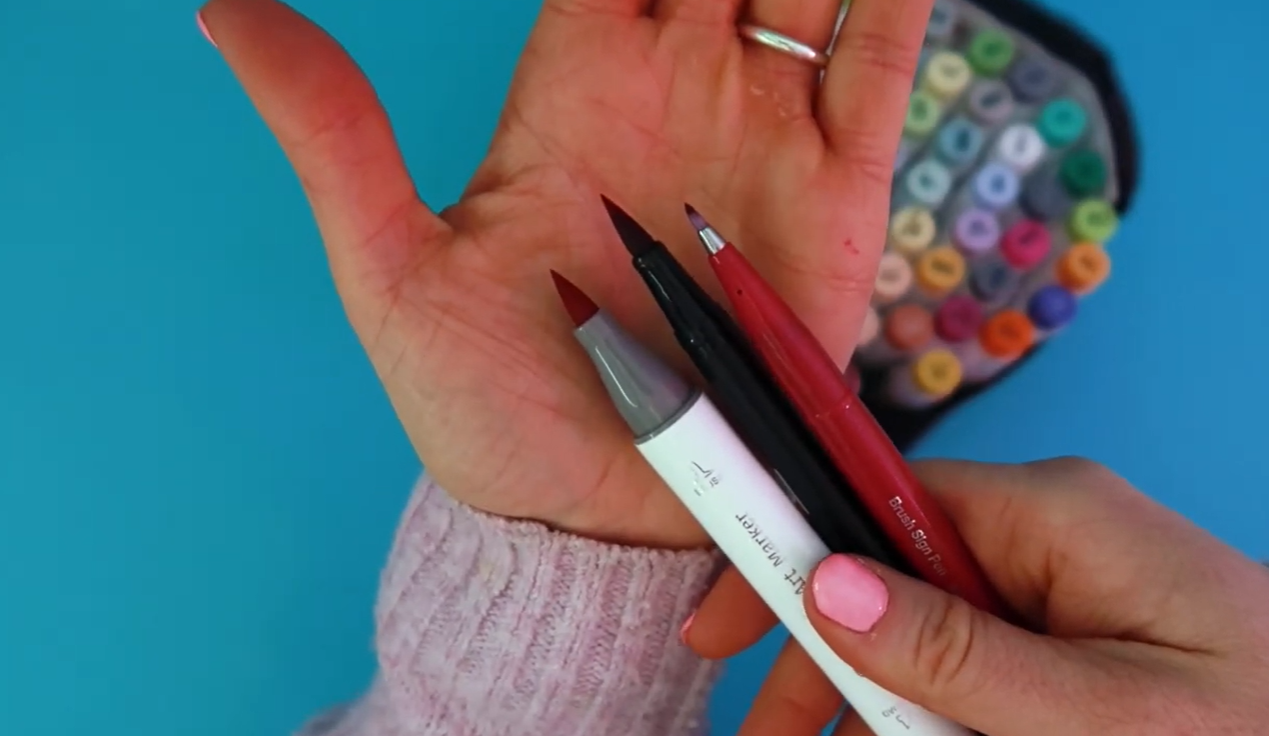
Side-by-side nib comparison - Ohuhu vs Pentel vs Tombow
One thing I was already a little nervous about - paper. In the past, I've found alcohol markers tend to bleed through a lot of paper or the ink spreads. Alongside the markers, Ohuhu also sent me a mixed media pad (225 x 210mm, 200 GSM paper) which is designed to work with acrylic, watercolour, pen and pencil, so I was hopeful!
Putting Them to the Test: Calligraphy Drills
I'm only focusing on the brush tip in this test, since we're doing modern calligraphy and that's the end you need for a flexible nib.
First up - warming up with some calligraphy drills. Because the nib is quite large, I worked with bigger letters than usual. If you prefer to do smaller calligraphy, this might not be the right pen for you simply because of the nib size
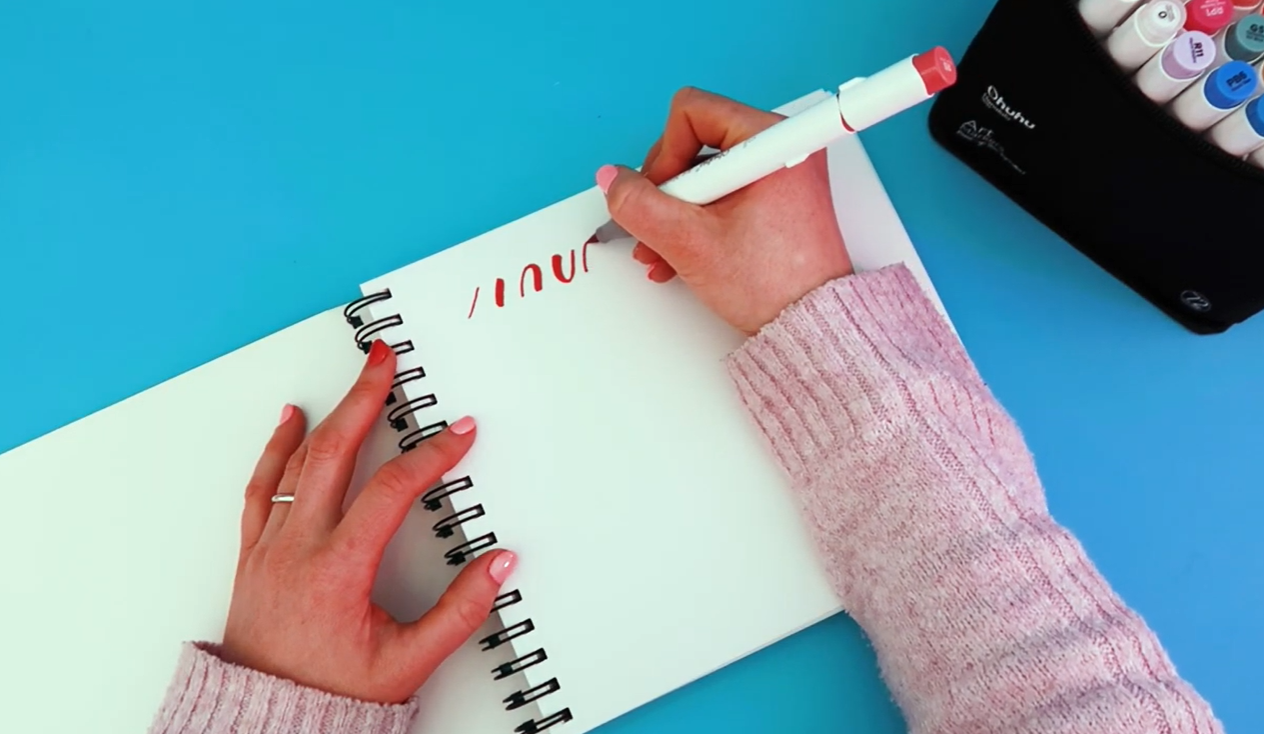
Milly doing calligraphy drills with Ohuhu brush tip
First impressions on those upstrokes? Actually pretty good! The nib is easy to control and not too stiff. There is a little bit of ink spreading on the paper but for alcohol markers, I think that's fairly standard. The colour, though, is wonderfully opaque and really flat, which I loved.
Then came the real test - writing my all-time favourite test word: "minimum". I went for a slightly bouncy style, keeping the letters large because of the nib size. The pen glides over the paper really smoothly, no catching at all and up close, the ink is really flat with no patchy areas. There is a tiny bit of bleeding on the edges, so it's not quite as crisp as some brush pens, but honestly for alcohol markers, it's pretty impressive.
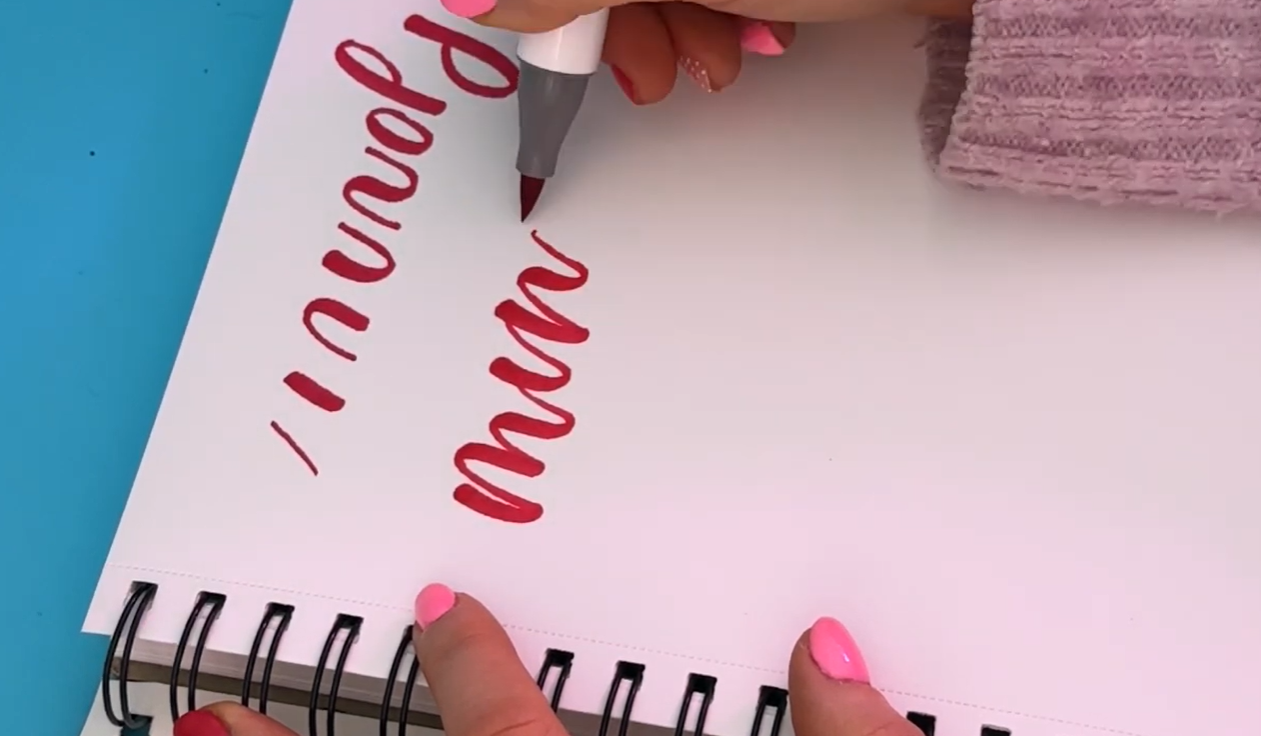
Writing "minimum" in bouncy calligraphy, close-up of ink
Drop Shadows & Layering
One thing I was really keen to test was adding drop shadows because with water-based brush pens, the ink tends to bleed into any shadow colour you add, no matter how long you leave it to dry.
I started with a Cherry Pink (R5) and added a Turquoise Green (BG1) shadow alongside a Mint Blue. The result? Much better than water-based pens for shadows! The colours don't react with each other in the same way, which is a big plus.
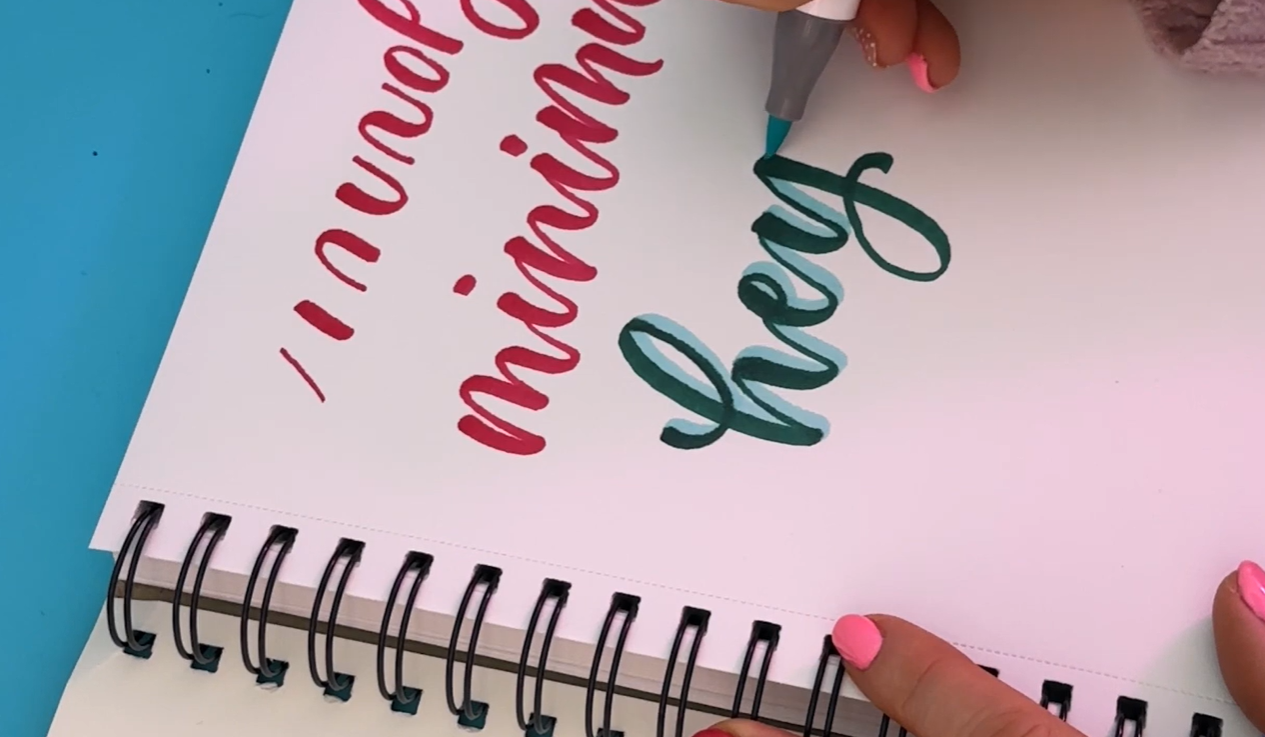
Drop shadow being added - coloured markers side by side
That said, layering takes a little patience. The trick is to let the ink dry fully before adding any extra detail or a second colour on top. If you go in too soon, you will get some spreading. Once dry though, the lines are noticeably more crisp.
I also tested a rainbow blend using a clear blending pen and honestly that was delightful, definitely one of my favourite results from the whole session. The one downside: the pens don't seem to blend into each other as easily as I'd hoped but I think I might just be missing a trick with alcohol pens since they're still a bit new to me.
How Do They Compare to Other Pens?
I did a side-by-side comparison with a few pens I use regularly:
vs. Ecoline Brush Pen: The Ecoline is water-based and creates a bit more texture, you can see the variation in pressure and the overlapping strokes. The Ohuhu, by contrast, gives a very flat, bold, opaque colour. If you want that flat and bold look, Ohuhu wins. If you want texture and a more watercolour feel, Ohuhu isn't the one.
vs. Tombow ABT Dual Brush Pen: The nibs are similar in size (the Tombow is slightly longer and more flexible). The Tombow can sometimes be quite hard to control on curved shapes because it's so flexible whereas the Ohuhu is a little easier to handle on curves. The trade-off is that the ink spread does thicken the thin lines slightly compared to the Tombow's crisper result. One other thing worth noting: Tombows can fray over time. It'll be really interesting to see how the Ohuhu nibs hold up with regular use.
Paper Matters. A Lot!
I tested the markers on a few different paper types:
Ohuhu Mixed Media Pad (200 GSM): Good for practising. A little spreading but manageable. The pad includes a protective sheet to pop behind the page, which helps.
Rodia Dot Pad: Also worked well for practising.
Bristol Board (Winsor & Newton): This was the winner. Super smooth, thick card. The ink went on beautifully with almost no bleeding at all. The colour looked even more pigmented and I absolutely loved how flat it looked. If you're creating a final piece, Bristol board is the paper to use with these pens.
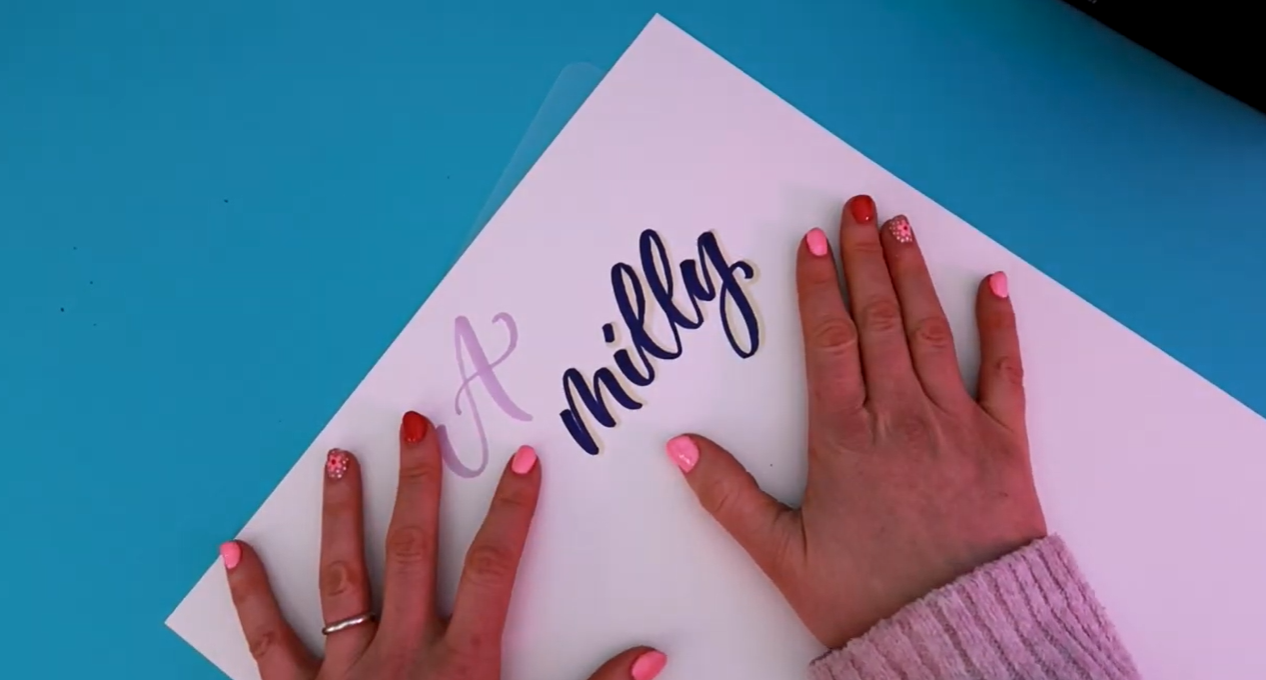
Bristol board test- writing on smooth card surface
Post-Testing: Getting Creative!
I got so inspired by these pens that I ended up creating a really fun pink and red contrasting calligraphy piece to celebrate Galentine's Day and I absolutely love how it turned out. The opacity and flatness of the colour is something I'm not used to with my usual water-based brush pens, and it gives such a different, bold result. Layering in drop shadows and details on top really elevated it too.
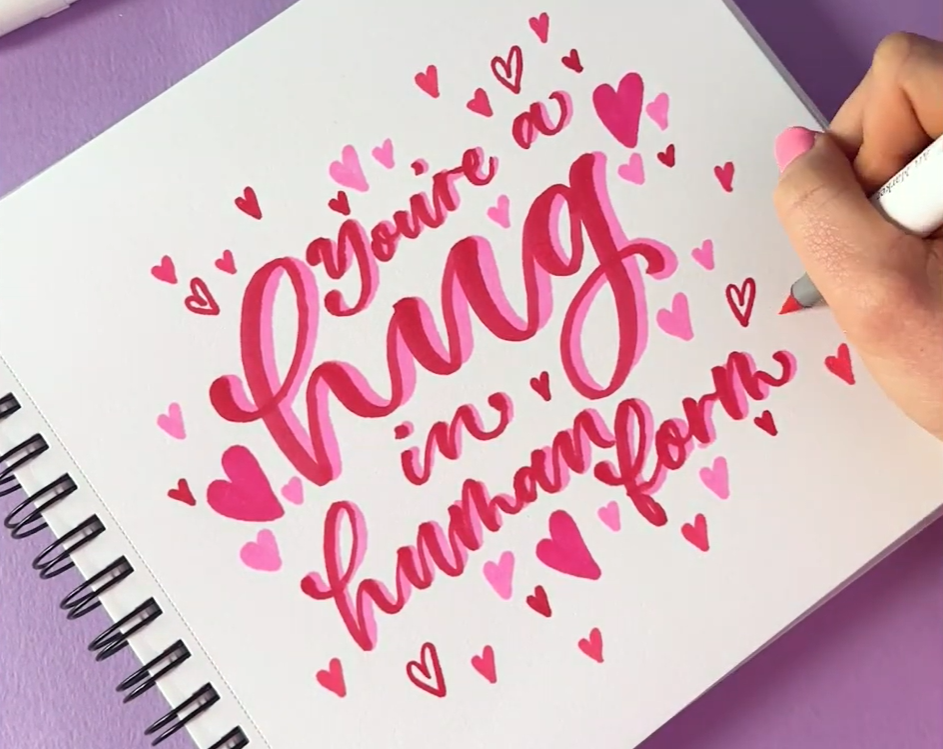
Finished Galentine's Day calligraphy piece in pink and red
Are Ohuhu Markers Worth It for Calligraphy?
In short - yes, but it depends on where you are in your calligraphy journey.
If you're a total beginner: These are not the pens to start with. The nib is quite large, which means you need to write bigger letters and the ink does tend to bleed on some papers. The last thing you need when you're just starting out is worrying about ink bleeding everywhere!
If you've been doing calligraphy for a while: Absolutely give these a go. If you're looking to introduce more bold, bright colour to your work, these are brilliant. The flat, opaque finish is really striking and different to what you'd get with water-based pens.
A few things to bear in mind:
Because they're alcohol-based, there is a noticeable smell, so probably not ideal for daily practice sessions
Best results come on Bristol board for final pieces and the mixed media or Rodia pad for practice
Let ink dry fully before layering colours on top
Blending between colours directly isn't as easy as I'd hoped but the clear blending pen creates a lovely rainbow effect
For big, bold, colourful final pieces they're genuinely brilliant
I'm actually now wondering whether I should create a calligraphy colouring book or maybe even a traceable template pack using these pens. Watch this space!
Let’s Stay Connected
If you try this tutorial, I’d love to see what you create!
You can find me here:
Website: https://www.blinklettering.co.uk
Instagram: https://instagram.com/blinklettering
Favourite Supplies
Some links in this post may be affiliate links. This means I may earn a small commission if you choose to purchase, at no extra cost to you. This helps support Blink Lettering and the free tutorials I share.
Amazon Affiliate Shop: https://www.amazon.co.uk/shop/blinklettering