
What's the Difference Between Handwriting, Cursive and Calligraphy?
Ever looked at a stunning piece of calligraphy and thought, "I could never do that, my handwriting is awful"? Well, good news, you're about to find out why that's not actually true.
Today, I'm taking you through the difference between handwriting, cursive and calligraphy.
Here's the thing: a lot of people don't realise that you can be good at calligraphy even if your handwriting is awful. That's because handwriting and calligraphy are two very different things. So today we're going to break it all down: your everyday handwriting (however scruffy or neat it is), cursive (joined-up writing), and calligraphy (what it actually is, and why it's more achievable than you think).
A lot of people see beautiful lettering and assume they simply can't create it. Actually, you can and it's not nearly as hard as it looks.
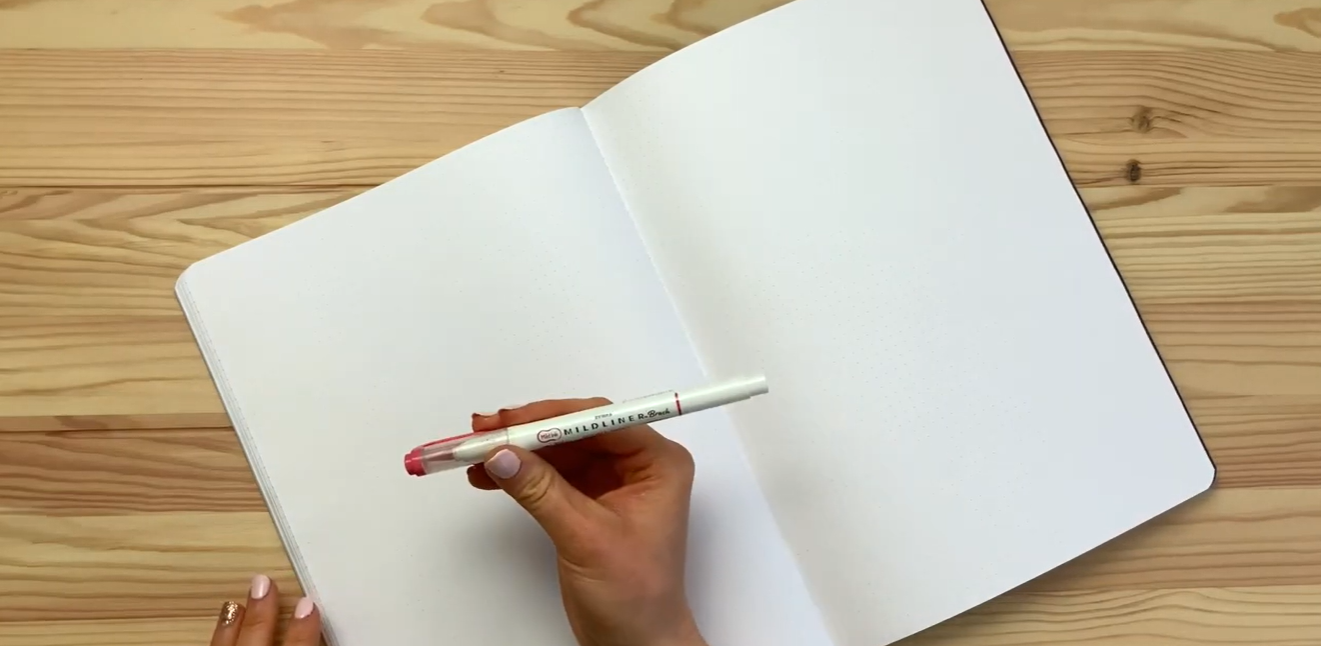
Flatlay of brush pen + dot grid notebook
For this demo, I'm using my Zebra Mar brush pen, which has a flexible brush tip at one end and a bullet tip at the other, so I can easily show you the difference between my handwriting and my calligraphy. I'm also using a dot grid book, similar to a dot grid pad, but bound, so the pages are a bit harder to tear out. The paper is still lovely and smooth, though and it's still got that handy grid on it.
If you’d prefer to follow along visually, you can watch the full step-by-step tutorial here:
👉 Watch on YouTube: https://www.youtube.com/watch?v=EHYmRpGYXHw
My Handwriting
Let's start with my handwriting. I wrote it pretty quickly, the way I do when I'm jotting down notes at work or scribbling a shopping list - I'm a little bit impatient like that. You'll see a mix of letters that are joined up and some that aren't and it's pretty scruffy. My handwriting also tends to change depending on what pen I'm using, or whether I'm using a pencil and it always starts off neat at the top of the page and turns into a scrawl by the bottom!
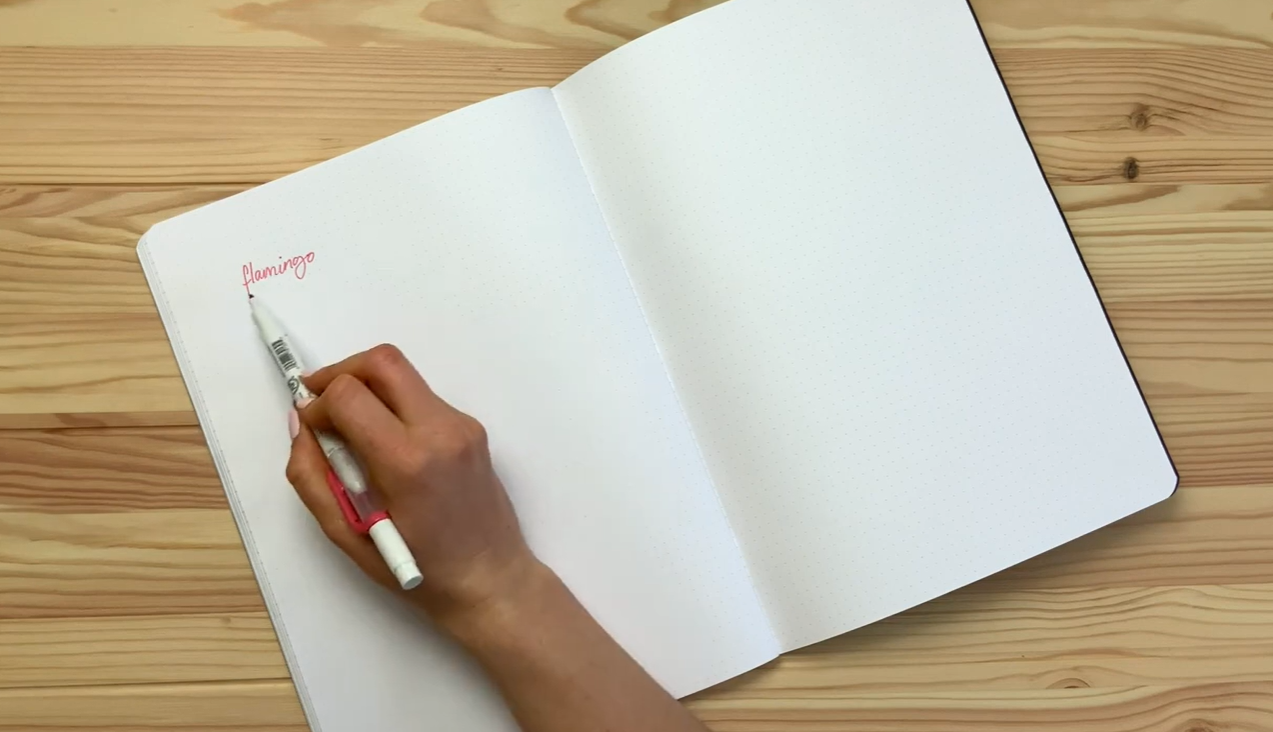
Example of messy, joined/unjoined everyday handwriting
That's just my own personal handwriting, though, and every single person's handwriting is completely different and unique. Which is honestly amazing when you think about it.
What Is Cursive?
Some people were taught to write in cursive. Cursive is basically your handwriting but completely joined up, no lifting the pen off the paper at all, so all the letters connect.
Some people's cursive is absolutely beautiful and that's just their personal style. Others might be a bit more scruffy (like mine!). Your own handwriting might already be cursive, or none of your letters might join up, or maybe just a few do; there's no right or wrong here.
Cursive / fully joined-up handwriting example
A lot of beginners pick up a brush pen and try to write like this because they see calligraphy and assume all the letters need to be joined up without lifting the pen. But that's not actually what calligraphy is about at all.
So What Is Calligraphy, Really?
Calligraphy is basically a series of drills or strokes that are used to create the letters of the alphabet. The basic strokes include things like:
Entrance stroke
Down stroke
Overturn
Underturn
Compound curve
Oval
Descending stem loop
Ascending stem loop
On their own, these don't look like much. But pretty much every single letter in the alphabet can be built using these basic strokes.
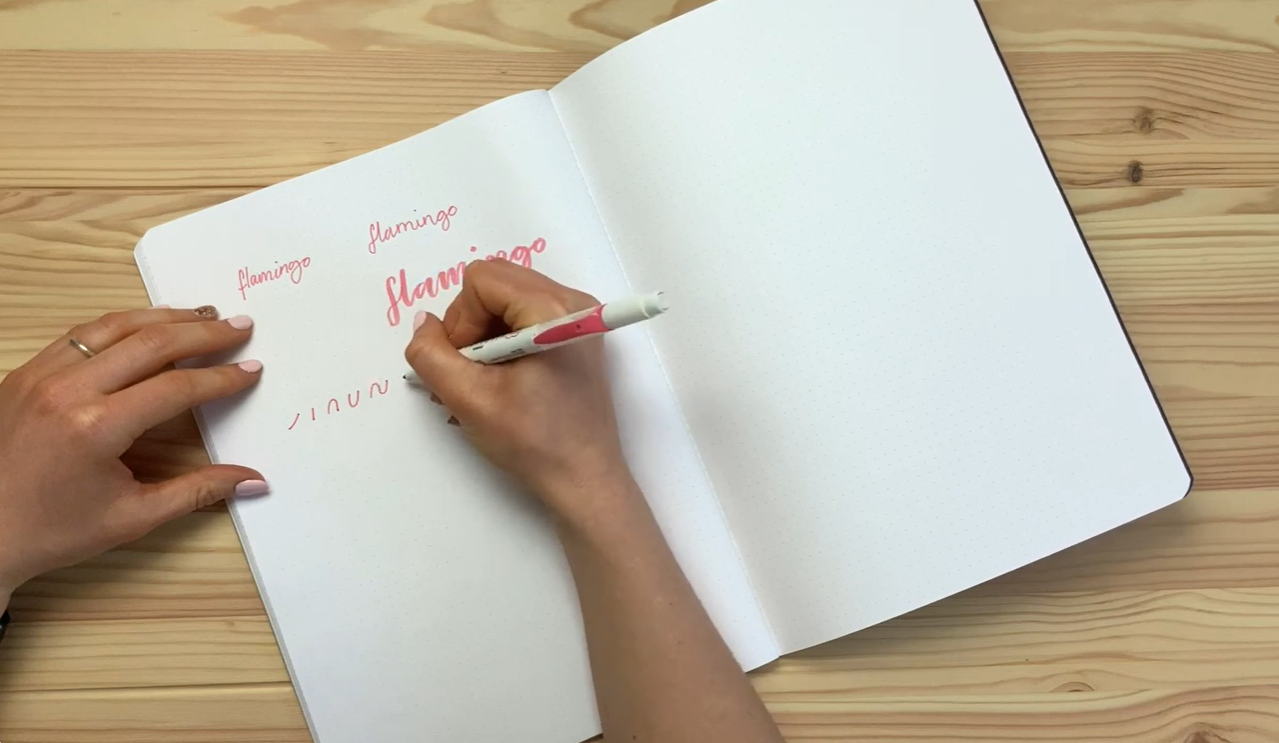
Basic calligraphy strokes practice chart
To show you how it works, I wrote the word flamingo using just these basic strokes:
F - ascending stem loop, down and in for the descending
L - ascending stem loop
A - an oval (the circular shape) plus the stem, which is the underturn
M - down stroke, then overturn, then compound curve
I - underturn, down stroke, compound curve, plus a dot
N/G - oval, descending stem loop, into an entrance stroke, then an oval
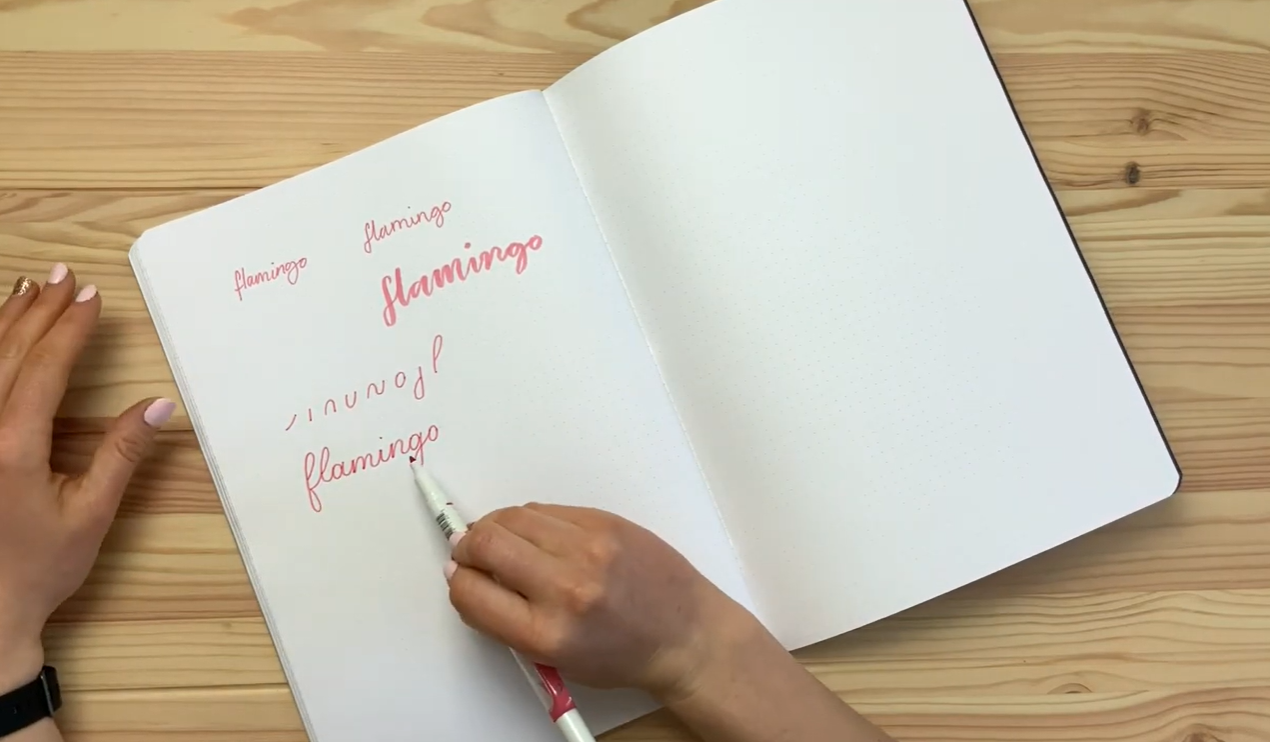
The word "flamingo" written using calligraphy strokes
Even though this version of the word doesn't have any thick or thin lines, it's still calligraphy because rather than writing the word, I've drawn each letter individually using this series of strokes. That's the key difference between calligraphy and handwriting or cursive.
I wrote it a lot more slowly, lifting my pen off the paper after every single stroke. But here's the interesting part: even with the pen lifted after each stroke, the letters still come together to create a fluid, joined-up look. That's the beauty of these strokes.
Handwriting vs. Calligraphy: Side by Side
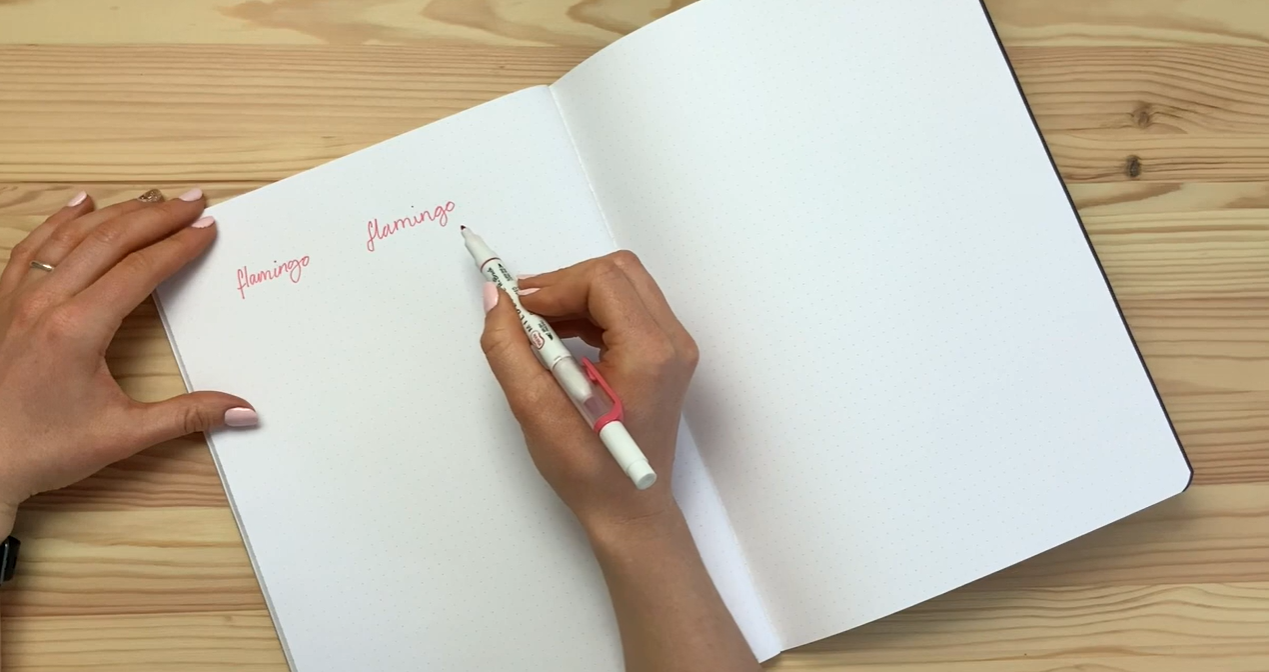
To really show the difference, I wrote "flamingo" first in my normal handwriting, then again using the calligraphy strokes, so you can compare not just how they look, but how long each one takes.
One of the biggest differences? With calligraphy, the letters are far more consistent with each other, and so are the shapes. With my handwriting, the letters are all over the place, the "o" doesn't match, the arches on the "n" and "m" aren't consistent. And that's totally fine, that's just my handwriting! But even with messy handwriting, I can still create beautiful words, because I'm using the basic calligraphy strokes.
Bringing In the Brush Pen
Now let's try "flamingo" again, this time with the brush pen and the calligraphy drills: ascending stem loop into a reverse descending, lifting the pen off the paper, another ascending stem loop, and so on, using controlled pressure strokes throughout.
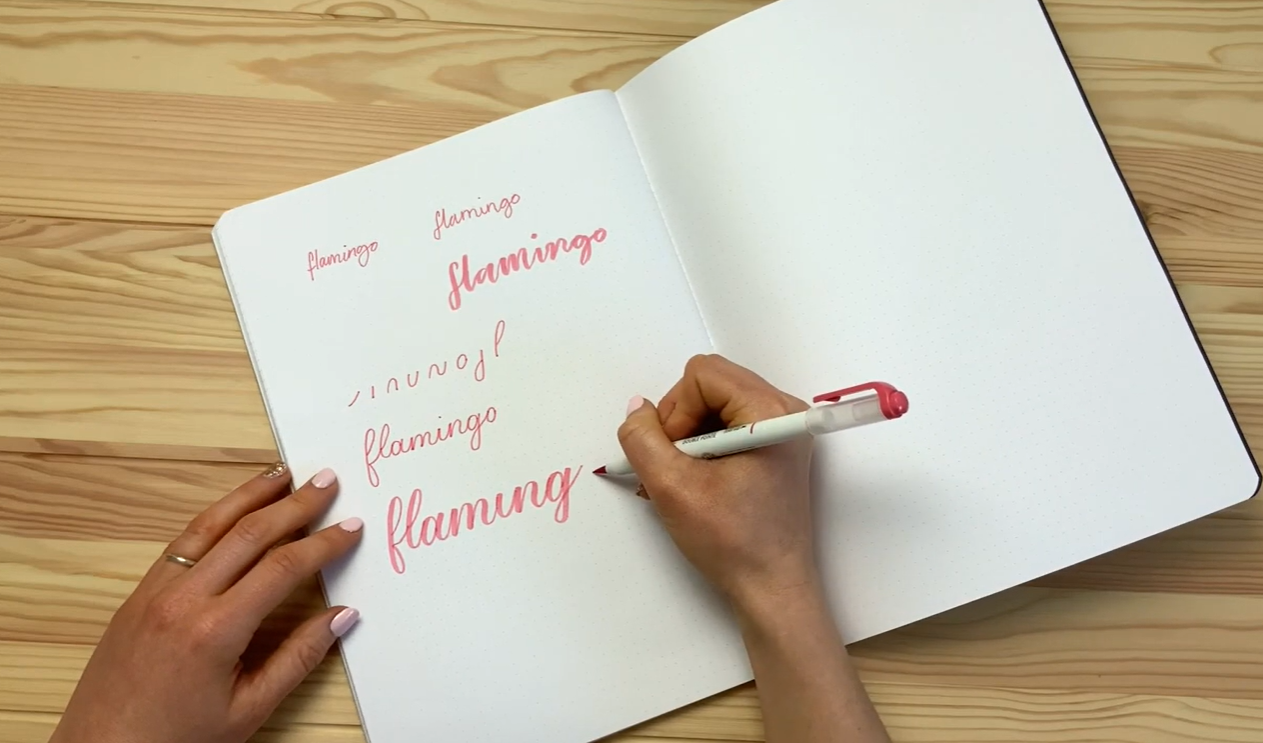
Brush pen calligraphy with thick and thin strokes
Breaking the letters down using these drills means your lettering becomes much clearer and easier to create. It's not lifted off the paper the whole time, but it still looks joined up and a lot prettier than my scrawly handwriting version!
Quick tip: if you're struggling with your thick and thin strokes, remember - go down, and you do your thick strokes; go up and you do your thin strokes.
The Big Takeaway
That's essentially the difference between your own handwriting and calligraphy. Calligraphy is all about using a series of drills or strokes to create letters. What I always say to my students is:
“You're not writing words - you're drawing letters.”
If you're a complete beginner and you've been having a go at calligraphy and struggling, start with the drills first. And you don't even need a brush pen to practise, you can have a go at writing in a calligraphy format using any pen, a biro, a pencil, or a felt tip. Just use the drills, and lift your pen off the paper after each one.
Writing like this is also a brilliant way to build muscle memory. So next time you're jotting down a shopping list or a few notes at work, try writing using the drills instead, it'll help build that muscle memory over time.
In Summary
Handwriting - your everyday writing, unique to you, however neat or scruffy it is.
Cursive - your handwriting, but fully joined up, without lifting the pen.
Calligraphy - a series of individual strokes and drills used to draw each letter, creating a consistent, polished look — even if your regular handwriting is a mess!
Hopefully that's cleared up the difference between handwriting, cursive and calligraphy, and shown you that even if your handwriting is absolutely awful (like mine!), you can still create beautiful words using the foundations of calligraphy.
If you want to get started with the basic strokes, I run a completely free challenge called Better Brush Drills.
Thanks so much for reading, and I'll see you next time!
Let’s Stay Connected
If you try this tutorial, I’d love to see what you create!
You can find me here:
Website: https://www.blinklettering.co.uk
Instagram: https://instagram.com/blinklettering
Favourite Supplies
Some links in this post may be affiliate links. This means I may earn a small commission if you choose to purchase, at no extra cost to you. This helps support Blink Lettering and the free tutorials I share.
Amazon Affiliate Shop: https://www.amazon.co.uk/shop/blinklettering