
Basic Calligraphy Drills for Beginners | Why They Matter
New to calligraphy and tempted to jump straight into writing the alphabet? Here's why hitting pause on the letters and starting with drills instead will make your lettering so much better.
Today's blog is a really requested one. As you can probably tell by the title, it's all about calligraphy drills and why they are so important. If you're new to calligraphy and have no idea what I'm talking about, keep reading.
I do actually have a free worksheet for practising strokes and learning your drills in my 7 Day Drills Challenge. It basically takes you through all the different drills and how to do them, in really easy-to-use worksheets.
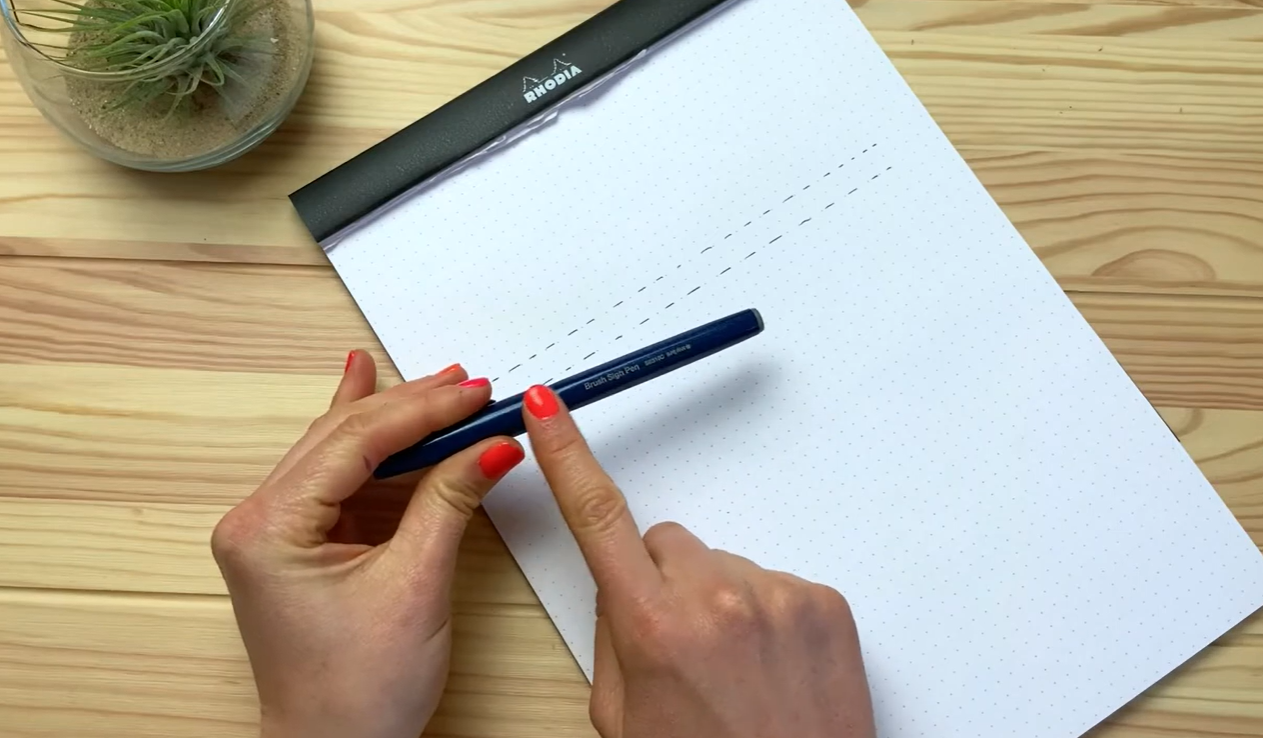
Brush pen with dot grid pad and drills laid out
If you’d prefer to follow along visually, you can watch the full step-by-step tutorial here:
👉 Watch on YouTube: https://www.youtube.com/watch?v=SJlrkDC1YII&t=4s
Why Do We Even Need Drills?
Before we jump into what the drills actually are, I want to talk a little about why we do them.
The best way to describe it is this: if you were going to the gym, you wouldn't just start doing a really intense workout straight away. You'd warm up first. These drills act as a really good warm-up for any sort of calligraphy. And they're not just for beginners, either. They're for experienced people too. People who have been doing calligraphy for ages still do drills. It's a really good way of warming up your hand, especially if you've got a new pen, or a big commission, like place names for an event.
But I'm guessing if you're reading this blog, you're probably a beginner. So how do these drills actually help you learn calligraphy?
Let's go back to the fitness analogy. Say you really wanted to run 5km but you'd never run before and you're not particularly fit. You probably couldn't even run 1km. You wouldn't just go and run 5km straight off because you'd be out of breath and let's be realistic, you're not going to keep it up the whole way. Instead, you'd start off gently, maybe a 5-to-1 run/walk or a bit of walking and running. It's all about learning and practising.
That's basically what the drills are. We're not going to jump straight into the alphabet. The alphabet is like the 5km race. We want to learn all the baby steps to get to that point first.
The biggest thing calligraphy is all about is building your muscle memory: getting used to how your arm movement feels when you're doing each stroke. That's why these drills are so good for beginners to learn: you're just thinking about how your arm is moving for each stroke, without worrying too much about what the letters actually look like.
The Supplies
I've kept things really simple. The pens I'm using are the Pentel Brush Sign Pen (also called the Pentel Touch Sign Pen): a small brush pen with a flexible head, but a fairly small nib. The paper I'm using is the Rhodia dot pad, which is vellum paper. It's really super smooth, so it won't fray your brush pens, and I absolutely love it. It's got a dotted grid system too, which is really good for making sure your drills and letters stay consistent with each other.
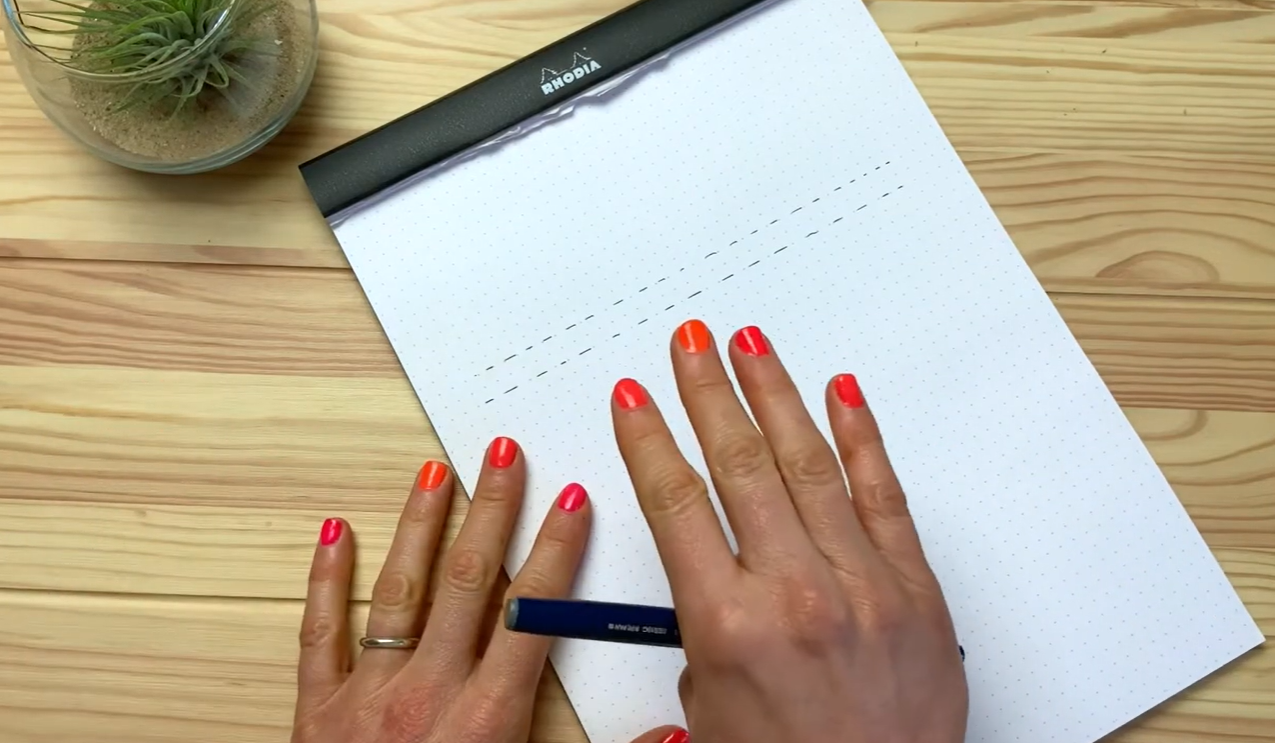
Pentel Brush Sign Pen and Rhodia dot pad supplies
The Basic Drills
Let's go through all the different drills, and then we'll look at how they help you if you're a beginner.
Entrance stroke
Full pressure stroke: goes down, and you can see the thick line starting and finishing thin
Overturn
Underturn
Compound curve: a combination of the overturn and underturn
Oval
Reverse oval: similar to the oval but going in the opposite direction. You might not see this one as often but I like to include it because it gets that muscle memory going
Descending stem loop
Ascending stem loop
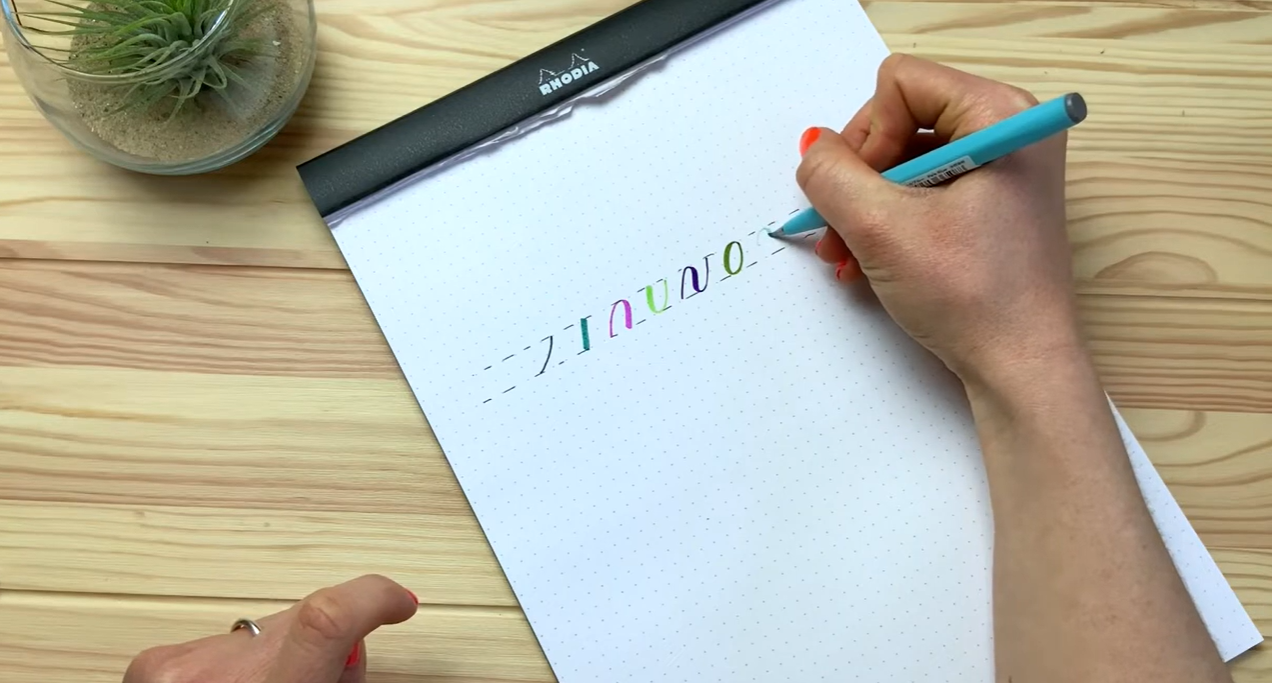
Basic calligraphy drills/stroke chart
These are the main drills used in calligraphy. On their own, they probably don't look like much. But when you start piecing these strokes together to form letter shapes, that's when you'll see why they're so important.
One thing to remember with calligraphy is that we're not writing words, we're drawing letters. It's a slow art form, where we take our time to create each individual letter.
How the Drills Build Letters
Let's have a look at how combining these strokes creates actual letters.
The letter A: I always suggest starting with the entrance stroke because it builds muscle memory and practice for your thin lines. Then comes the oval shape, and finally the stem: which uses that underturn stroke. Although I've lifted my pen off the paper between each of these strokes, when you look at it all in one colour, it looks like one beautifully connected letter. That's the magic of it: the writing looks joined up but each letter is actually made up of individual strokes.
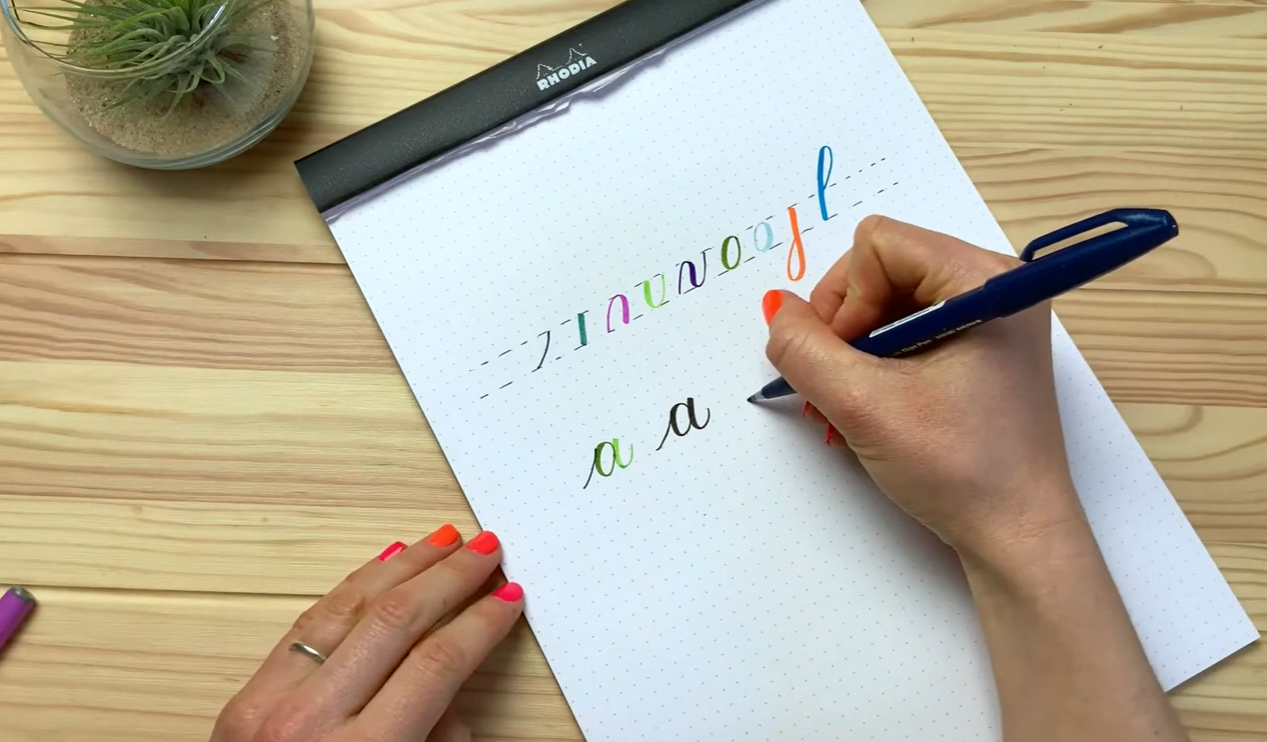
The letter "A" broken into individual strokes
The letter M: this one has a couple of extra strokes compared to A. Start with the entrance stroke, then the full pressure stroke (straight down), then the overturn, and finally the compound curve at the end, which gives you the "kick" to connect to another letter. Again, done all in one colour, it looks like one fluid movement.
To really show you why these strokes matter, I also wrote the letter M without lifting my pen off the paper, writing it the way I normally would. My hand got really stiff and tight, I lost control over the thin-up lines, and the connections just weren't as good. Written normally with a brush pen, it doesn't look nearly as consistent or lovely as when you build it from individual strokes.
Writing the Whole Alphabet Using Drills
Next, I wrote out the entire alphabet, switching between these different drills so you can see how they come together to build every letter.
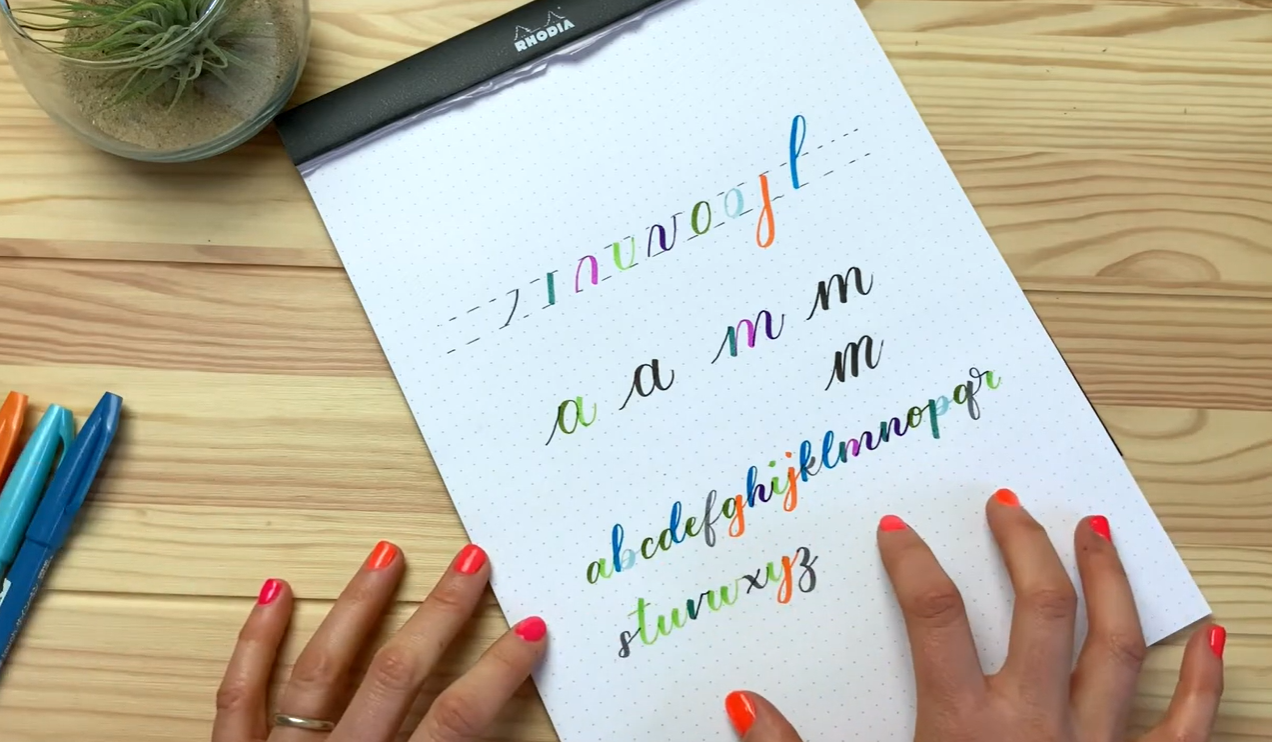
Full alphabet written using calligraphy drills
Even though I used different strokes for each letter, it still looks joined up throughout. There's a really nice consistency across all the shapes. For example, the underturn used in a letter like "n" is a really similar shape to the underturn used in "u." These drills are the basis for forming your letters in calligraphy, and that's exactly why they're so important.
You'll also notice a few grey strokes that pop up occasionally. These are used less often, which is why I haven't included them in the basic set above (though you'll learn more about those in my free challenge!). You might also spot a couple of variations, like the "b" and "p," which use a reverse oval but with a bit of added flourish, just to connect the letters.
No Brush Pen? No Problem
If you don't have a brush pen and just want to practise the change in pressure and the shape of these drills, you can absolutely use a pencil instead. Just like with a brush pen, you're changing the pressure as you go: up, down, down, up for your underturn, then your compound curve, your oval, reverse oval, descending stem loop, and ascending stem loop.
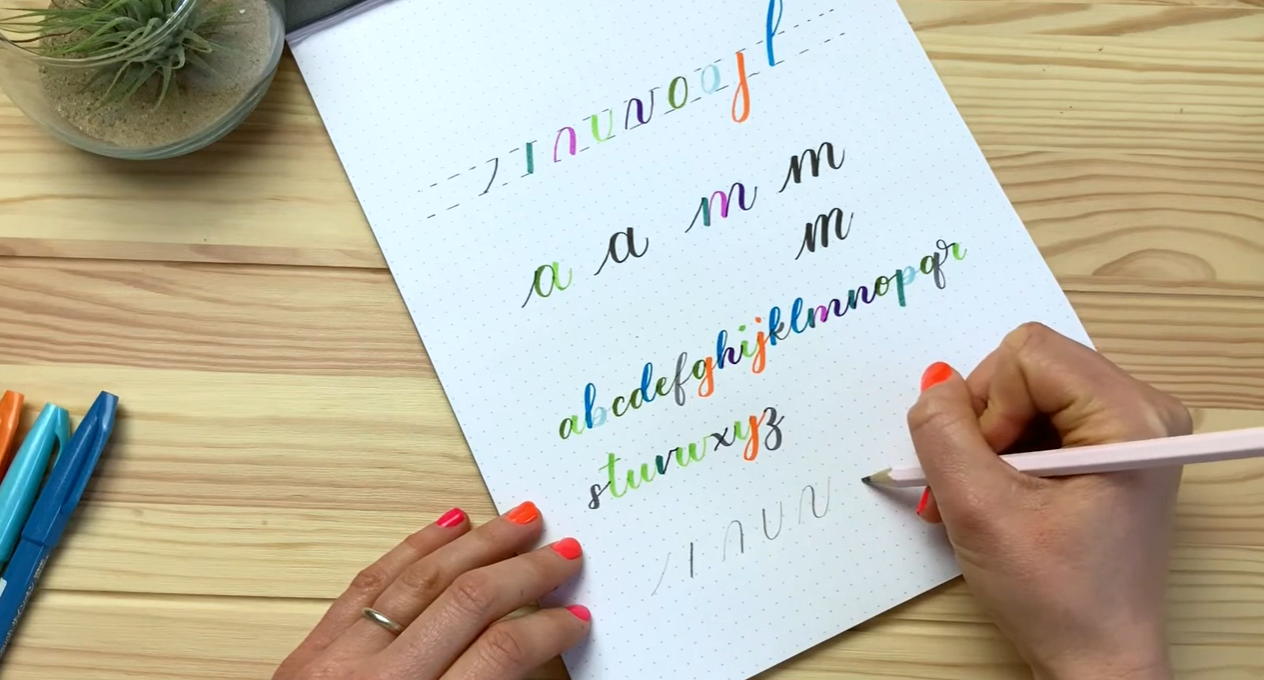
Practising calligraphy drills with a pencil
So if you're looking to get into calligraphy but don't have a brush pen yet, just grab a pencil. You can create the same effect and it's a really good way of practising that muscle memory and your thick and thin lines.
Why I Wish I'd Started With Drills
When people start calligraphy for the first time, most like to jump straight into letters, because they're excited. That's exactly what I did too. But when I discovered these drills, it completely changed how I approached calligraphy. It slowed me down and made me feel so much more confident when it came to creating letters.
I actually spent about a week just doing drills. I stopped doing letters altogether because they were frustrating me, and just focused on the drills instead. After a little while, when I went back to the letters, oh my god, it was so much easier. That's why these drills are so important. Once you've got the hang of them, you'll find the alphabet so much easier.
Just remember: go slow, lift your pen off the paper after each stroke, and reposition your hand. Once you've got the hang of that, moving on to the alphabet will come naturally, and you'll start to develop the muscle memory that calligraphy really needs.
Want to Learn More?
I hope this blog has given you a bit of a better understanding of why drills are so important and how to go about creating them.
If you want a bit more support, I run a completely free, 7 Day Drills Challenge. Each day you'll get a worksheet with a drill to practise, an outline of the drill so it's easy to trace over, plus some free practice space using guides to make it a little easier. Each day also comes with some helpful tips.
Inside, you'll get seven days of worksheets covering all the drills from this blog, plus a few bonus tricky ones used for certain letters, some extra helpful videos going into more detail on each drill, and tips on the best pens and paper to use, including some tips for lefties too.
Let’s Stay Connected
If you try this tutorial, I’d love to see what you create!
You can find me here:
Website: https://www.blinklettering.co.uk
Instagram: https://instagram.com/blinklettering
Favourite Supplies
Amazon Affiliate Shop: https://www.amazon.co.uk/shop/blinklettering
Some links in this post may be affiliate links. This means I may earn a small commission if you choose to purchase, at no extra cost to you. This helps support Blink Lettering and the free tutorials I share.