
How to Blend Tombow Dual Brush Pens. 2 Easy Methods for Beginners
Ever wondered how calligraphers get those gorgeous, seamless colour gradients in their lettering and wished you could do it too?
If you've been seeing those gorgeous blended calligraphy pieces all over Instagram and wondering how on earth people get those beautiful colour gradients this one's for you! I'm going to show you two really easy ways to blend your Tombow Dual Brush Pens, and the best part? Neither method will damage your nibs.
I'm using a lovely bright selection of Tombows and the pad I'm working on is a Rodia pad, which I'd really recommend for Tombows as the surface is super smooth and won't fray your nibs.
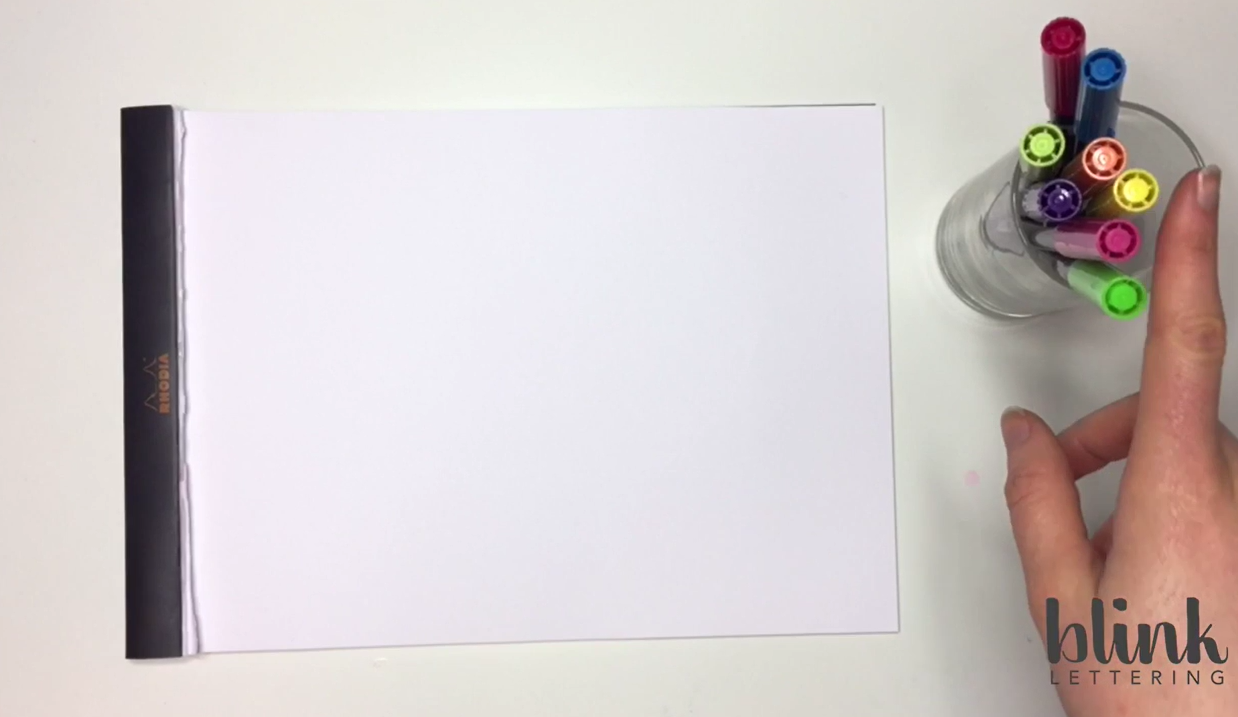
Bright Tombow pen selection laid out
If you’d prefer to follow along visually, you can watch the full step-by-step tutorial here:
👉 Watch on YouTube: https://www.youtube.com/watch?v=vfDdEhxuLuE
Method 1: Pen-to-Pen Blending (No Extra Equipment Needed!)
This first method is as simple as it gets all you need is your pens and your pad. No extra tools, no special equipment.
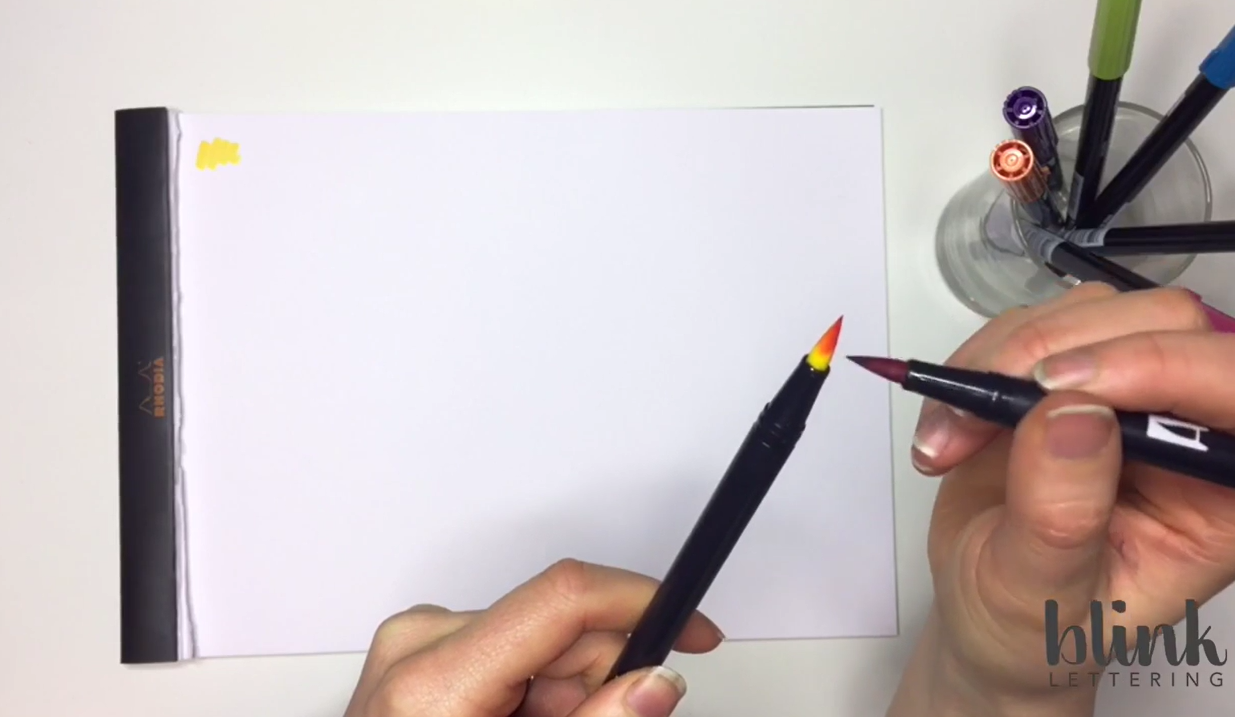
Close-up of pink pen colouring onto yellow nib
Here's how to do it:
Pick two colours - I'm going for a yellow and a pink. You want one to be a little lighter and one a little darker, as this gives you the most satisfying gradient. Take your darker pen and colour directly onto the nib of the lighter pen. You'll see the nib picks up a little staining from the darker colour but don't worry, this doesn't damage it at all! The colour underneath is still perfectly intact.

Writing the word "blending" showing the colour gradient in action
Once you've coloured the nib, simply start writing. You'll notice the letters begin with that beautiful blended colour where the two inks have mixed, and gradually transition back to the original lighter colour as the ink from the darker pen fades away. It's such a satisfying effect to watch happen in real time!
Once you've finished, you can colour the nib off on your paper (or a scrap piece if you're working on a final piece) to get it back to its original colour. Even with a little staining, it goes almost all the way back, so there's really no need to worry about ruining your pens.
Method 2: The Sandwich Bag Method (For Blending Multiple Colours!)
This second method needs just a tiny bit of extra equipment but honestly, it couldn't be more low-cost or accessible. All you need is a sandwich bag. Yep, that's it! I picked mine up from Asda for just a couple of quid. You might not even need a big one.
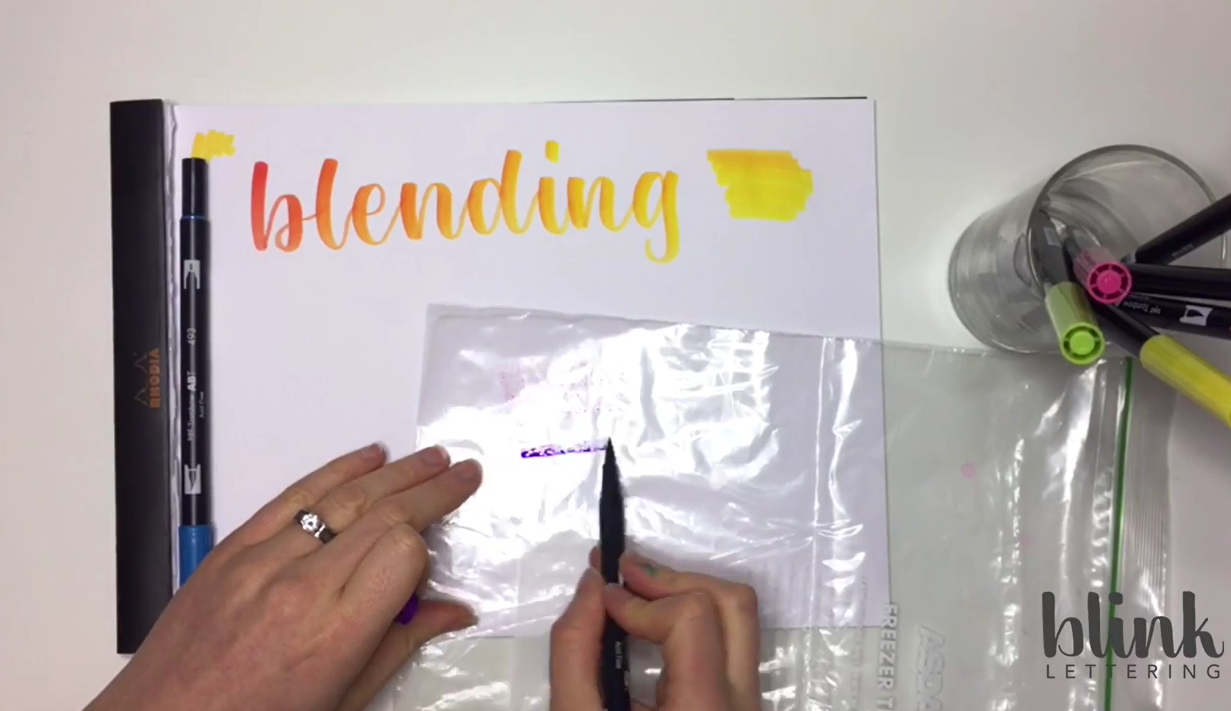
Sandwich bag with ink being coloured onto it, pens alongside
This works in a similar way to a Tombow blending palette if you've seen those on Instagram, they look amazing, but personally I've never needed one because this sandwich bag method does exactly the same job!
The big bonus with this method is that you can blend multiple colours at once, which means even more beautiful gradients.
Here's how to do it:
Choose your colours - I'm going for pink, purple and blue. Identify your lightest colour (I'm going with blue) and set that pen aside for now. Take your other colours and colour directly onto the surface of the sandwich bag, leaving ink residue on it. Then, pick up your lighter pen and rub the nib gently over the ink on the bag, you'll see it start to pick up the colour. This loads the nib with a blend of colours all at once, giving you a really subtle, gorgeous gradient as you write.
There's nothing stopping you from topping up the ink on the bag and picking up more colour as you go which means you can keep building and refreshing that blend throughout your piece.
The result is a beautiful fade from one colour to the next and it really is so much easier than it looks!
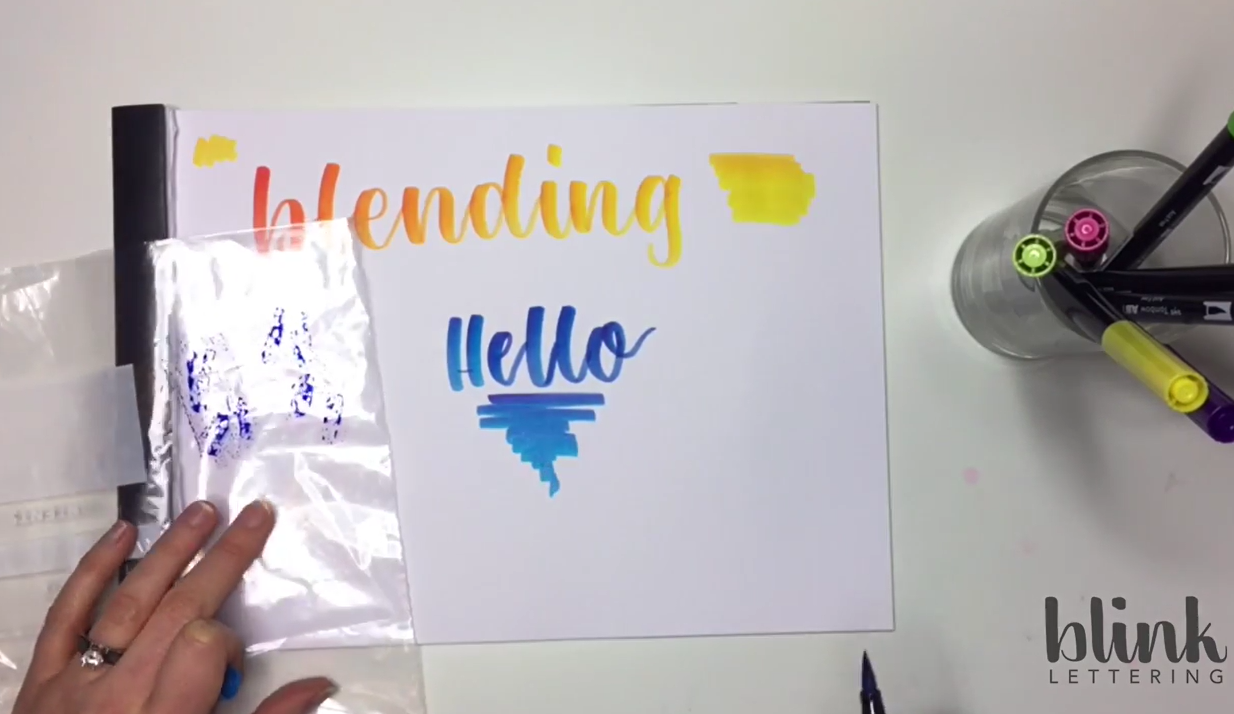
Finished blended lettering showing the fade from pink/purple to blue
Give It a Go!
So there you have it, two really easy ways to blend your Tombow Dual Brush Pens that won't damage them at all. Whether you go for the simple pen-to-pen method or grab a sandwich bag for a multi-colour blend, both give stunning results and are well worth experimenting with.
Let’s Stay Connected
If you try this tutorial, I’d love to see what you create!
You can find me here:
Website: https://www.blinklettering.co.uk
Instagram: https://instagram.com/blinklettering
Favourite Supplies
Amazon Affiliate Shop: https://www.amazon.co.uk/shop/blinklettering
Some links in this post may be affiliate links. This means I may earn a small commission if you choose to purchase, at no extra cost to you. This helps support Blink Lettering and the free tutorials I share.