
How to Get Started with Modern Calligraphy
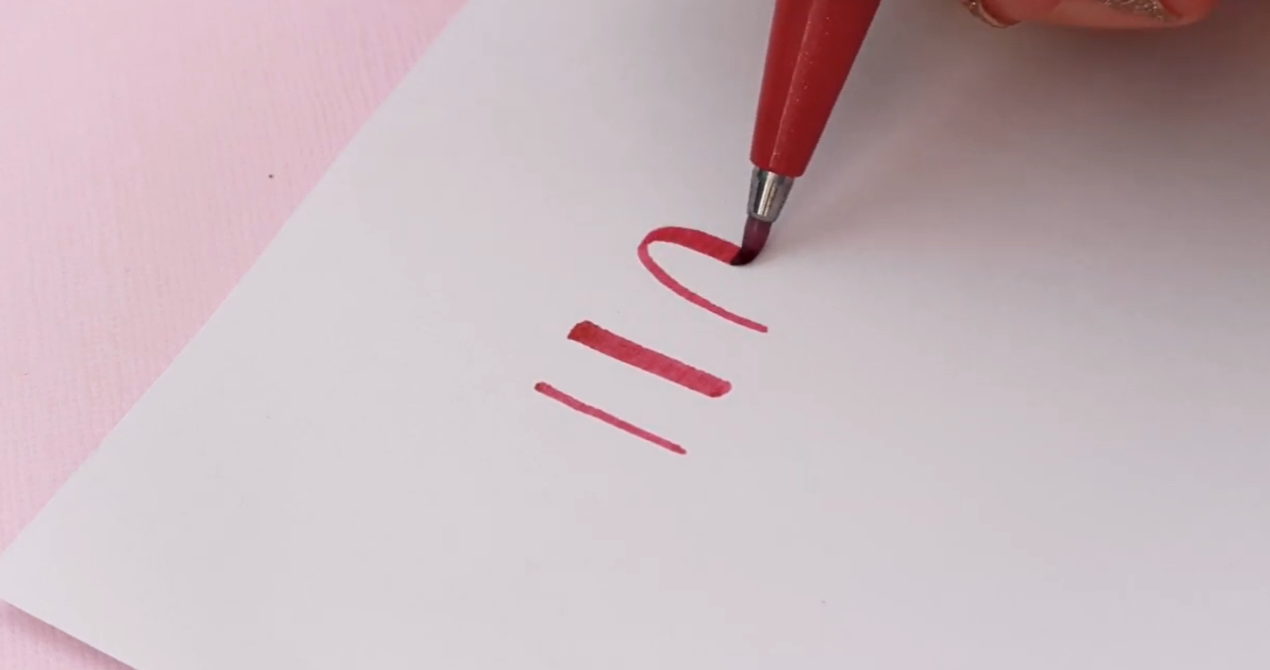
A flexible brush pen creating thick downstrokes and thin upstrokes, demonstrating the basic technique every calligraphy beginner learns.
Have you been watching loads of Instagram, TikTok and YouTube videos of beautiful calligraphy but have absolutely no idea how to get started?
Well, you're in the right place!
The good news is that learning modern calligraphy is much simpler than you might think, and it doesn't need to break the bank either.
You don't need loads of fancy pens, different inks or expensive pen holders. In fact, all you really need are three things, and I'm going to walk you through each one.
I've been teaching modern calligraphy for over seven years and have helped thousands of beginners learn through my workshops, online courses and YouTube tutorials. The tips I'm sharing here are exactly what I recommend to anyone starting out, so you can avoid the overwhelm and start enjoying the process from day one.
If you'd prefer to follow along visually, you can watch the full step-by-step tutorial here:
In this guide
Choosing the right brush pen
The best paper for beginners
Why calligraphy drills matter
Your next steps
The Best Brush Pen for Beginners
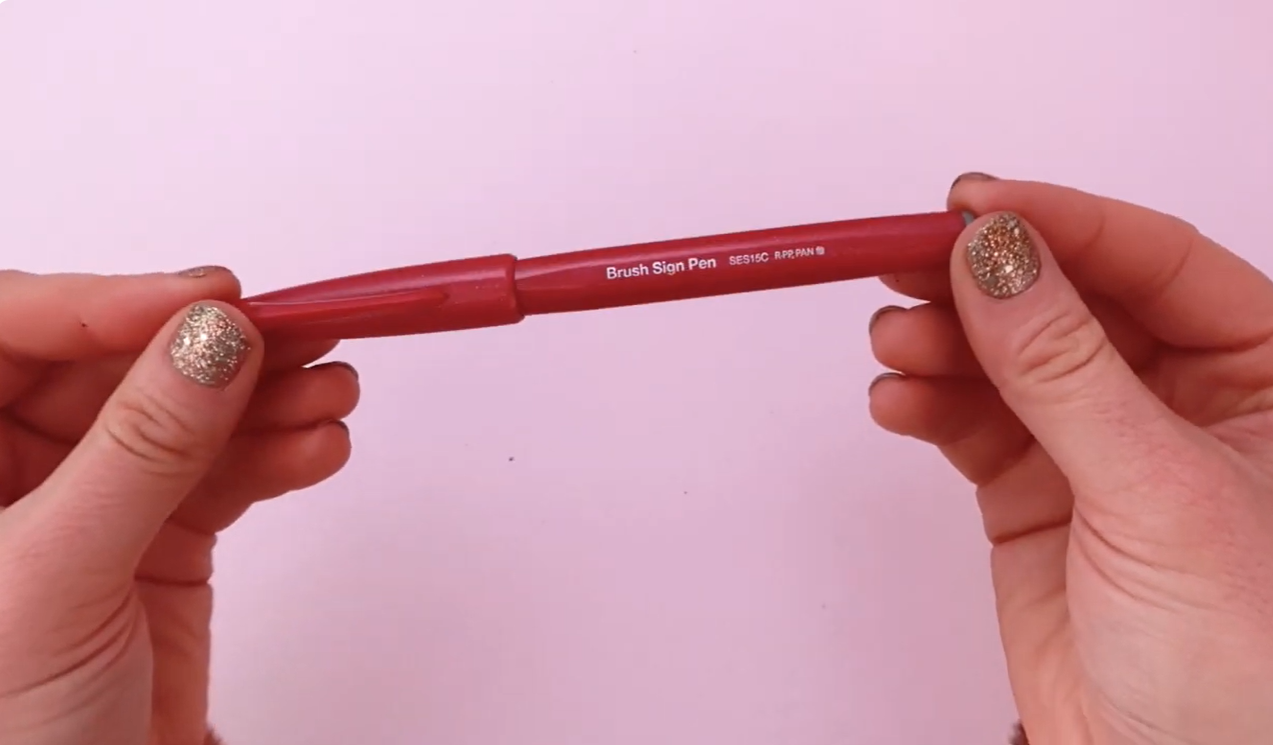
Pentel Brush Sign Pen - my favourite brush pen for beginners.
When it comes to learning calligraphy, the most important thing is the tool that you're using. You've probably seen loads of beautiful pen holders and nibs and all of these different inks, and it can feel really overwhelming knowing what to actually get.
One of the biggest mistakes beginners make is buying expensive nibs and ink before they've mastered the basic strokes.
So I actually suggest stripping it back to basics. Instead of starting with a nib and ink, I recommend using something called a brush pen. It's kind of like a felt tip, but it has a flexible nib and as long as you have a pen with a flexible nib that helps you create the thick and thin lines you see in calligraphy, you can get started with that.
Of course, there are hundreds of different brush pens out there, which can again be really overwhelming. So my top recommendation is the Pentel Brush Sign Pen. It was actually my very first calligraphy pen, and it's been a firm favourite ever since I started calligraphy over seven years ago!
Here's why it's such a great beginner pen:
It's not too big, which means you can write at a size you're used to and you're not having to create really big letters, which can feel a little bit weird at first.
It's not too expensive, and you can buy them individually or as a set (the set works out a little bit cheaper).
The nib is quite hard to fray, so even if you do use it on slightly textured paper, it's not the end of the world
You really don't need lots of colours, lots of inks, or fancy pen holders. Just one pen will do!
The Best Paper for Modern Calligraphy
If you've got a pen, you need something to write on! I recommend two different types of paper depending on what you're doing.
For general practice: The Rhodia Dot Pad is my go-to. It's a super smooth vellum paper with tiny little dots that help you keep your letters more consistent. The reason smooth paper matters so much is that you really don't want your nib to fray or catch on the fibres of the paper.
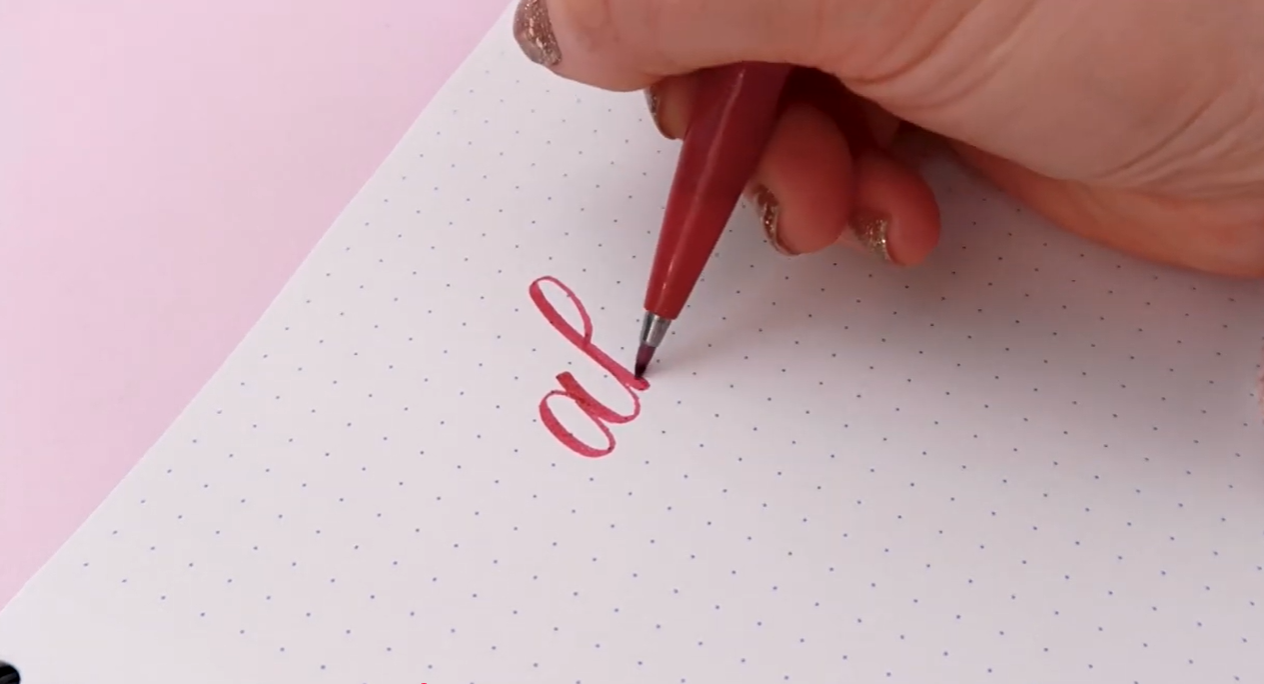
Rhodia Dot Pad - smooth paper that protects your brush pen.
For printing guides: If you're printing off guide sheets at home, I recommend a really high quality, super smooth paper like Navigator paper. It's super smooth, and the ink from your pen won't bleed either, which is really important!
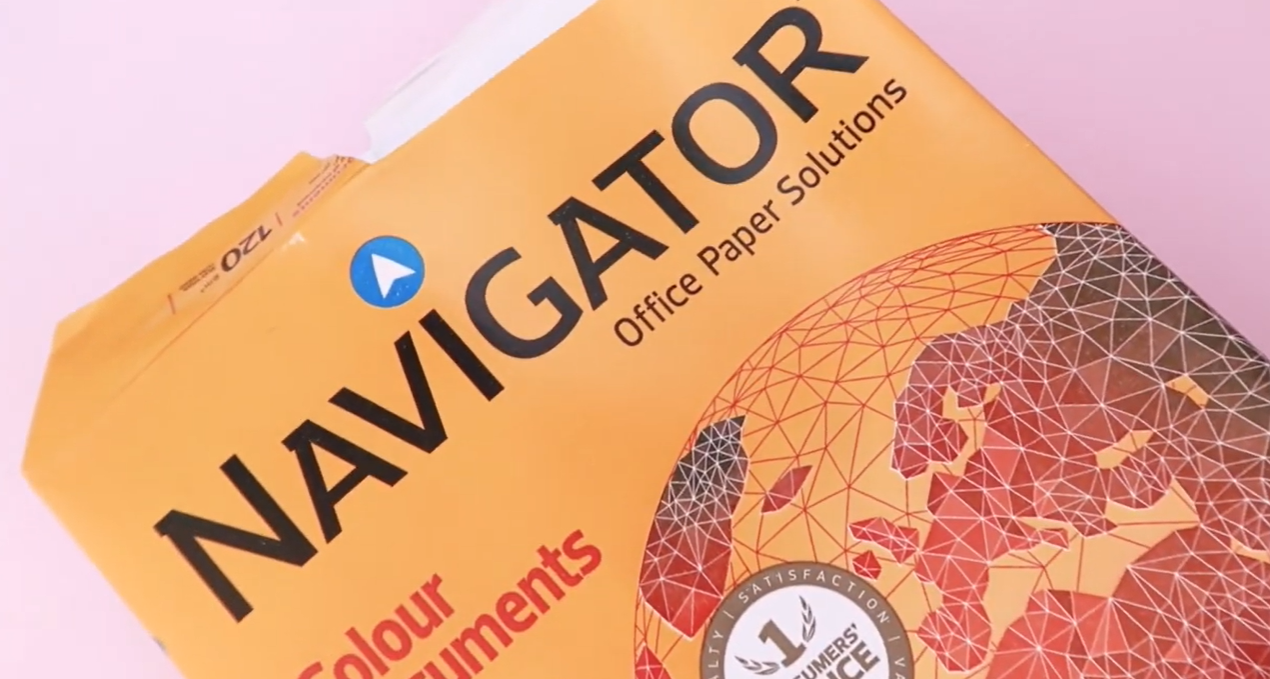
Navigator Paper - my recommended smooth printer paper for calligraphy worksheets and practice.
You might have standard copy paper at home and think it feels quite smooth, but when it comes to putting your nib on it, it might not be smooth enough and could fray it. So do look for really premium quality, super smooth paper.
If you don't have a printer at home and you're looking to get guides printed at a print shop, ask for a super smooth, bleed-proof paper and maybe even ask if you can test your pen on it first before committing!
Why Calligraphy Drills Are Essential
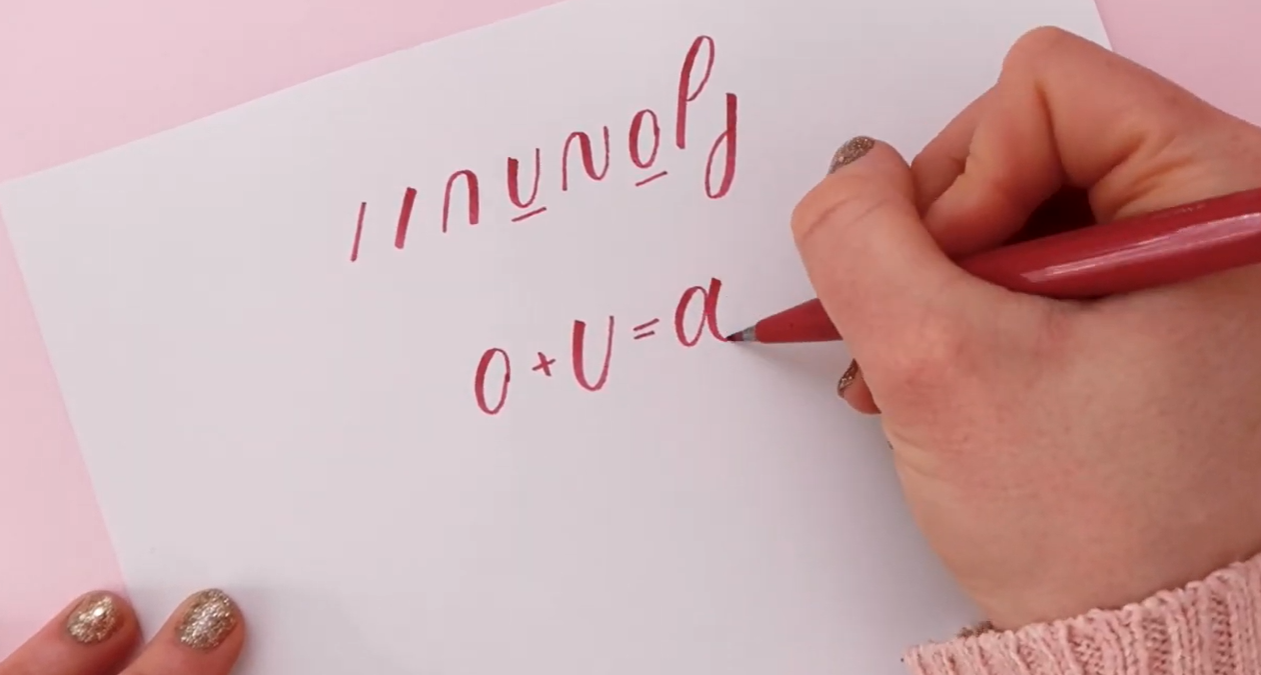
Calligraphy drills being practiced, showing those squiggly shapes on paper.
The final thing you need to get started with modern calligraphy is actually completely free, and we love a freebie around here!
So you've got your pen and your paper, and you're thinking, right, I can just start doing calligraphy now! You start trying to do all the letters, and it feels really difficult. That's because you need to go back to basics first and learn something called calligraphy drills.
Drills are a series of weird squiggly shapes that don't look like much on their own, but when they come together, you can create the lowercase letters of the alphabet.
I really recommend that any beginner just do the drills over and over again before jumping into letters as tempting and exciting as it is to skip ahead!
The reason we do this is to build muscle memory, so that when it comes to creating your lowercase letters, you know exactly when to lift your pen off the paper and exactly where the thick and thin strokes are going.
Whether you've never done calligraphy before or you've given it a go and it's just not quite working for you, I really recommend starting with your drills.
Ready to stop guessing and start lettering with confidence?
My FREE 7 Day Drills Challenge will guide you through the essential calligraphy strokes step by step, helping you build muscle memory, improve your technique and feel more confident using your brush pen.
You’ll get:
Printable calligraphy worksheets
Step-by-step video tutorials
Short, manageable daily practice sessions
Lifetime access so you can practise at your own pace
It’s perfect if you’re completely new to modern calligraphy, returning after a break or struggling to get those thick and thin strokes looking quite right.
So, to Recap...
Getting started with modern calligraphy really doesn't require loads of fancy tools. All you need is:
A brush pen (the Pentel Brush Sign Pen is my top pick!)
Super smooth paper (Rhodia Dot Pad for practice, Navigator for printing guides)
Calligraphy drills (to help you build muscle memory)
That's genuinely all you need. It's so easy to think you need dozens of pens and expensive supplies, but the truth is that a single brush pen, smooth paper and regular practice will take you much further than a drawer full of stationery.
If you'd like to see these techniques in action, you can also watch the full beginner tutorial on my YouTube channel.
Keep Learning
If you'd like more beginner-friendly calligraphy tutorials, inspiration and free resources, come and say hello:
Favourite Supplies
If you're looking for the exact supplies I use and recommend, you can browse my favourite beginner calligraphy tools in my Blink Lettering Amazon Shop or my Amazon Favourites;
Some links in this post may be affiliate links. This means I may earn a small commission if you choose to purchase, at no extra cost to you. This helps support Blink Lettering and the free tutorials I share.
Have you started your calligraphy journey yet? I'd love to see your progress! Tag me on Instagram @blinklettering and don't forget to join the FREE 7 Day Drills Challenge if you haven't already.